Follow along as we renovate a 200 year old townhouse in the French South West.
Our French Attic Finally Gets Its Walls
Our French Attic Finally Gets Its Walls The attic has been missing from the last couple of episodes. Work up there never stopped. I couldn't find a good way to blend it in with the range hood and the pantry drawings, so we saved it up to show you in one go. This is that episode, and it is mostly plasterboard: around beams, over a staircase, and on top of a mistake I made with the insulation. First, A Thank YouBefore we go upstairs, a quick word on last time. I told you I'm starting my own cabinetry business in France, and the comments that came back were lovely. So many of you said you wanted to see it on the channel and wanted to cheer it on. That means a lot to me, and to Romy especially. It also went a bit nuts afterwards. I've been talking to a number of people about their kitchens and the cabinetry they need, and I'll share updates over the next few episodes. That includes some of the design process, which I know you enjoy and which I'd like to get you involved in. It's exciting and a little tiring, because it's all new to me and I'm learning as I go. The range hood, meanwhile, is still making us happy. The longer it's up, the more glad we are that we built it. And thank you again for all the help with the pantry designs, which are now final. Back Up In The AtticWe've made a decent bit of progress up here over the last few days. The plumber has been in to fit the pipework and the last of the bathroom waste, which was the thing holding up the insulation and the plasterboard. 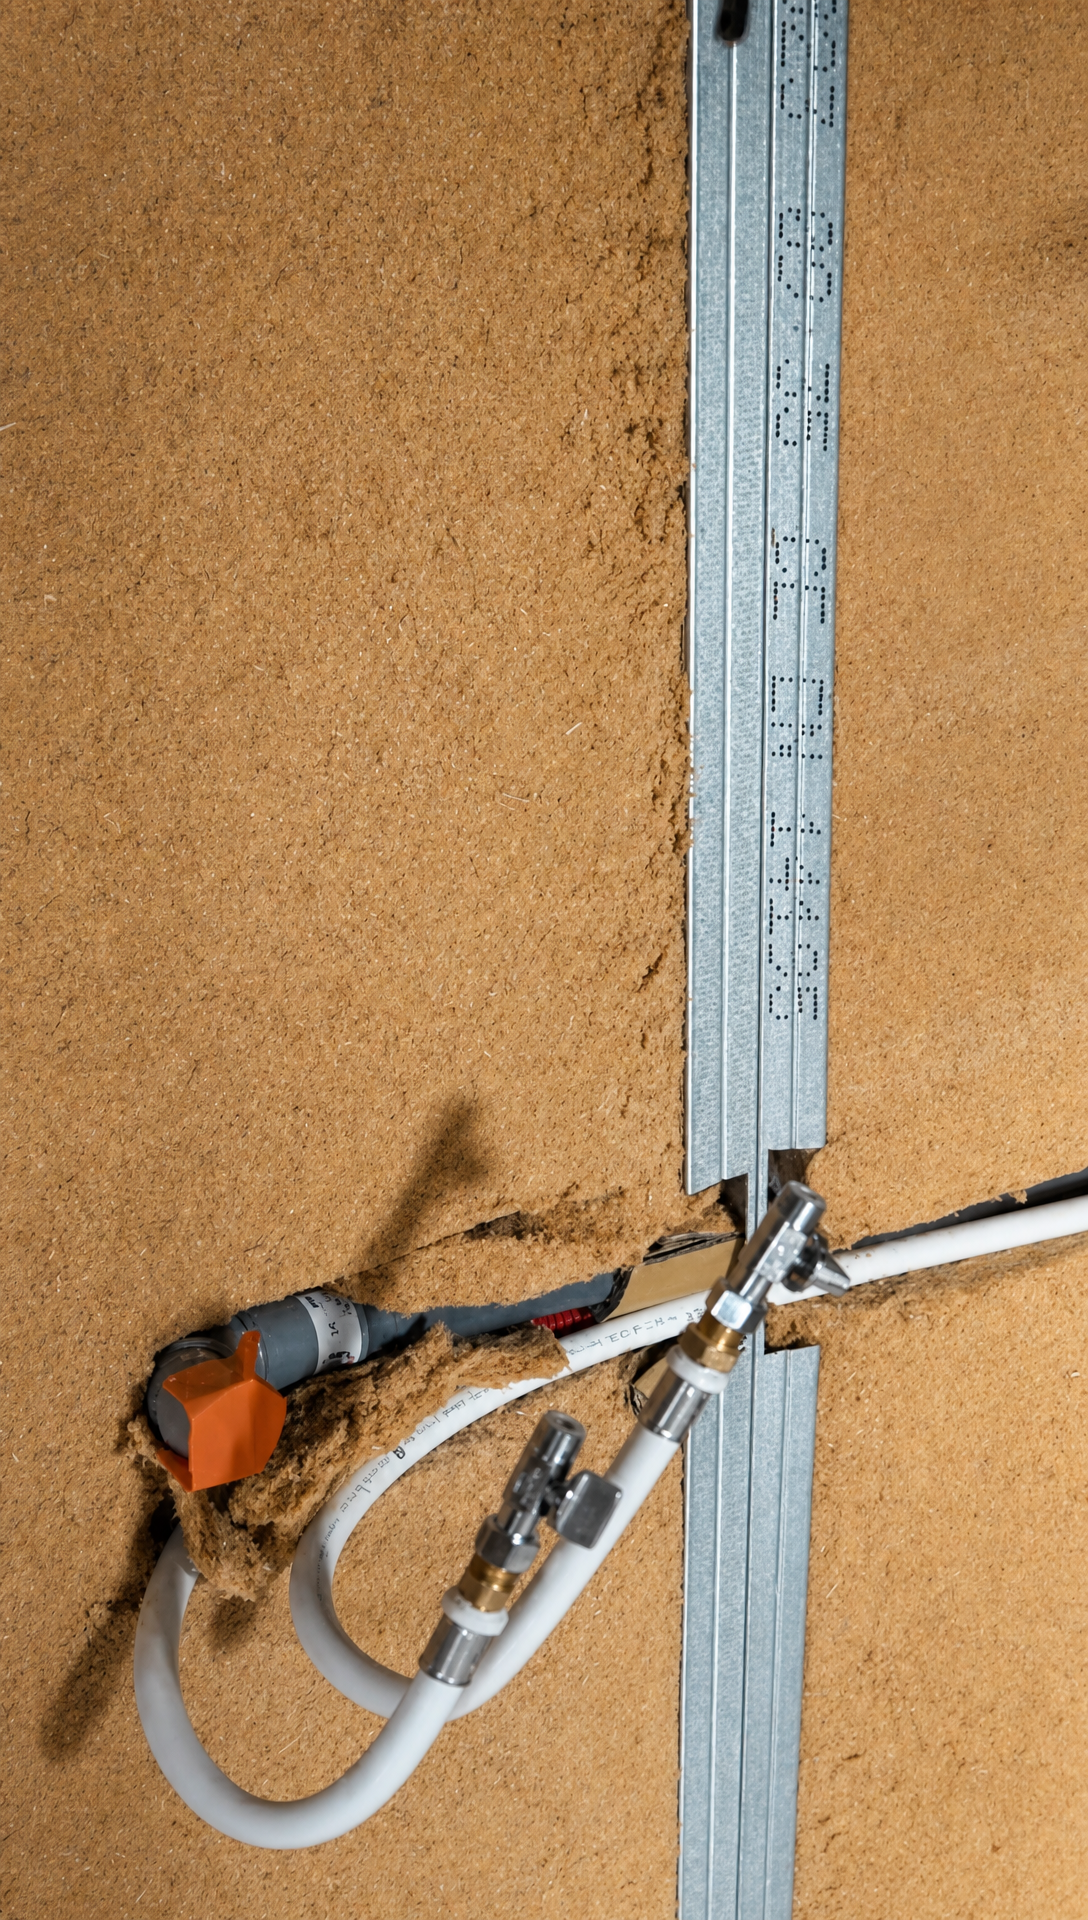 With that done I got the insulation into the last wall of the main bedroom and into the bathroom wall on the corridor side. The next job was boarding the internal walls. Not all of them can be closed yet. The aircon installers and the electrician both need to get above the ceiling, so in places I've left the boards off above beam height. 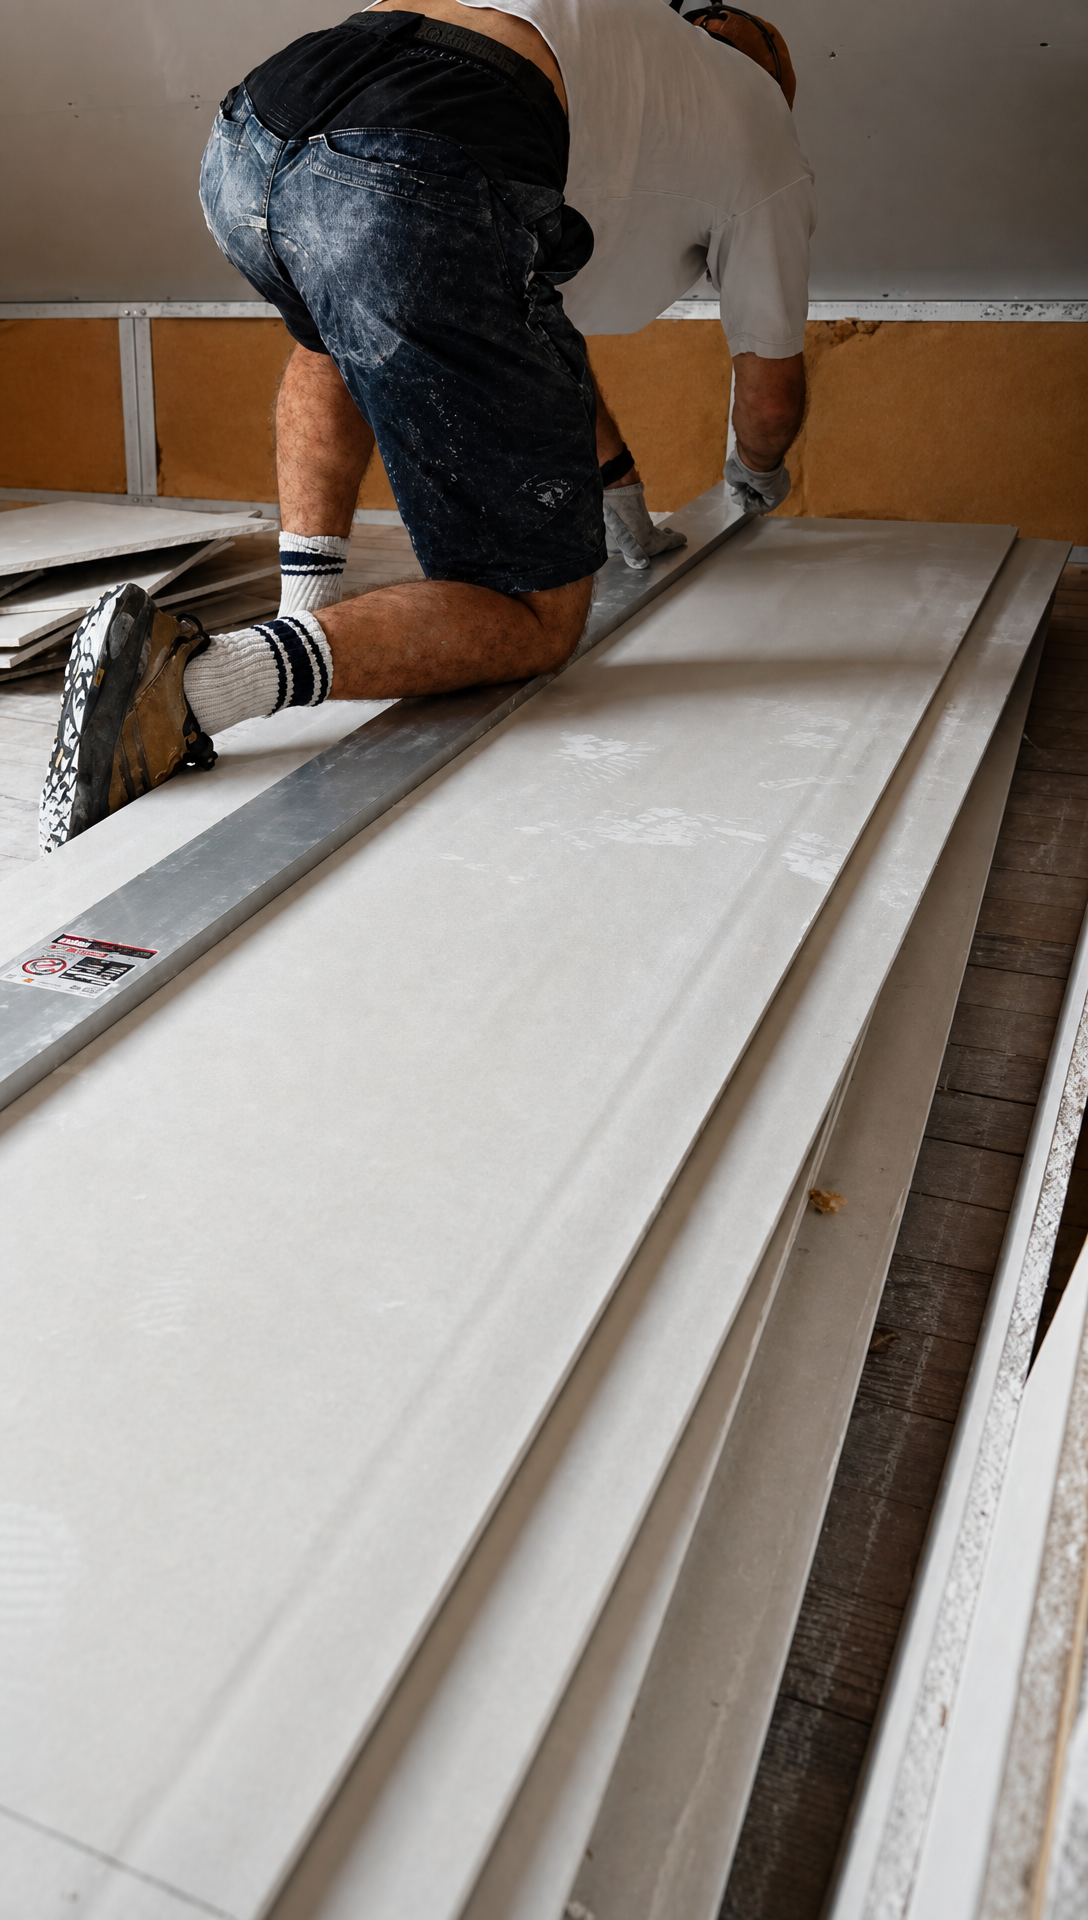 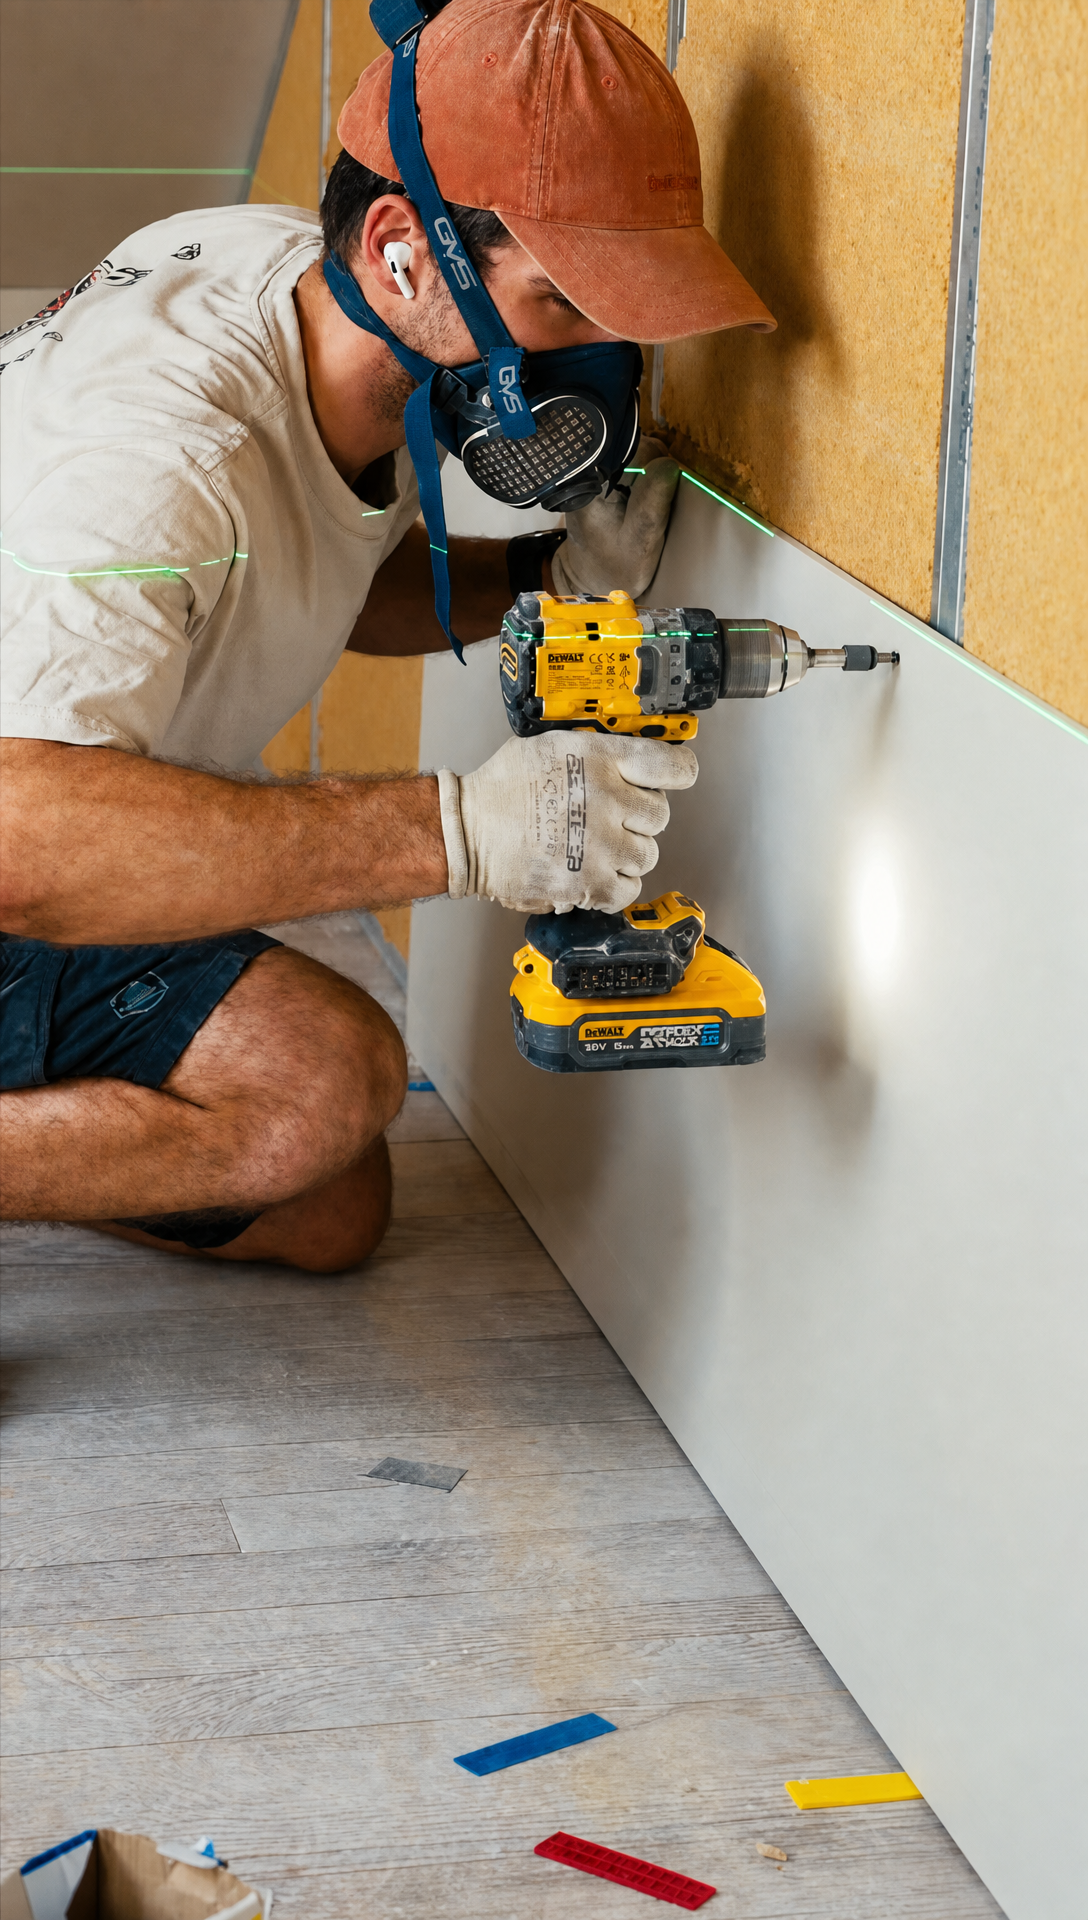 Templates For The BathroomThe bathroom was slower. There are beams everywhere, and measuring a shape, cutting it and offering it up doesn't work in a room where nothing is straight. Even when every measurement is right, the cuts drift off in one direction and the piece won't go in. So I went back to the template method I used on the outer walls, before the internal walls went up. You glue strips of cardboard together in place around the beam, lift the template off, trace round it onto the board and cut it out. It takes longer, and it wastes a lot less plasterboard. 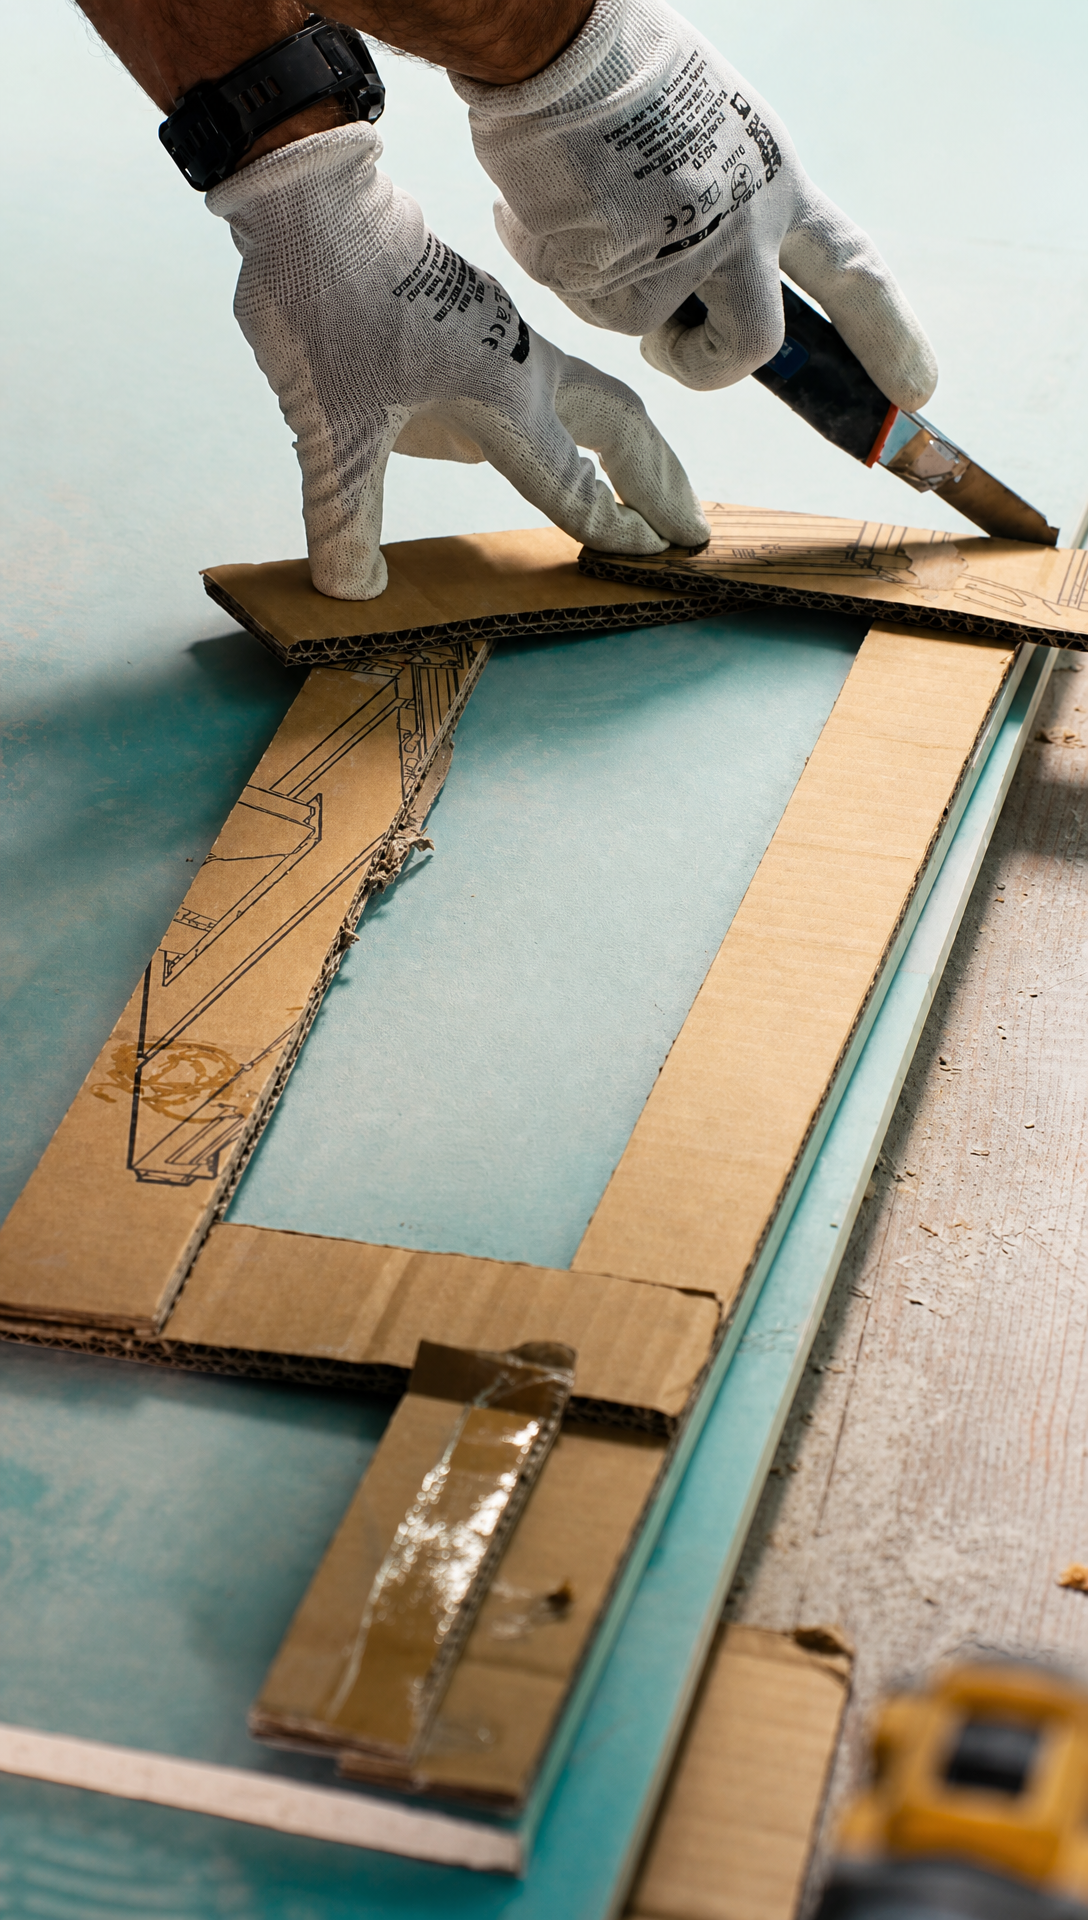 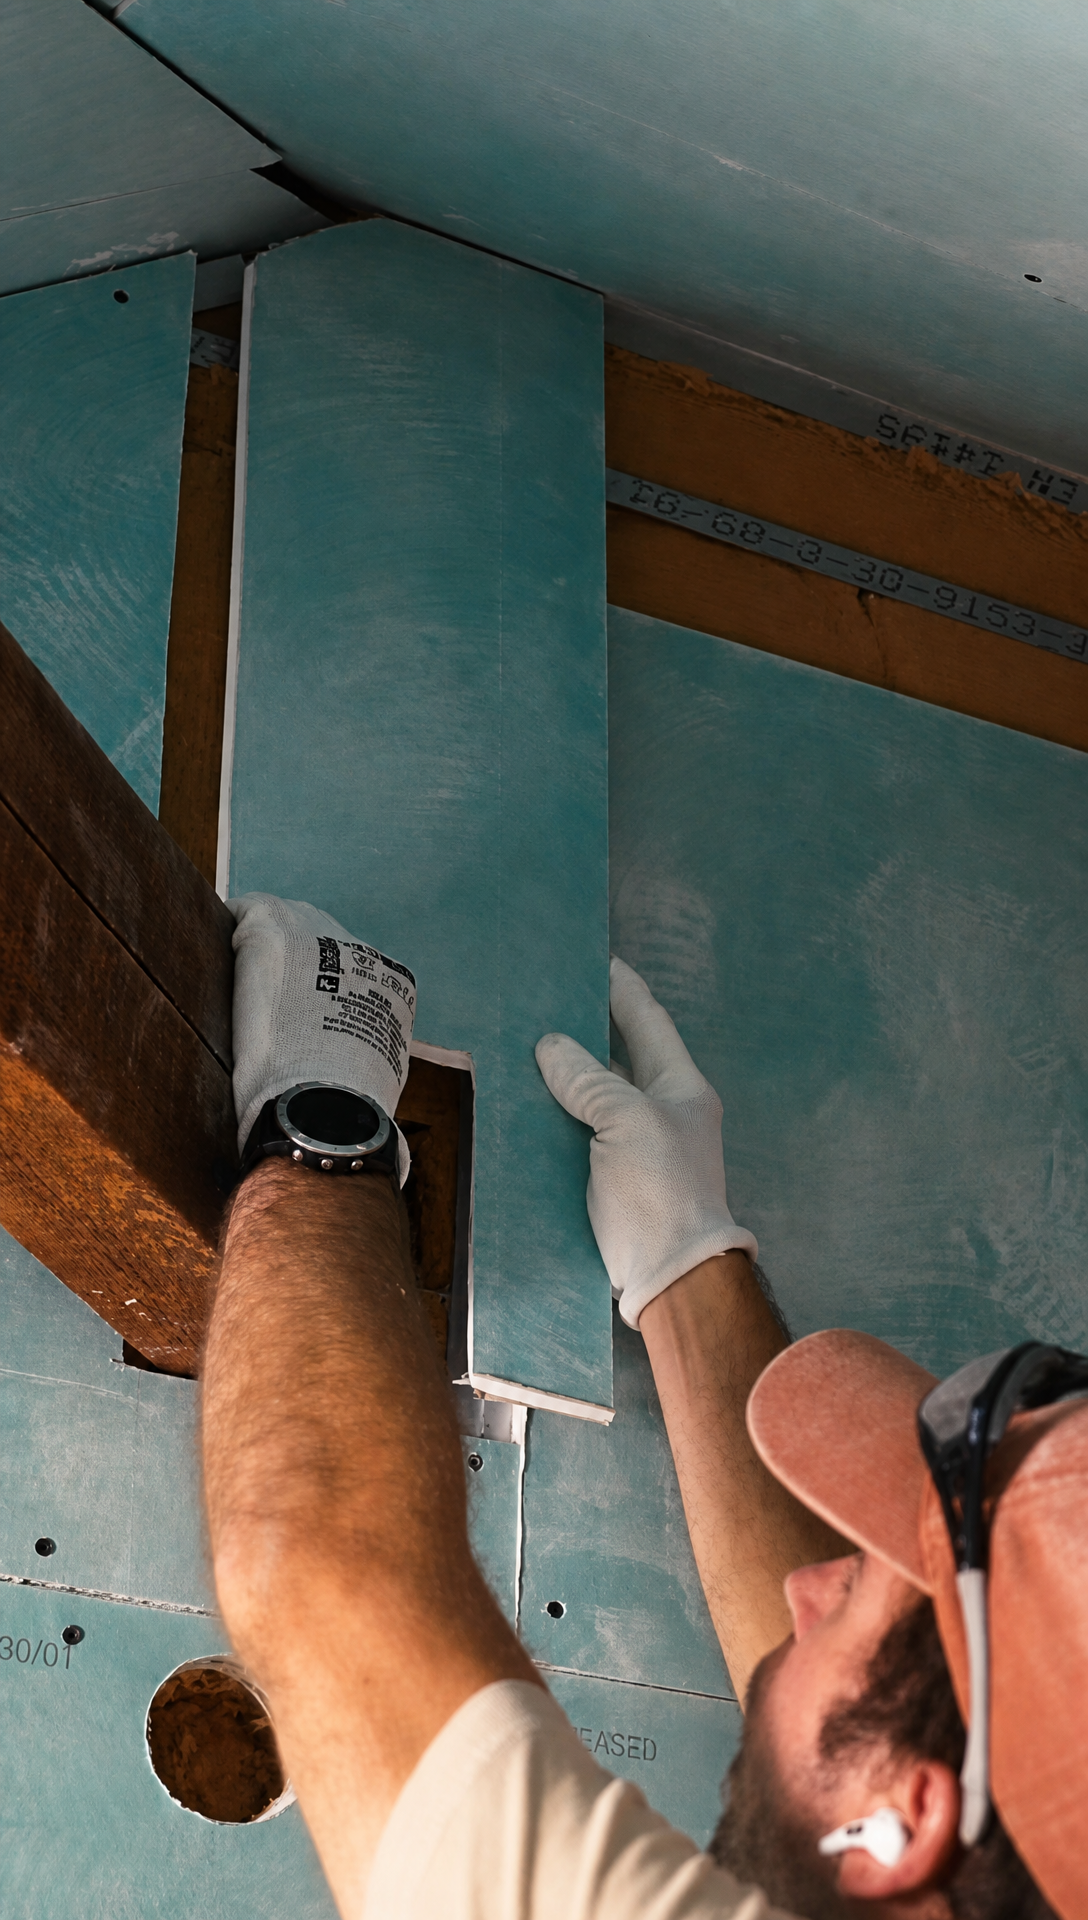 The Insulation MistakeI made an error with the internal walls, and it wasn't a small one. The metal rails in these walls leave a gap of 7cm. I ordered 8cm insulation, because we had 8cm left over from the roof and I'd been told it would compress a bit. A tighter fit and better soundproofing, I thought. On the outer walls that works. There's only one layer of plasterboard in front, so the insulation can bulge backwards. An internal wall has a board on both sides. With the first side on, the insulation has nowhere to go but forwards, and when the second board goes over it, the board bends. You end up with a wall that goes in and out like a small wave. 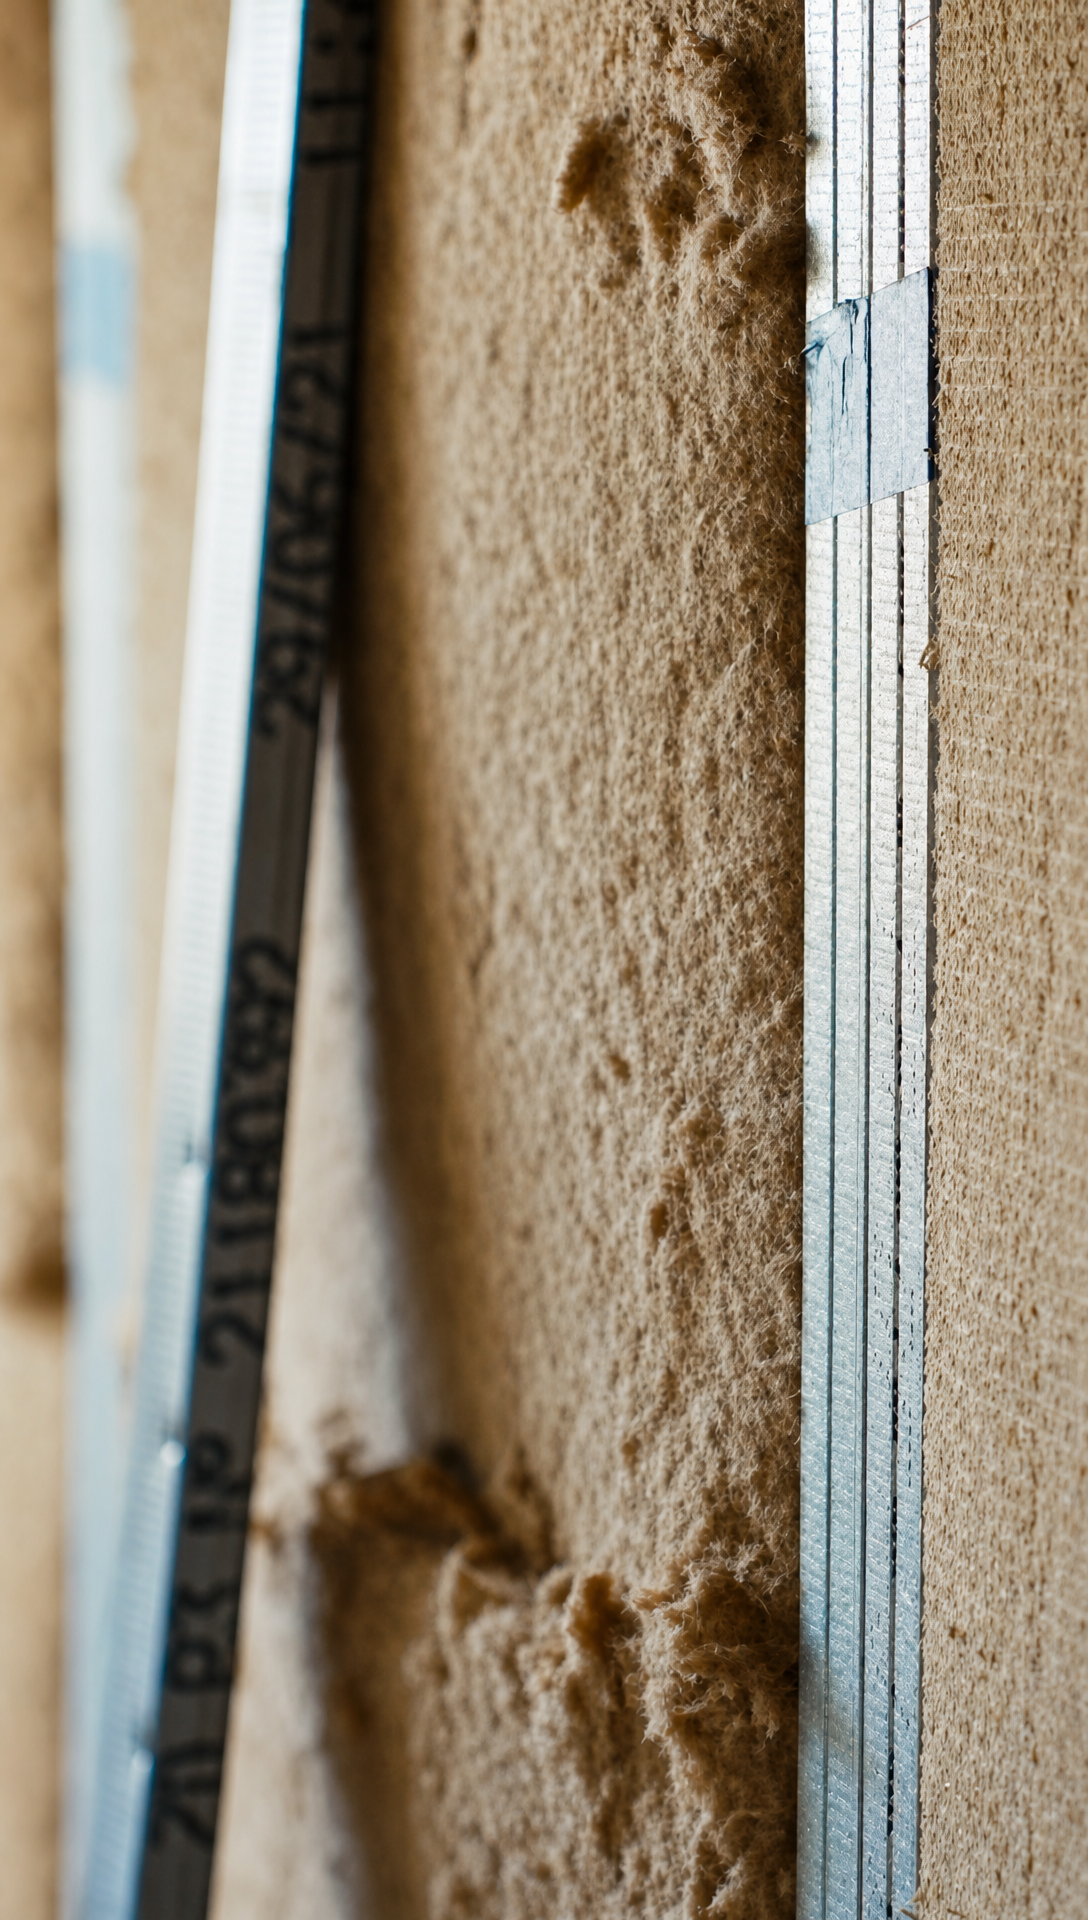 I'm not ripping the insulation out and putting it back in. That would cost too much money, too much time and what's left of my mental health. The way round it is a shim, or a cale as they're called in French. I'm running strips of leftover plasterboard down every rail, then fixing the full boards on top of those. That gives an extra centimetre between the rail and the board, which is enough room for the insulation. 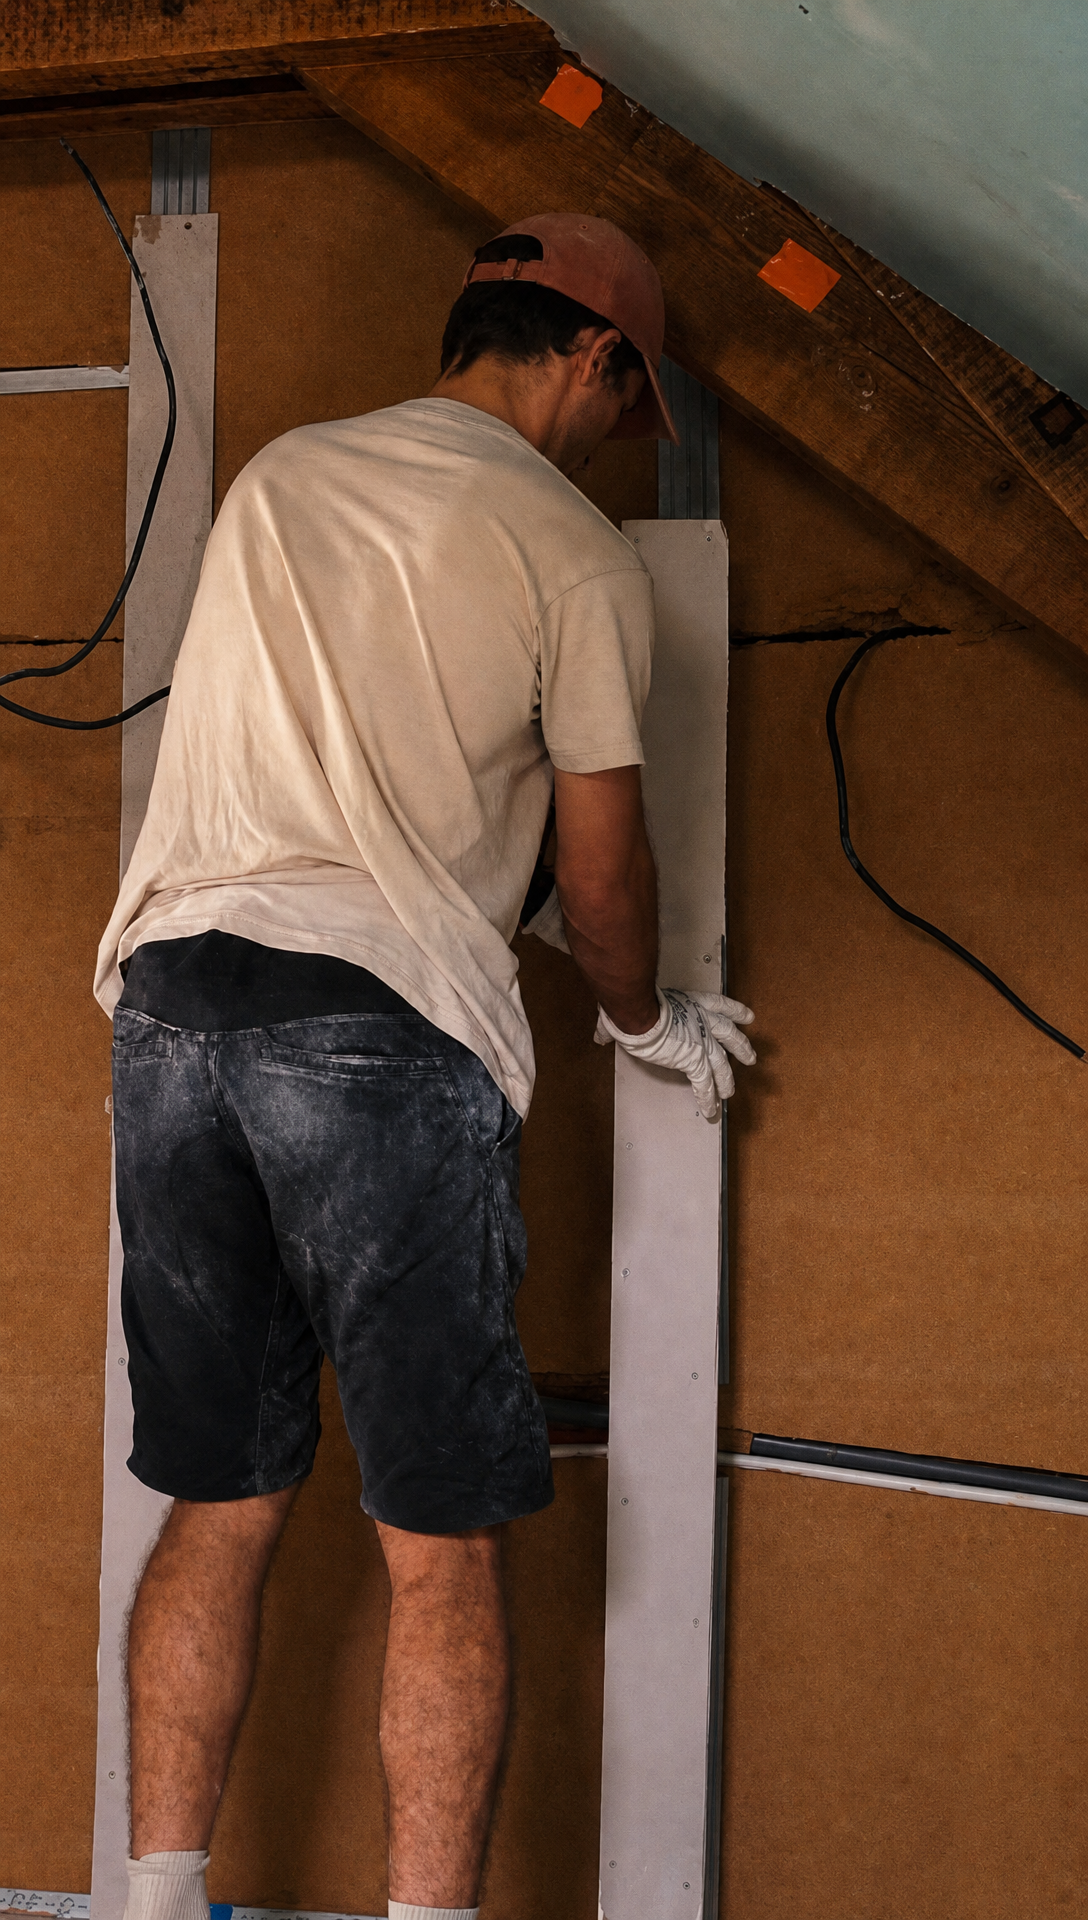 It's frustrating and it adds time. I have done pretty much everything wrong that you could do wrong with this attic, so if you're planning internal walls of your own, check your insulation against your rails before you order. I should have. Plasterboarding Over A StaircaseThe walls over the stairs were the next problem. Taking the old plasterboard off them was easy, because we could knock it down. Putting new boards up means getting to the top of a wall with a stairwell underneath it. From the steps I can't reach, and a ladder on the stairs is far too dangerous. I don't own one made for stairs anyway. 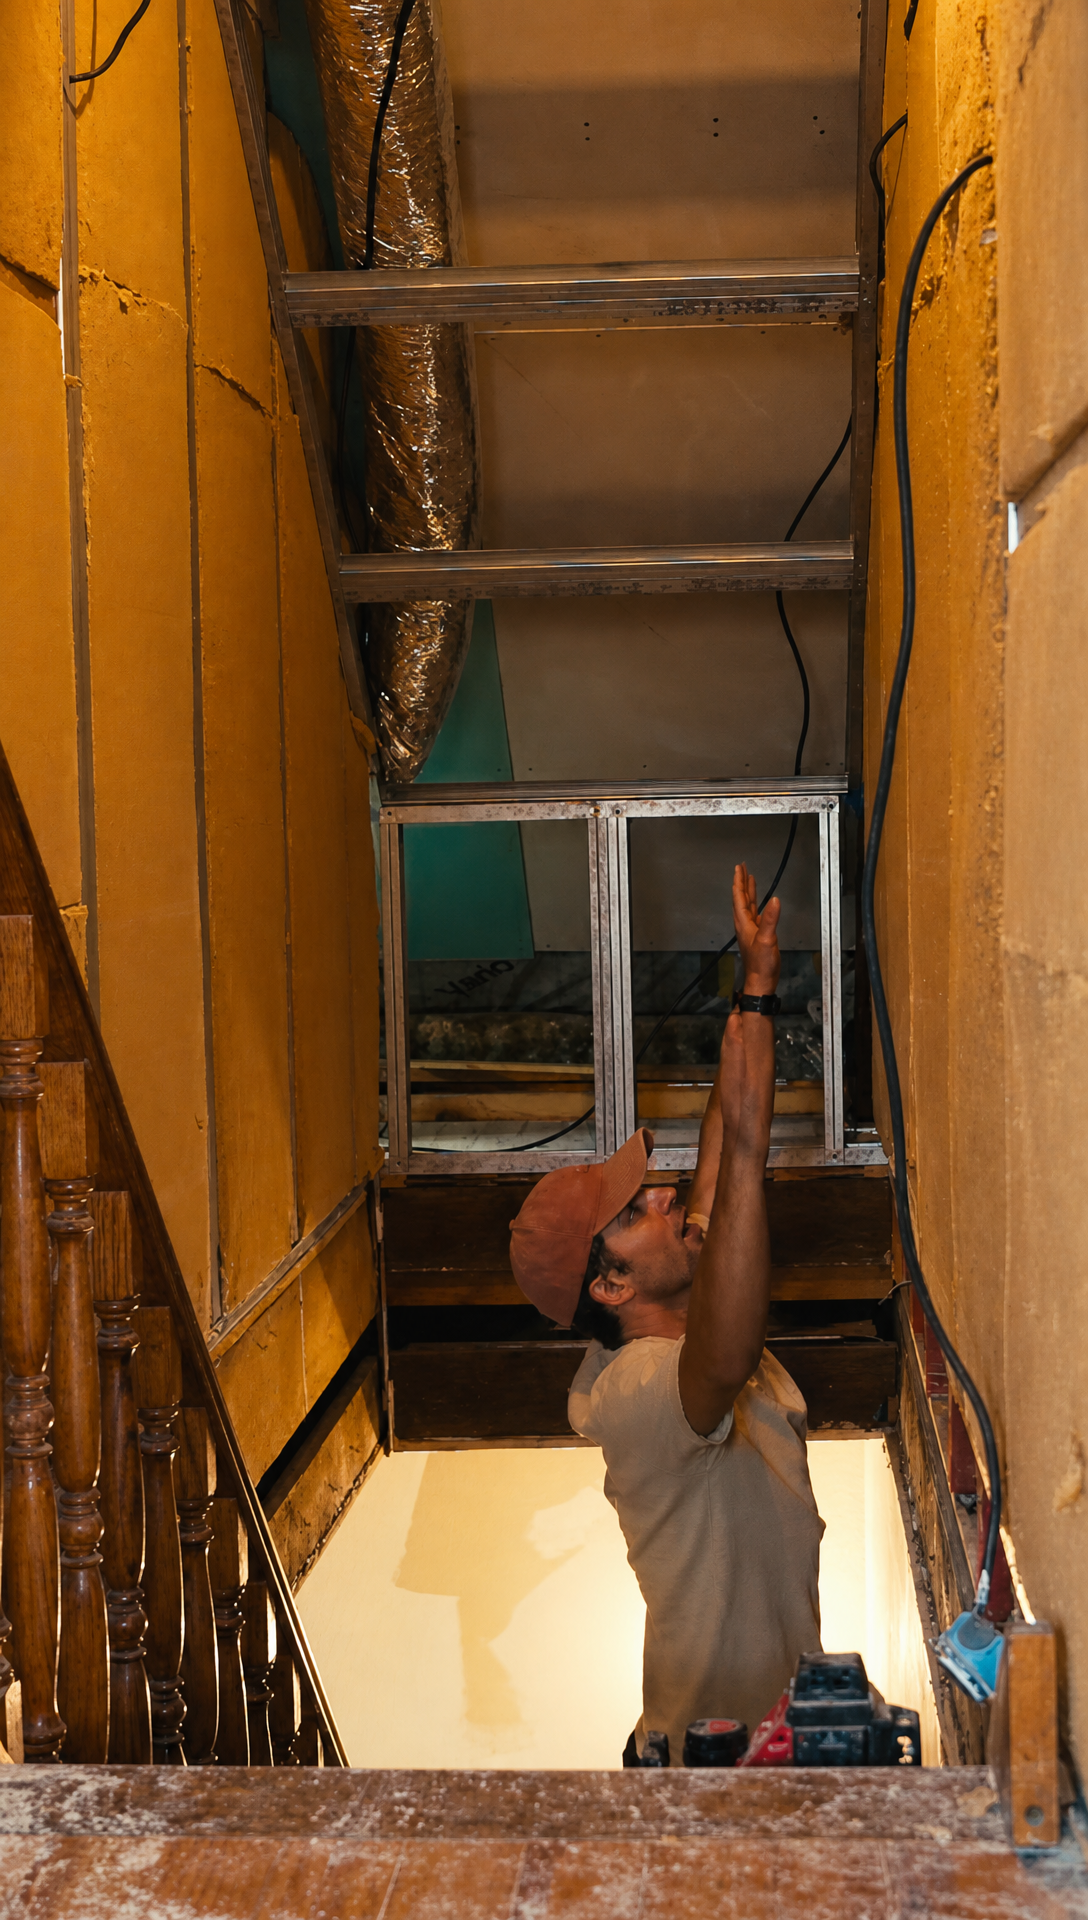 So I built a wooden platform across the stairwell, something we can lift out and put back as we need it. I had no real plan and made it up as I went, which is exactly how you want to approach working above a drop you could break your neck in. 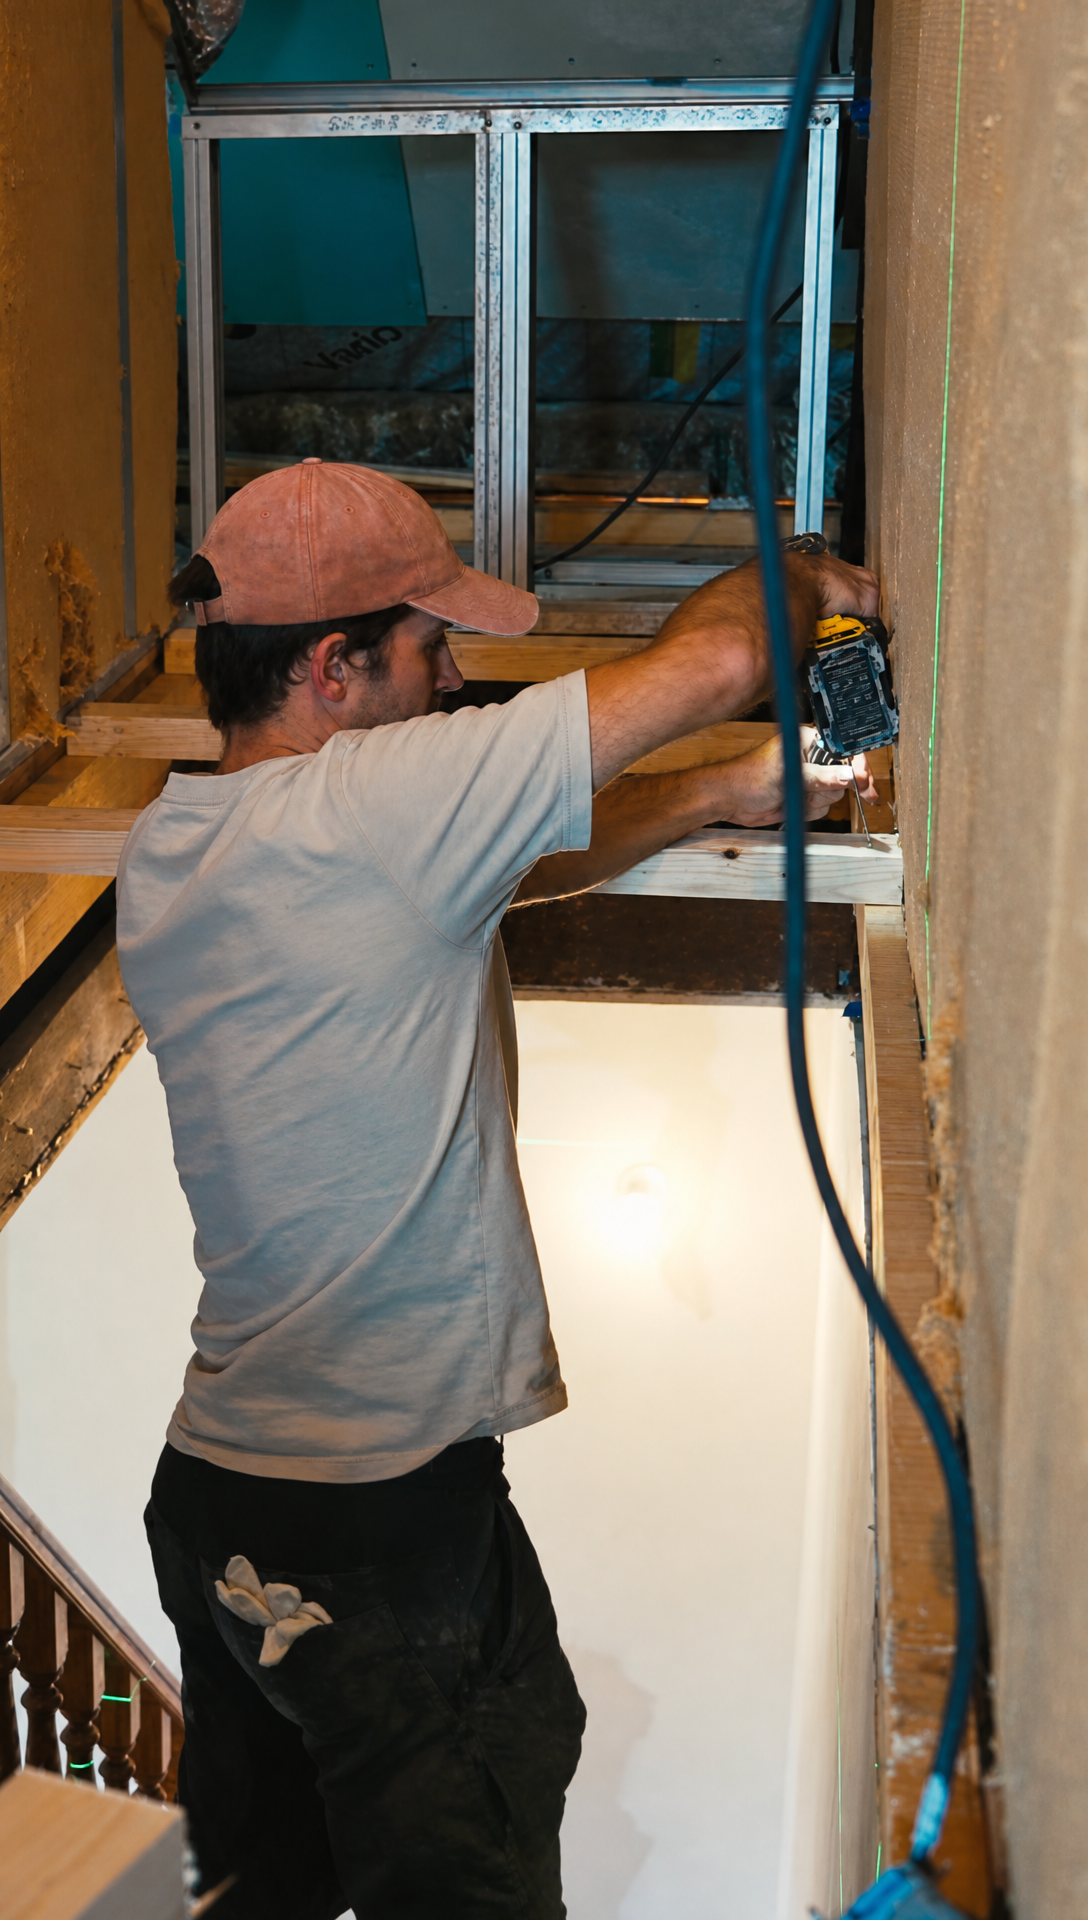  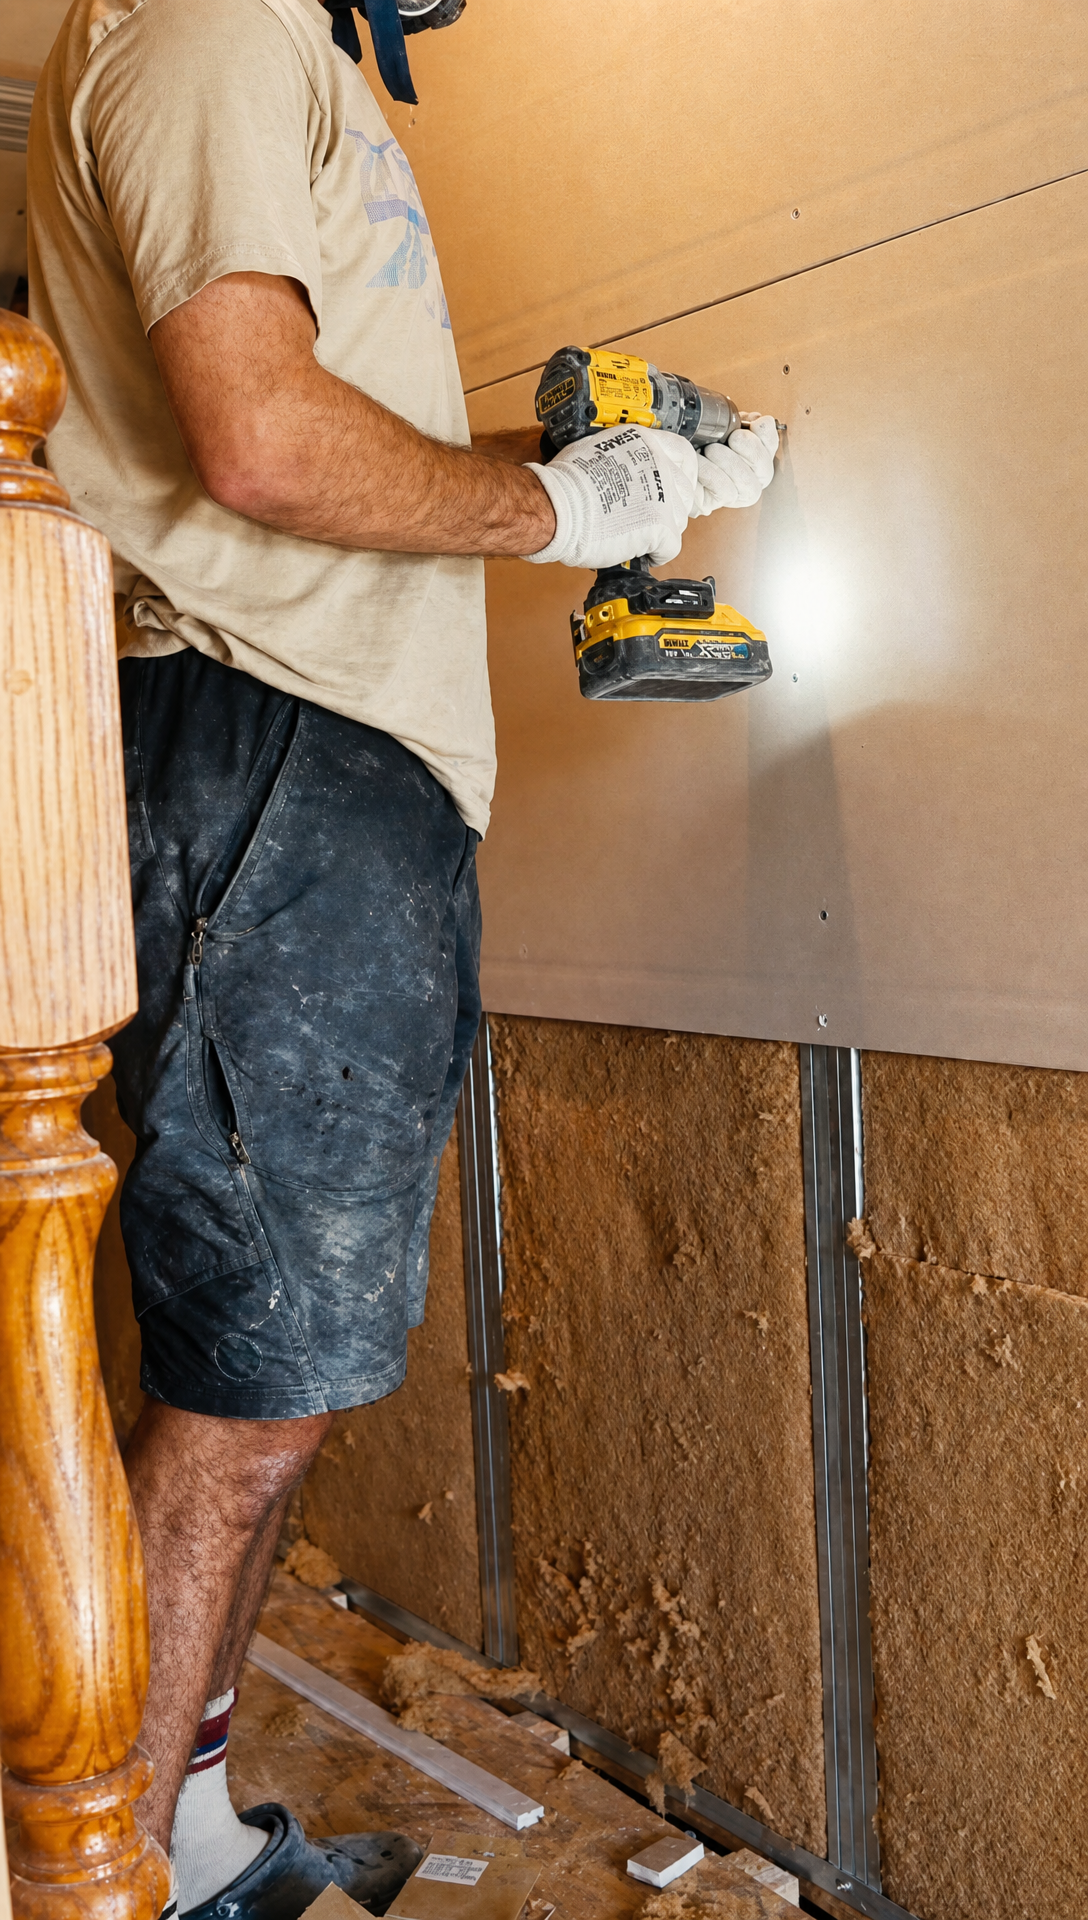 A Saturday In The HallwayThen the aircon installers came and fitted the system, which cleared the way for the rest of the plasterboard. 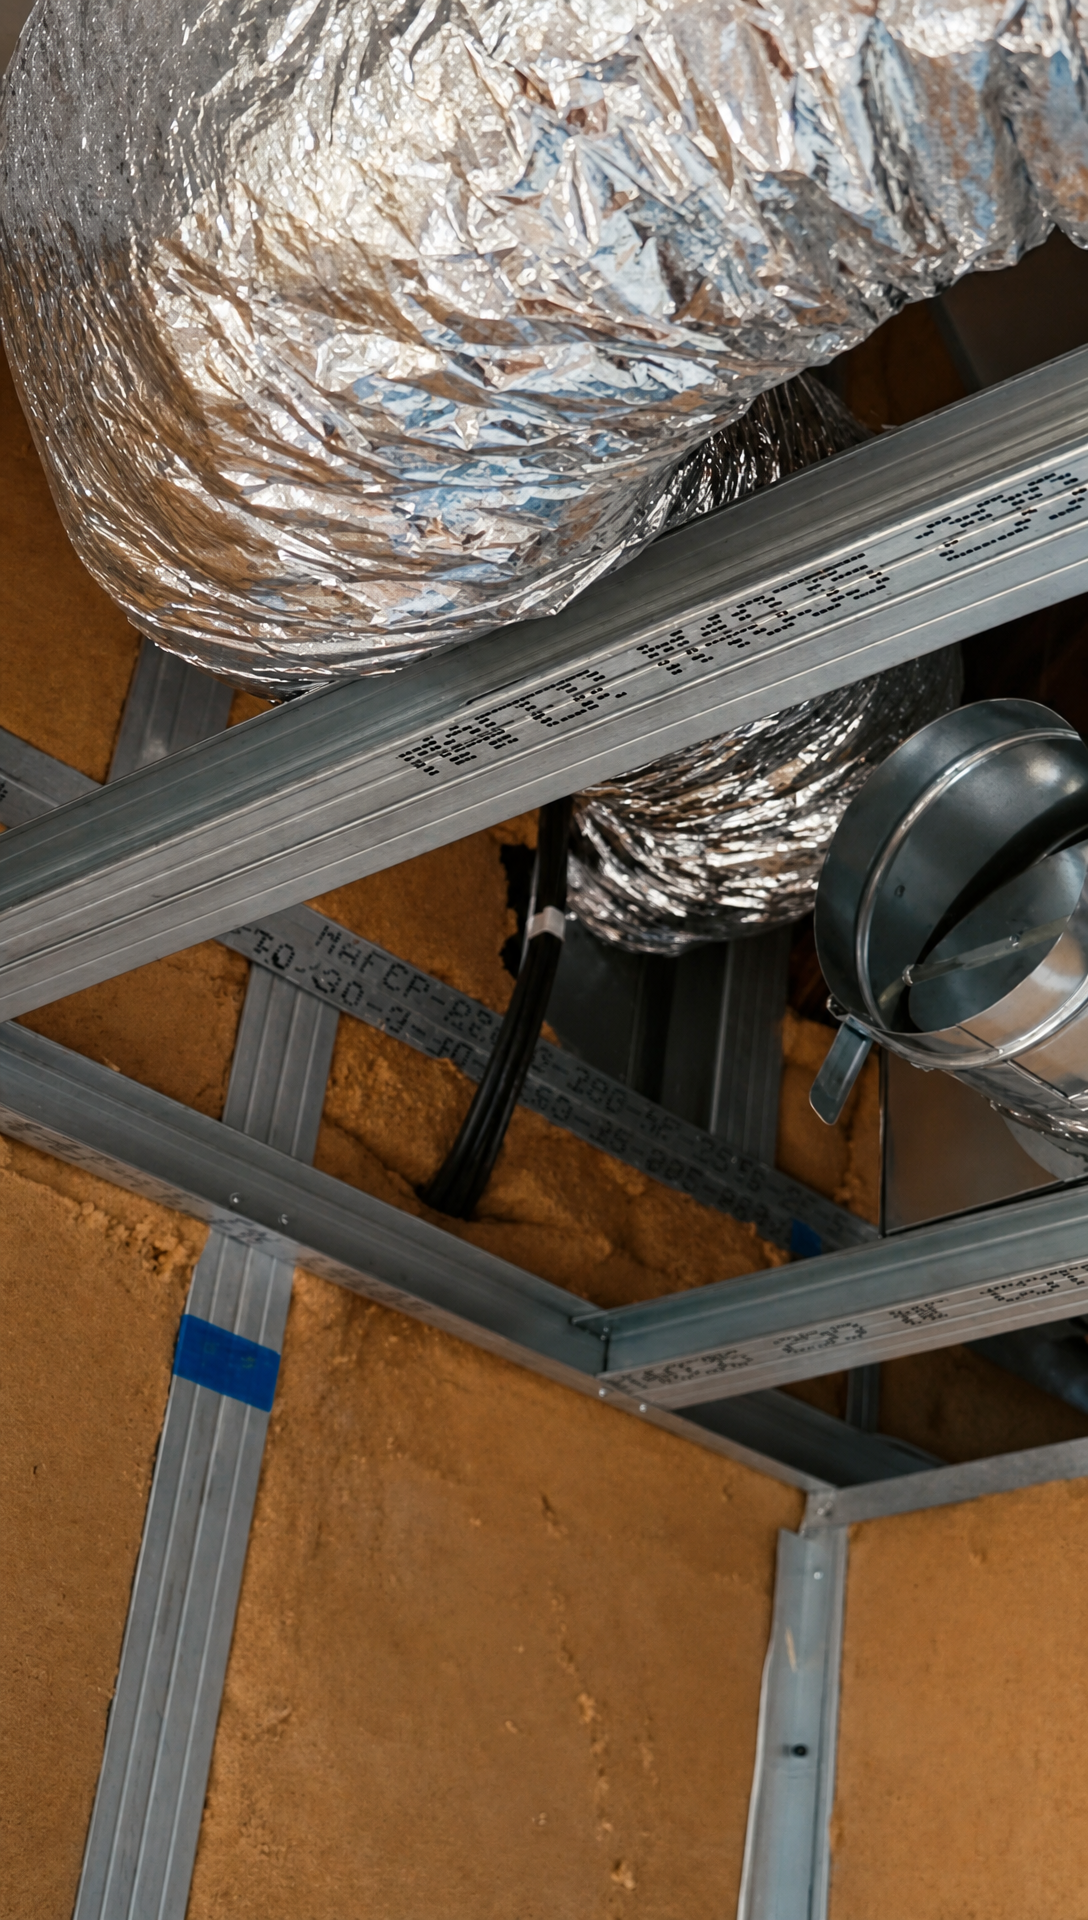 Romy joined me for a Saturday of it. Finishing the whole attic in a day was never going to happen, so the aim was the hallway, working off the platform so that we could stop banging our heads on the woodwork. There was some doubt about whether even that was possible, given that one section had already taken a whole day on its own. I was more hopeful, since I've had a bit of practice now. 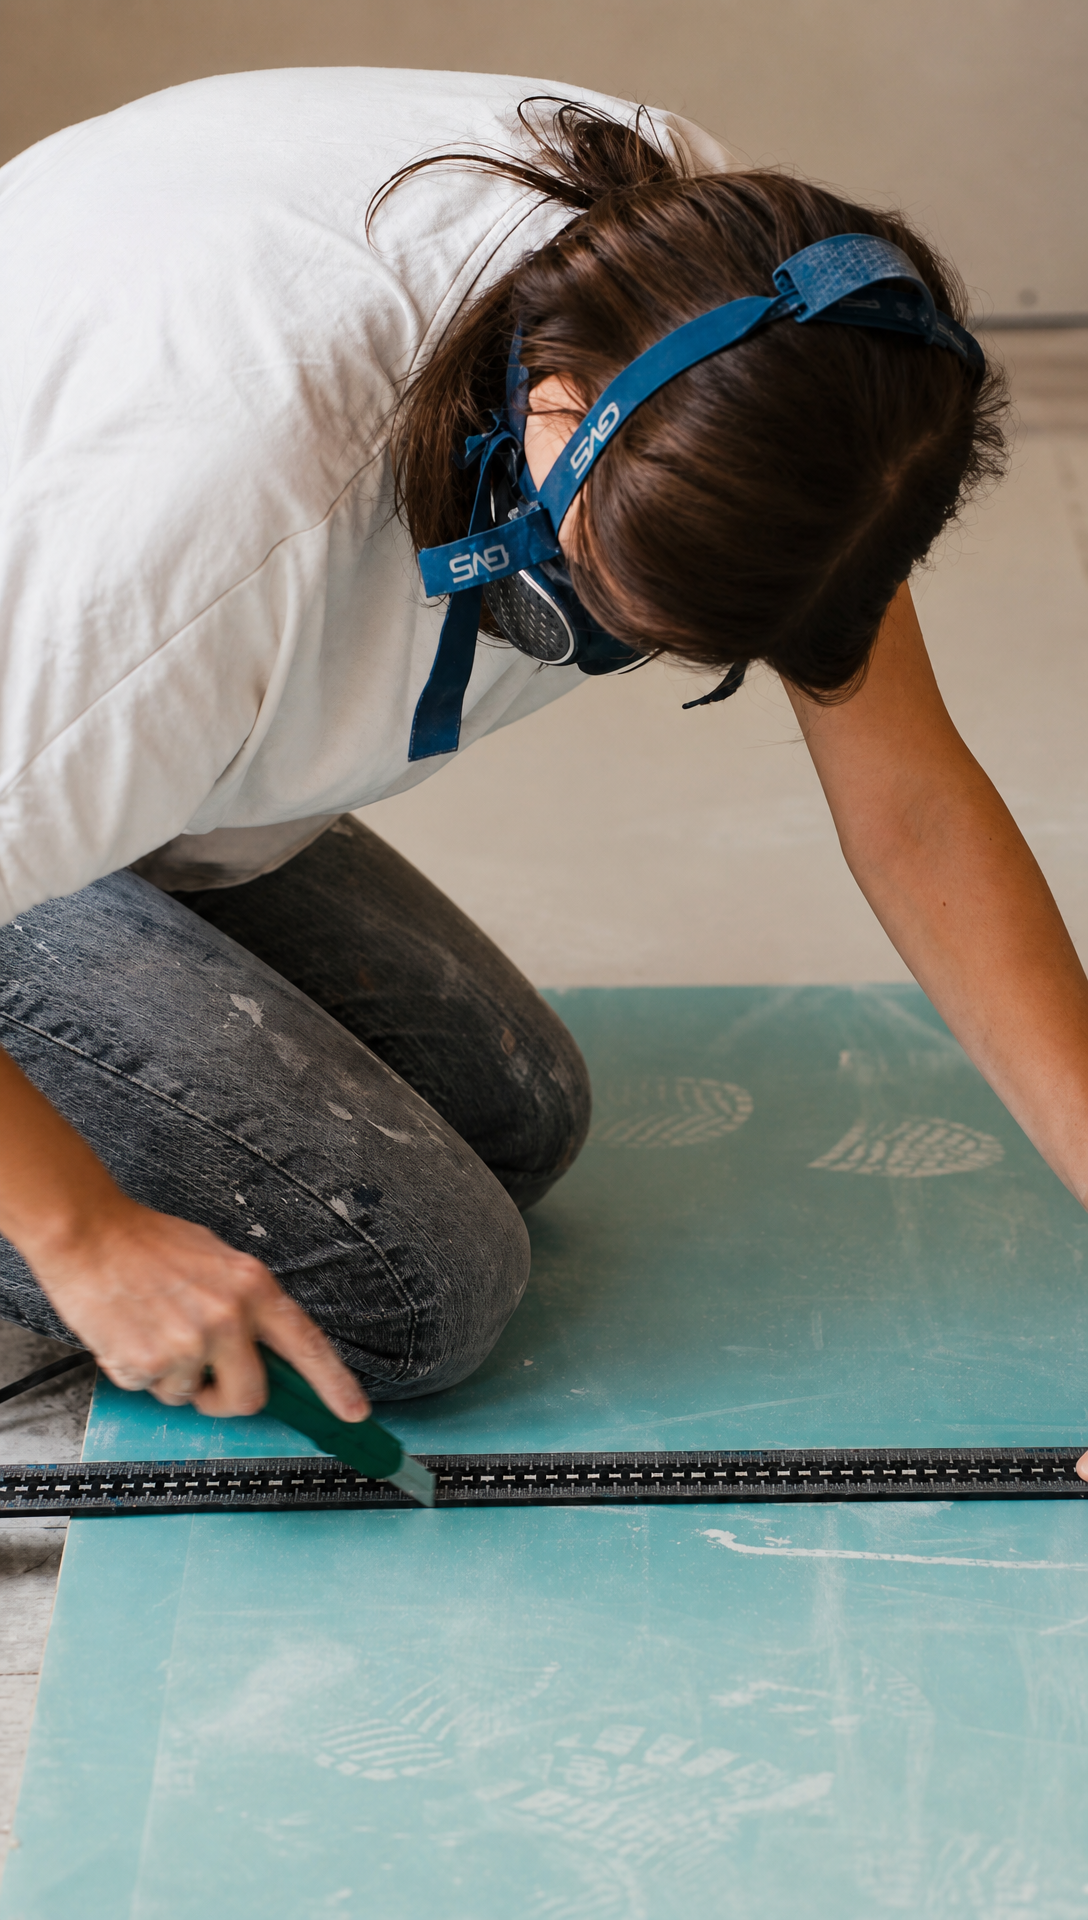 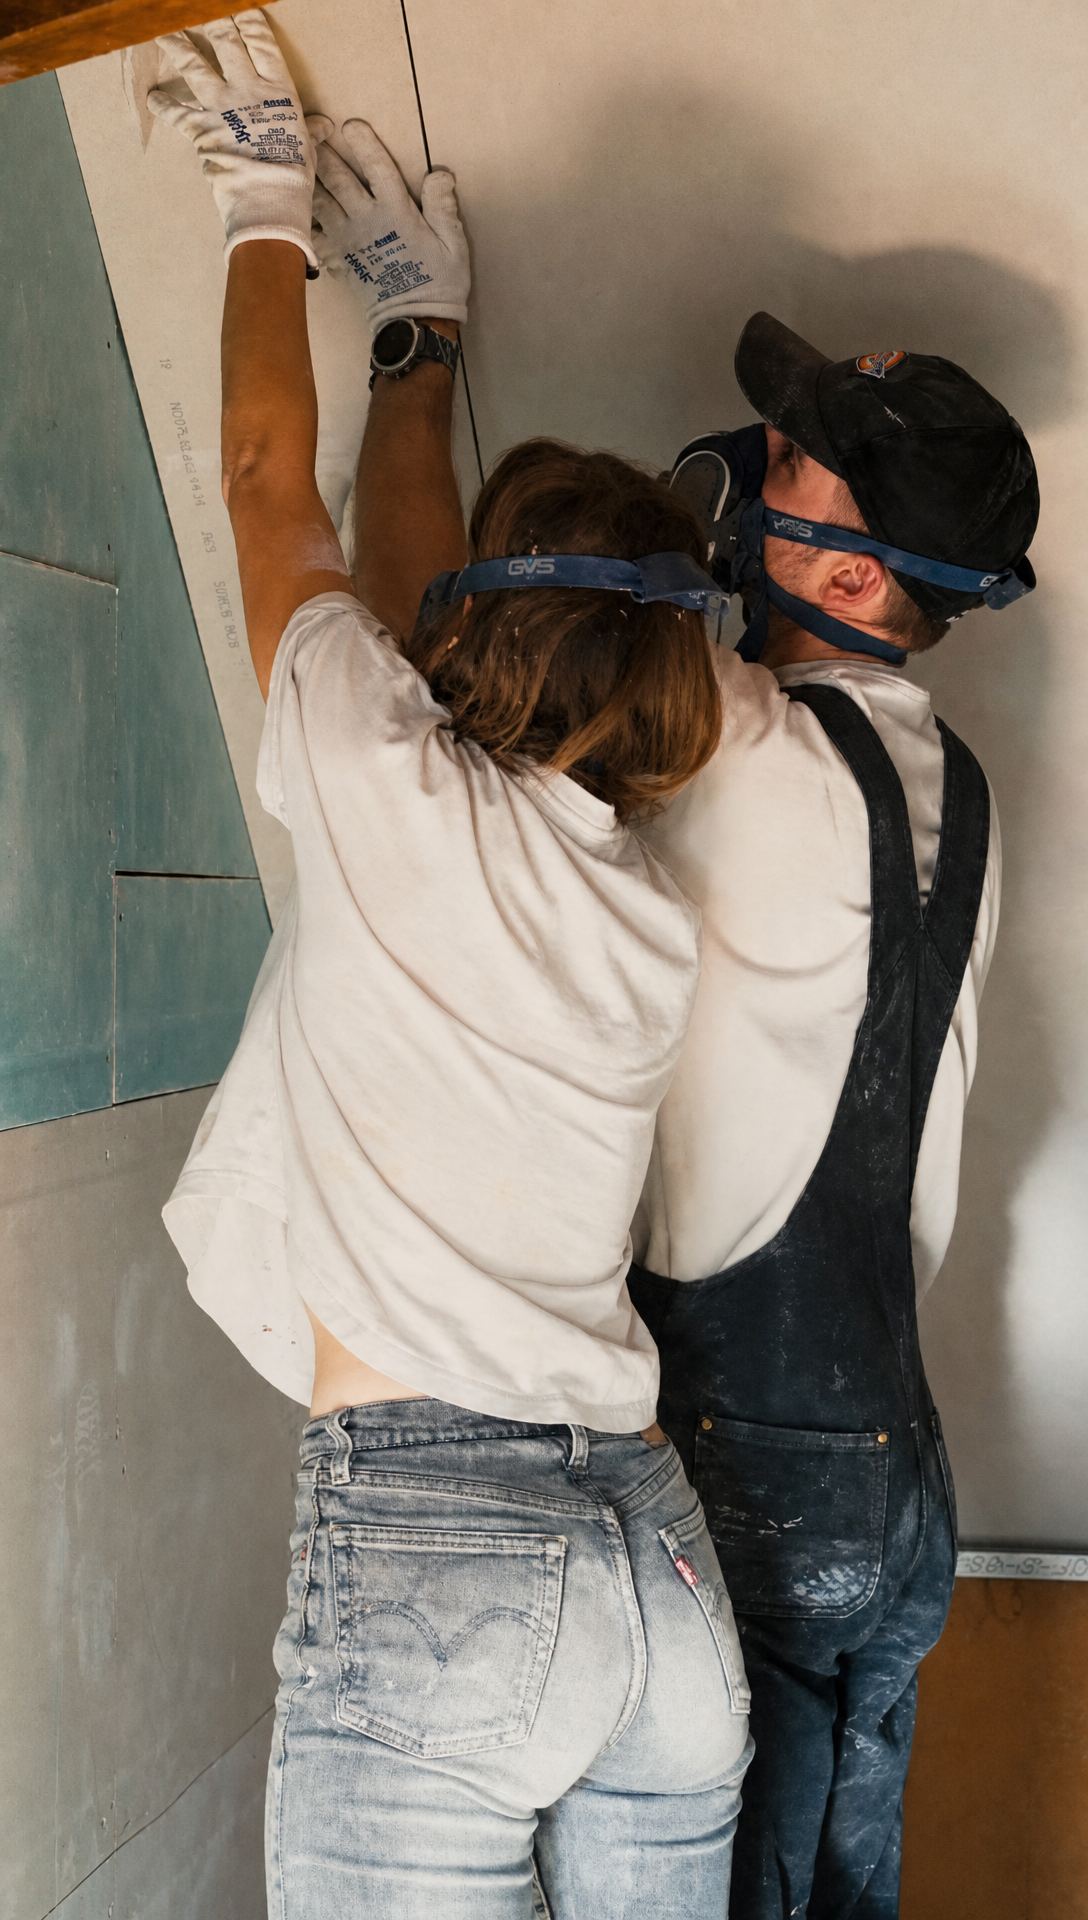 Then came the tidy up, which with plasterboard is a job in itself. 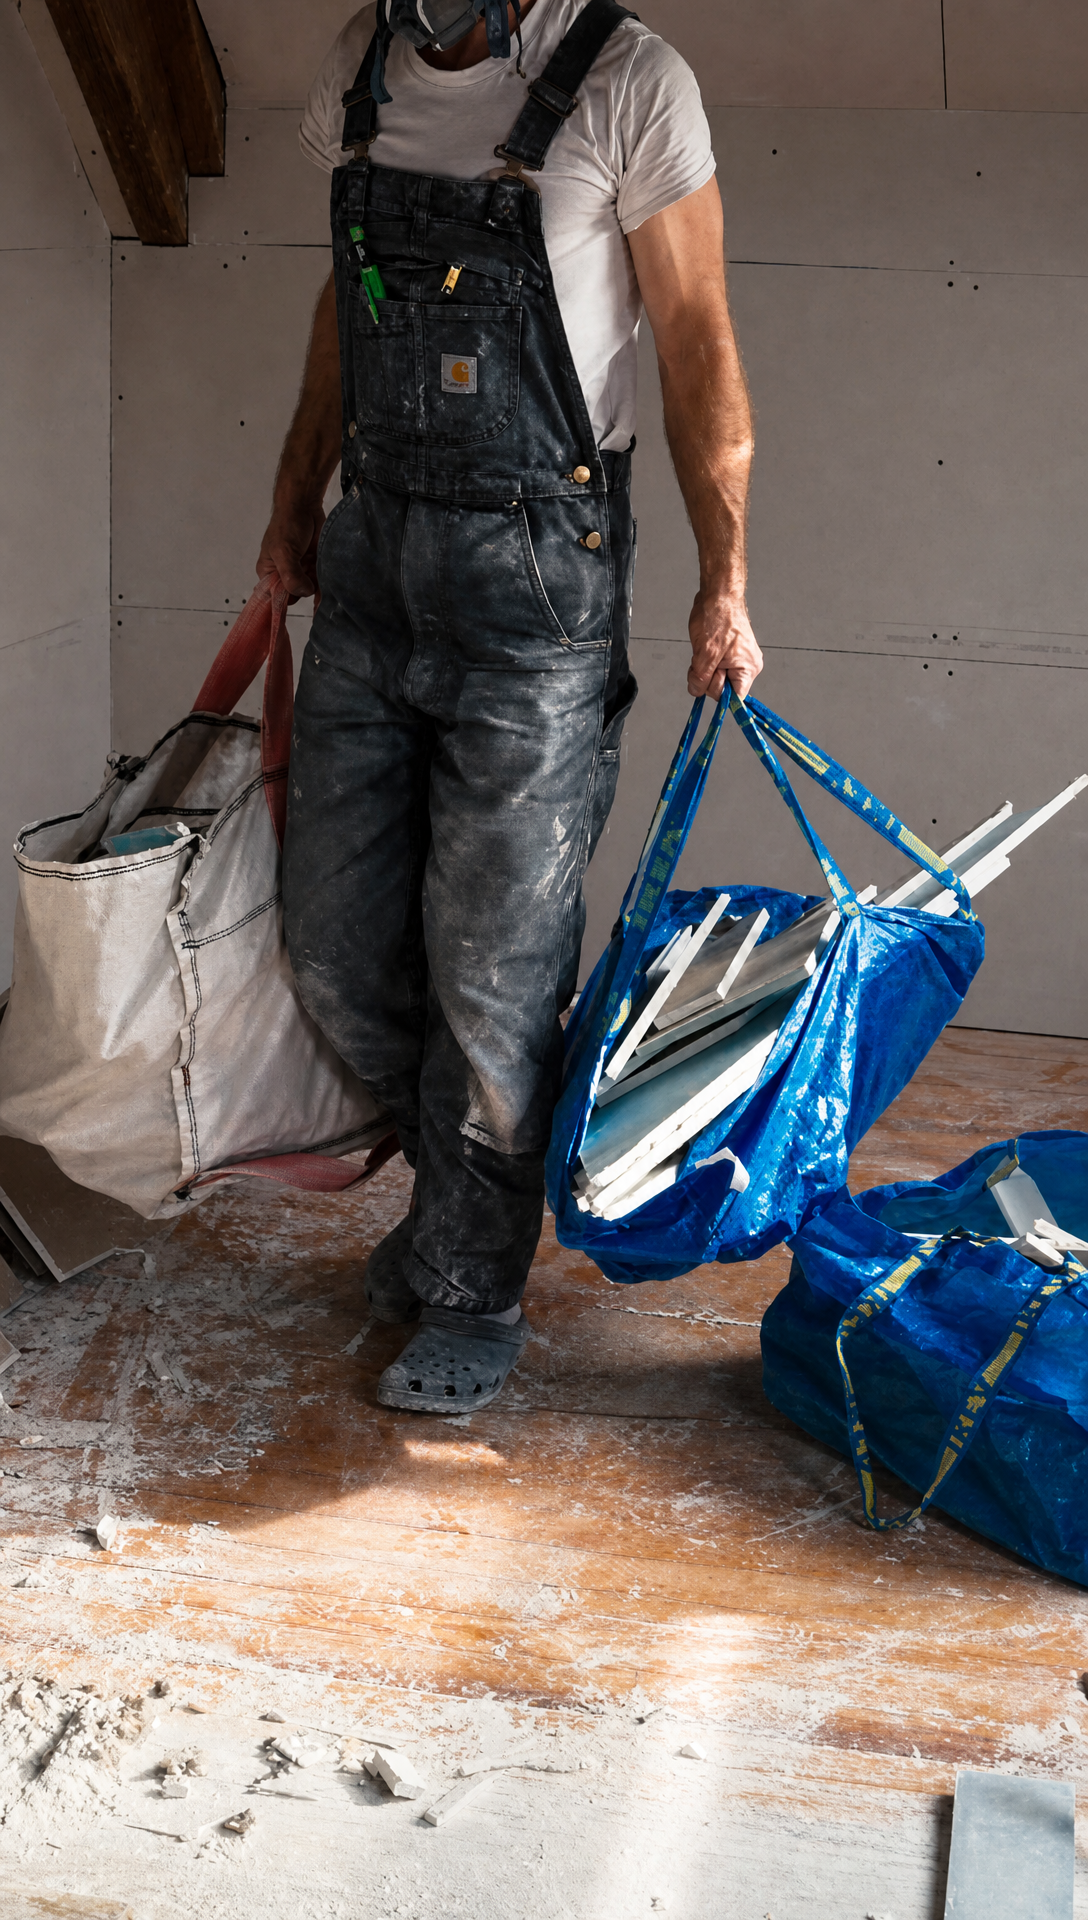 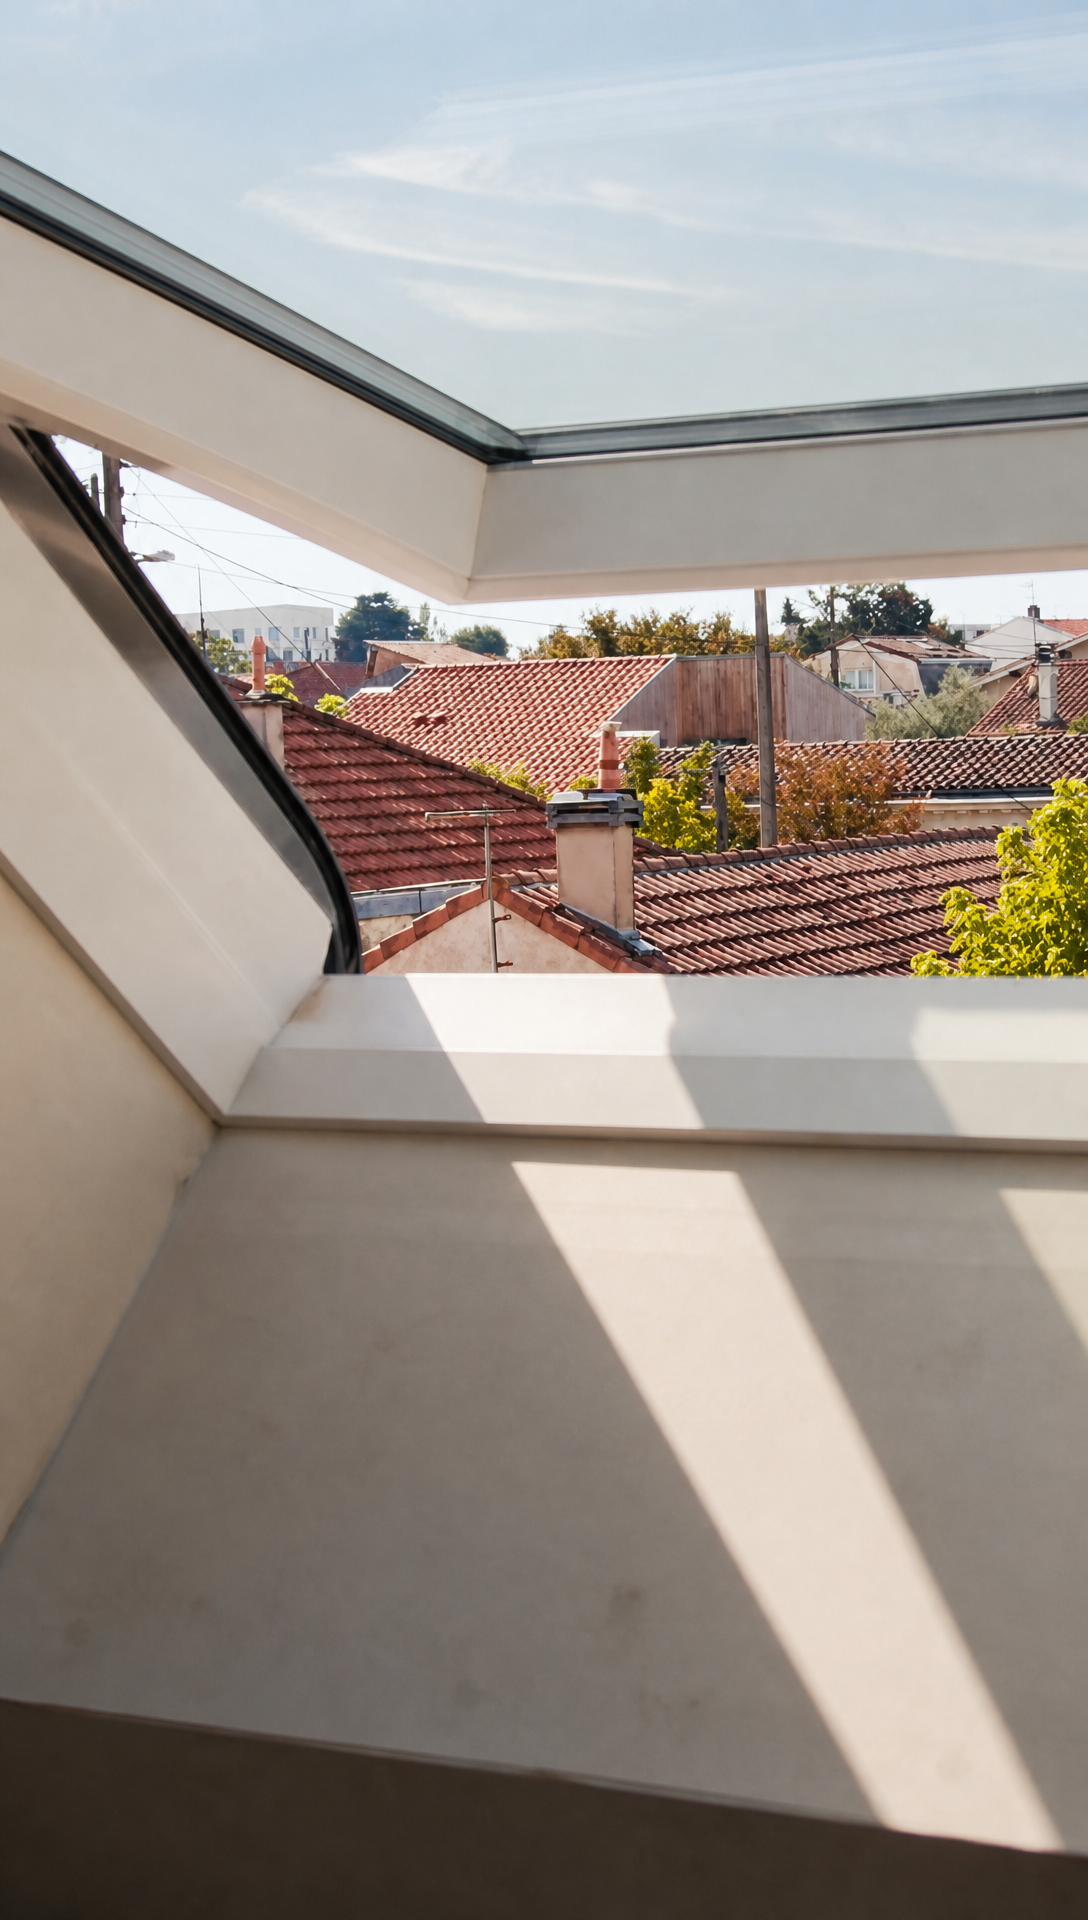 There's a small bit left to board once the aircon is all connected, but otherwise the plasterboarding is done and the rooms up here have walls. You can watch it all go up in the video at the top of the page. If you've ever plasterboarded over a staircase without building something questionable to stand on, tell me how in the comments. |
Restoring la Chartreuse
Follow along as we renovate a 200 year old townhouse in the French South West.
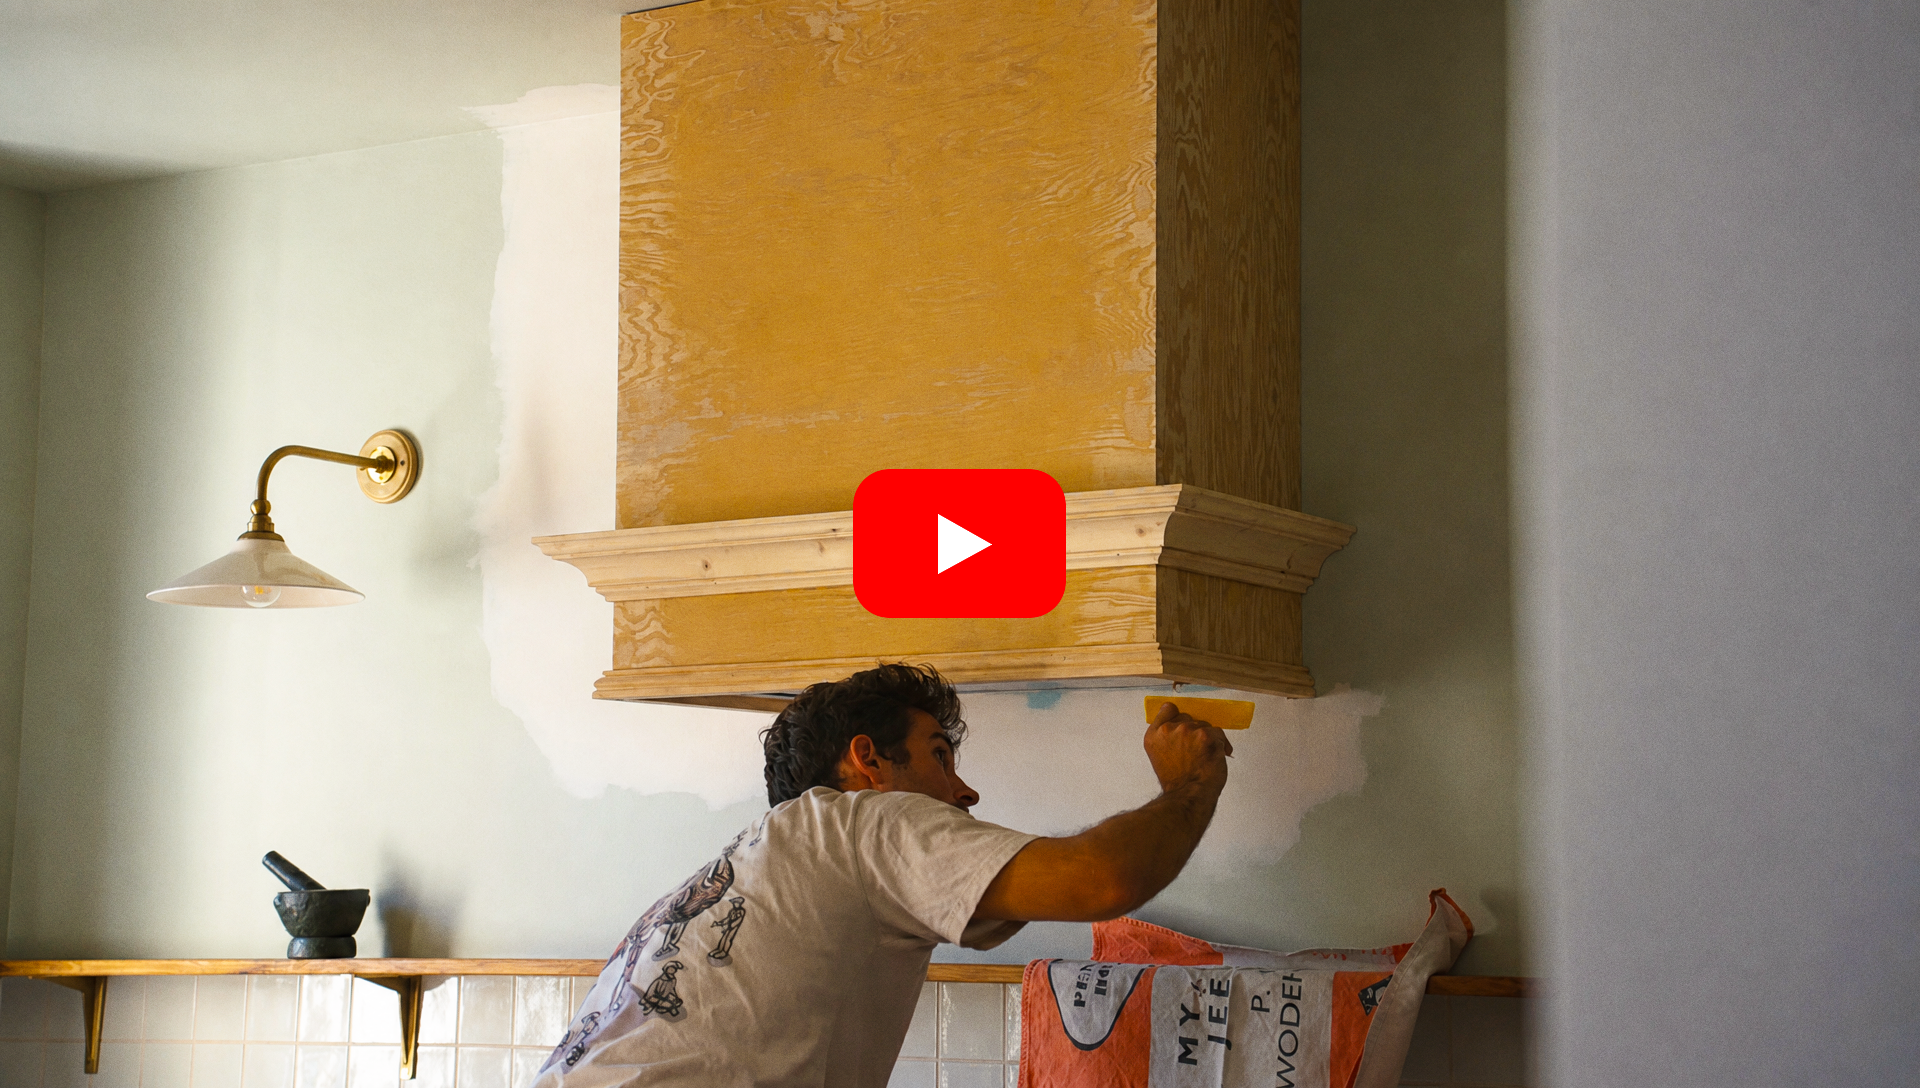
Our French Kitchen Is Finally Finished Watch the video on YouTube Last episode ended with a plywood box above the stove and a set of mouldings that hadn't turned up. They have now. It took a while, because France shuts down in August and nothing moves until September, but the mouldings are here, the hood is finished and painted, and for the first time since we moved in the kitchen is complete. Give or take a few sockets. There's a lot else in this one. The pantry design is settled after...
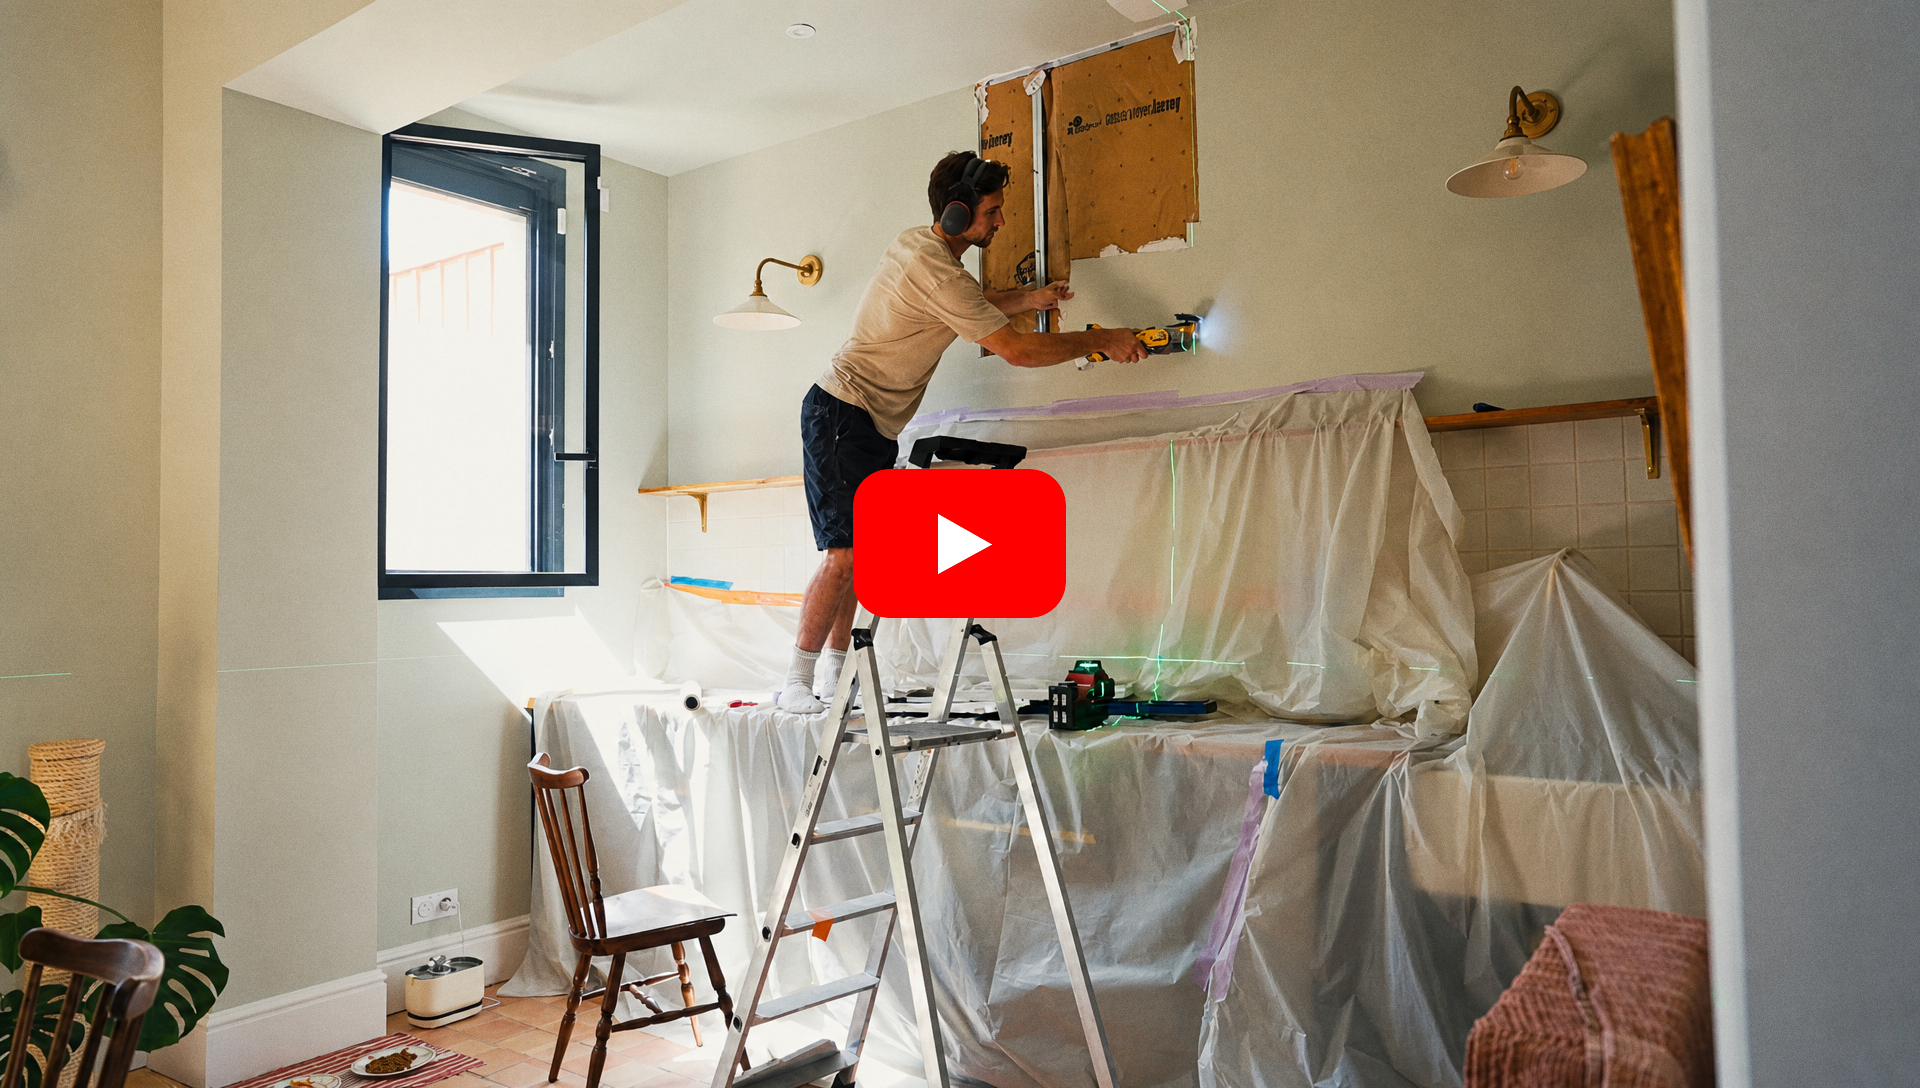
A Custom Range Hood For Our French Kitchen Watch the video on YouTube Last episode we handed you two design decisions for the kitchen, and you did not hold back. The comments poured in, and we read every single one of them. Thoughtful ideas, strong opinions, warnings from people who have lived with pantries far longer than we have. Thank you. This episode is what happened when we took it all on board: a reworked pantry design, a verdict on the hood colour, and the start of the build. You...
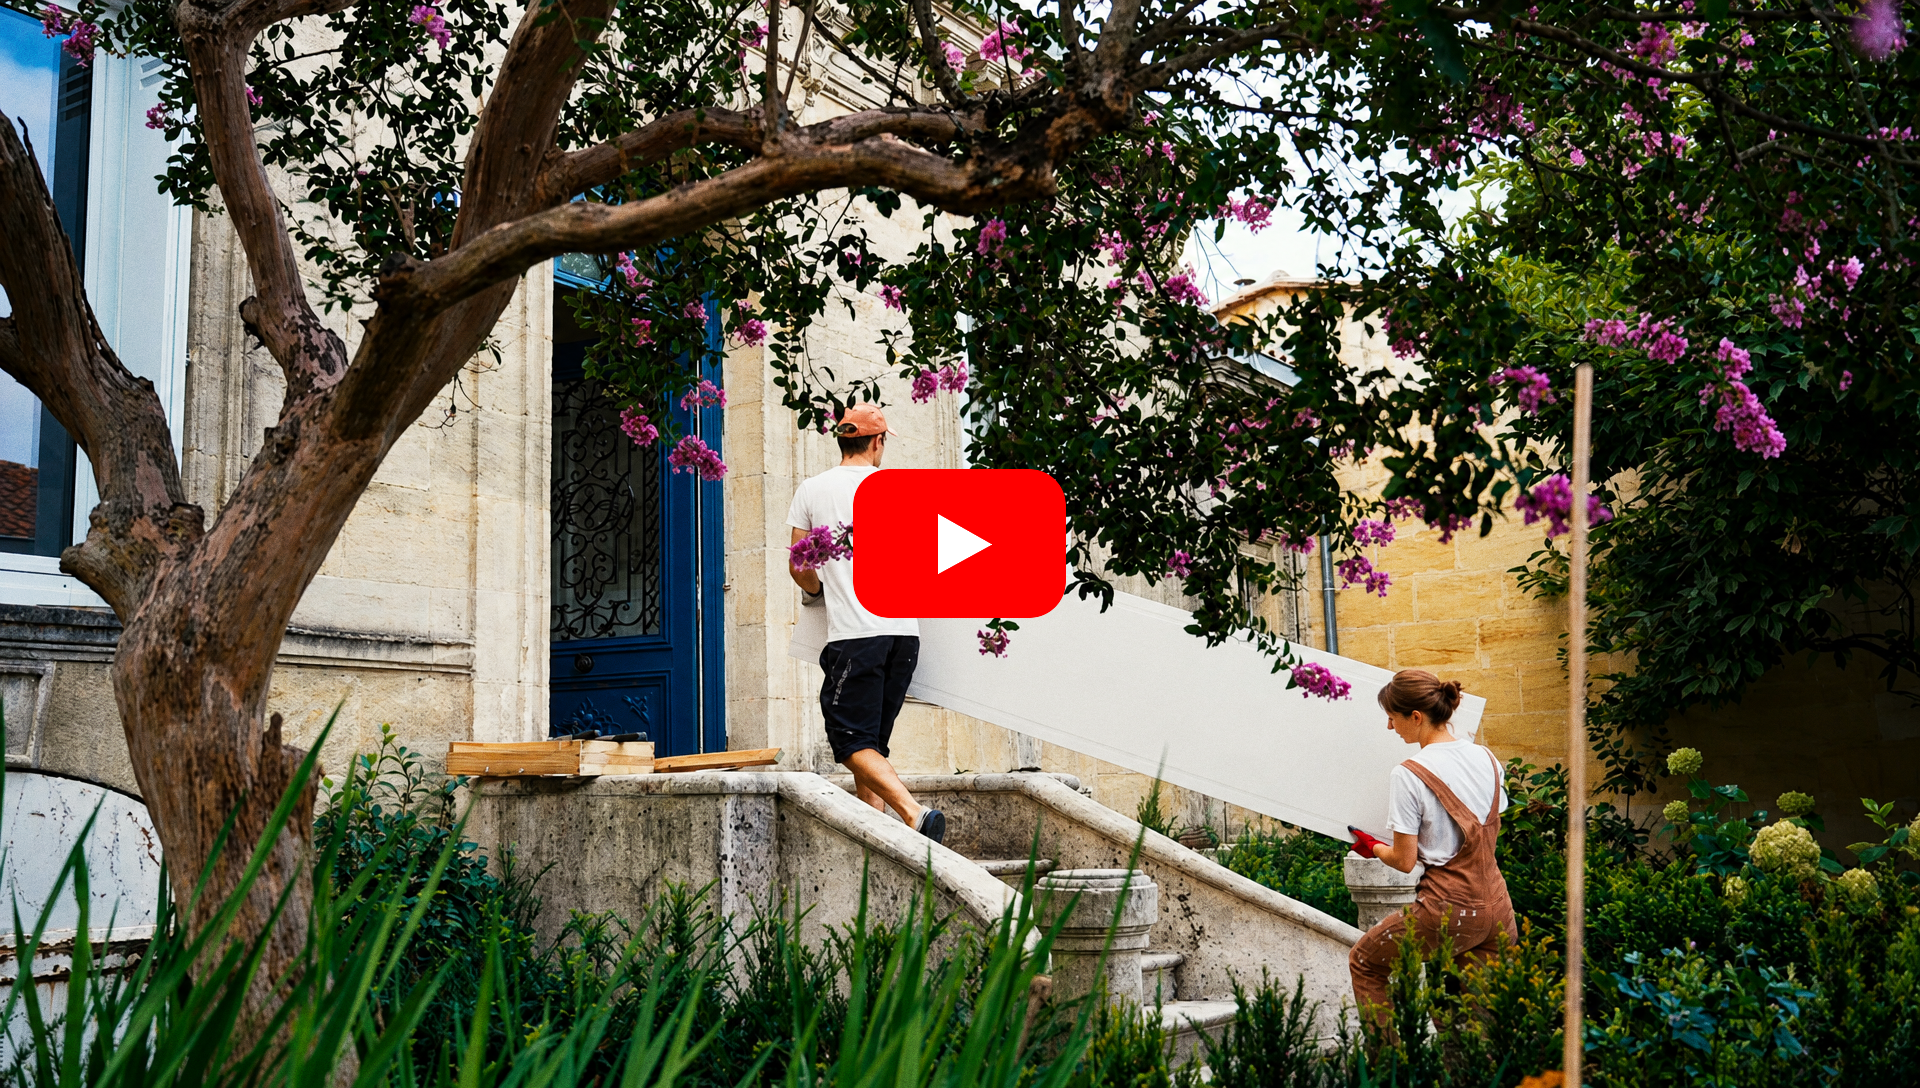
A New Project For Our French Kitchen Watch the video on YouTube First, a bit of housekeeping I forgot to mention in the last newsletter. I'm Hugo, Romy's husband, and I've taken over writing duties for these updates. The previous emails all came from Romy, but she's taking a break from writing for a while, so you're stuck with me. She's still all over the projects themselves, as this episode will prove. At the end of the last video I promised a new project downstairs. That was a slight...