Follow along as we renovate a 200 year old townhouse in the French South West.
A New Workshop And Autumn At Our French Home
A New Workshop And Autumn At Our French Home October in Bordeaux has been glorious. We've had blue skies, chilly mornings and that low golden sun that makes even a half finished house look like it belongs in a magazine. It's been a busy few weeks too. I've found a proper home for my cabinet making at last, the attic has come on leaps and bounds since my last update, and Romy has been out hunting at the brocantes and getting the front garden ready for winter. There's a lot to get through, so I'll start with the workshop.  Outgrowing The BasementRomy and I have always had jobs alongside the house and the channel. A little while ago I quit mine in tech to retrain as a cabinet maker, which is very exciting and all very new to me. The plan was to start small, in the basement. If you're a regular, you'll know I've got a little woodworking corner down there, and it's served me well for the odd project around the house. Then I announced the business, and the client projects that came rolling in were far too big for it. The ceiling is low, there are only a couple of ways in and out, and there was no way a full set of kitchen cabinets was ever coming up out of there in one piece. 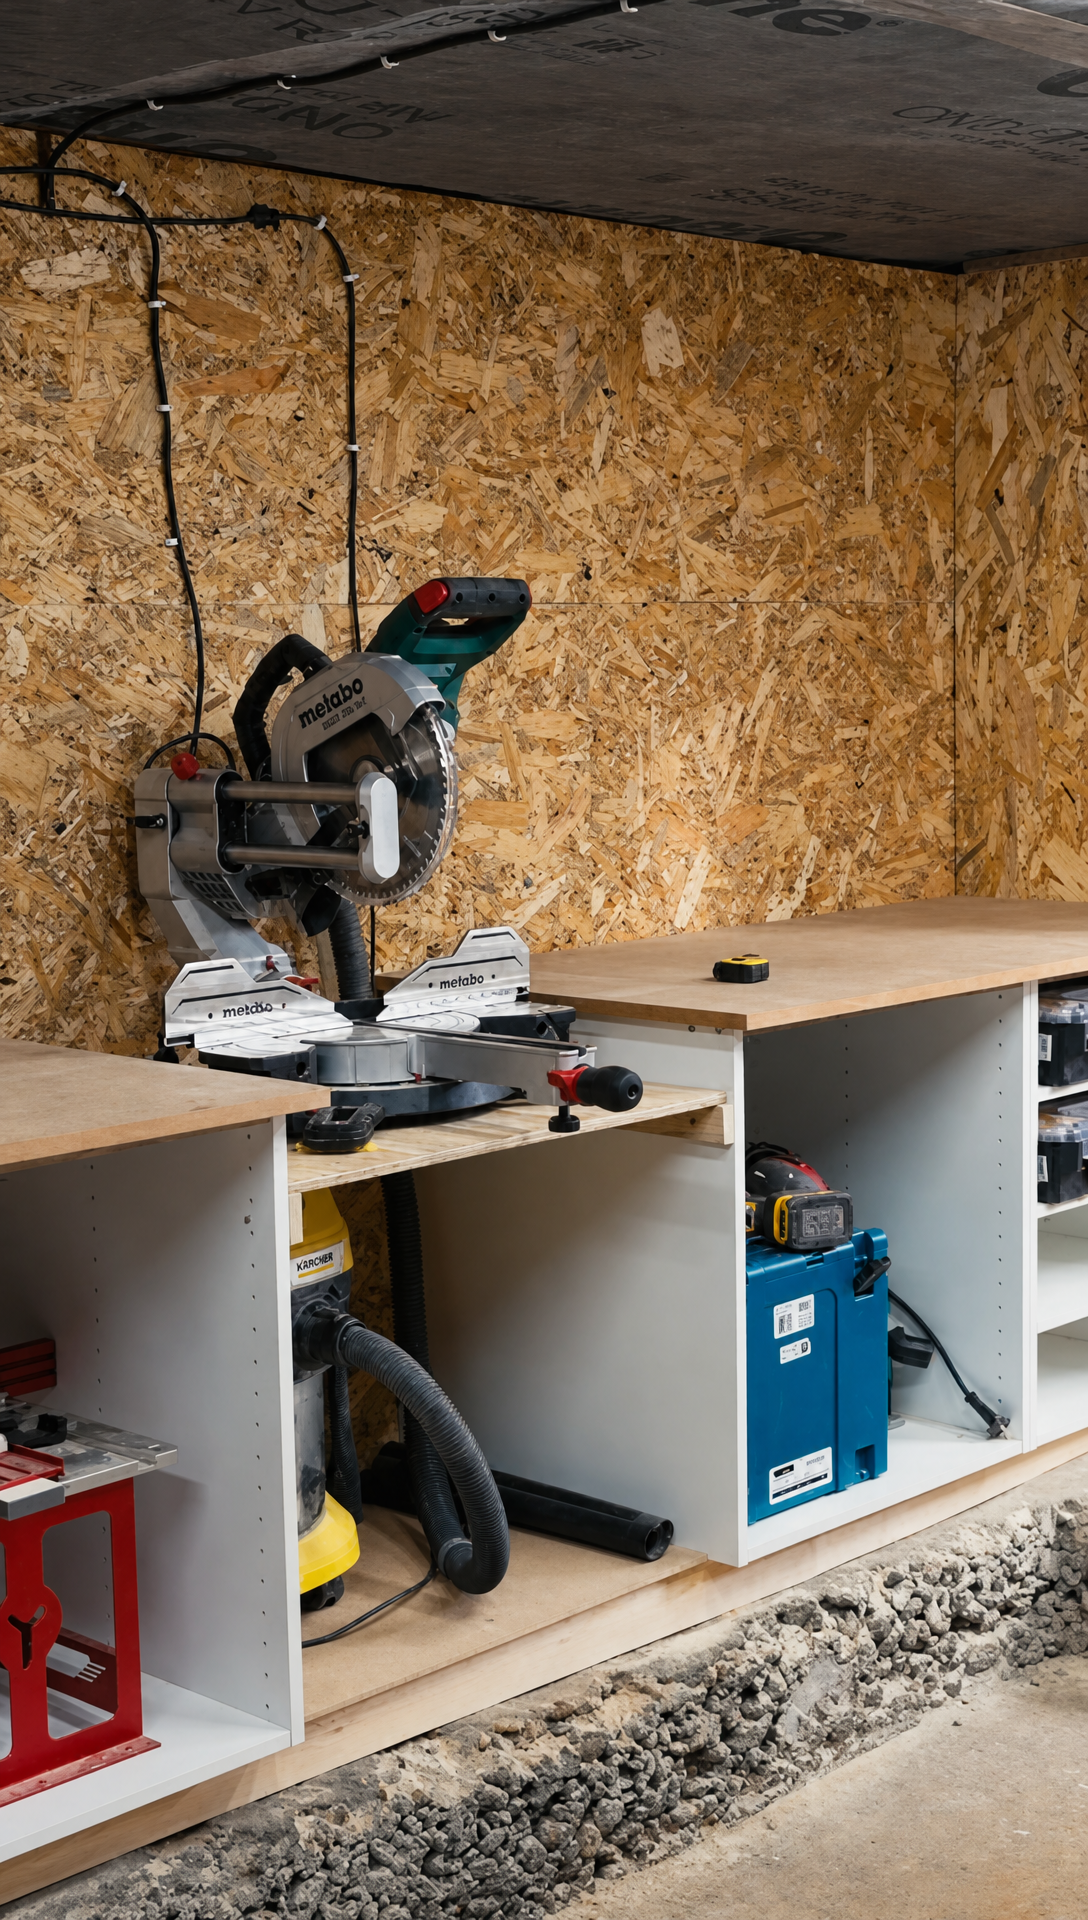 So I spent a few weeks hunting for somewhere else, and it was not a fun search. Everywhere I looked was eye wateringly expensive, missing something I needed, or so far away I'd have spent more time in the car than at the bench. In the end I found a shared tenancy with another woodworker. He does a lot of installation work, so he's rarely in the space, and he wanted someone to share it with and chip in on the rent. It sounded far too good to pass up. The New WorkshopThe workshop is about 100 square metres on the ground floor, with a mezzanine of around 40 square metres on top for storing stock. Next to the basement, it's a palace. It came kitted out with a load of great tools and materials too, which is a godsend when you're starting out without much of either. 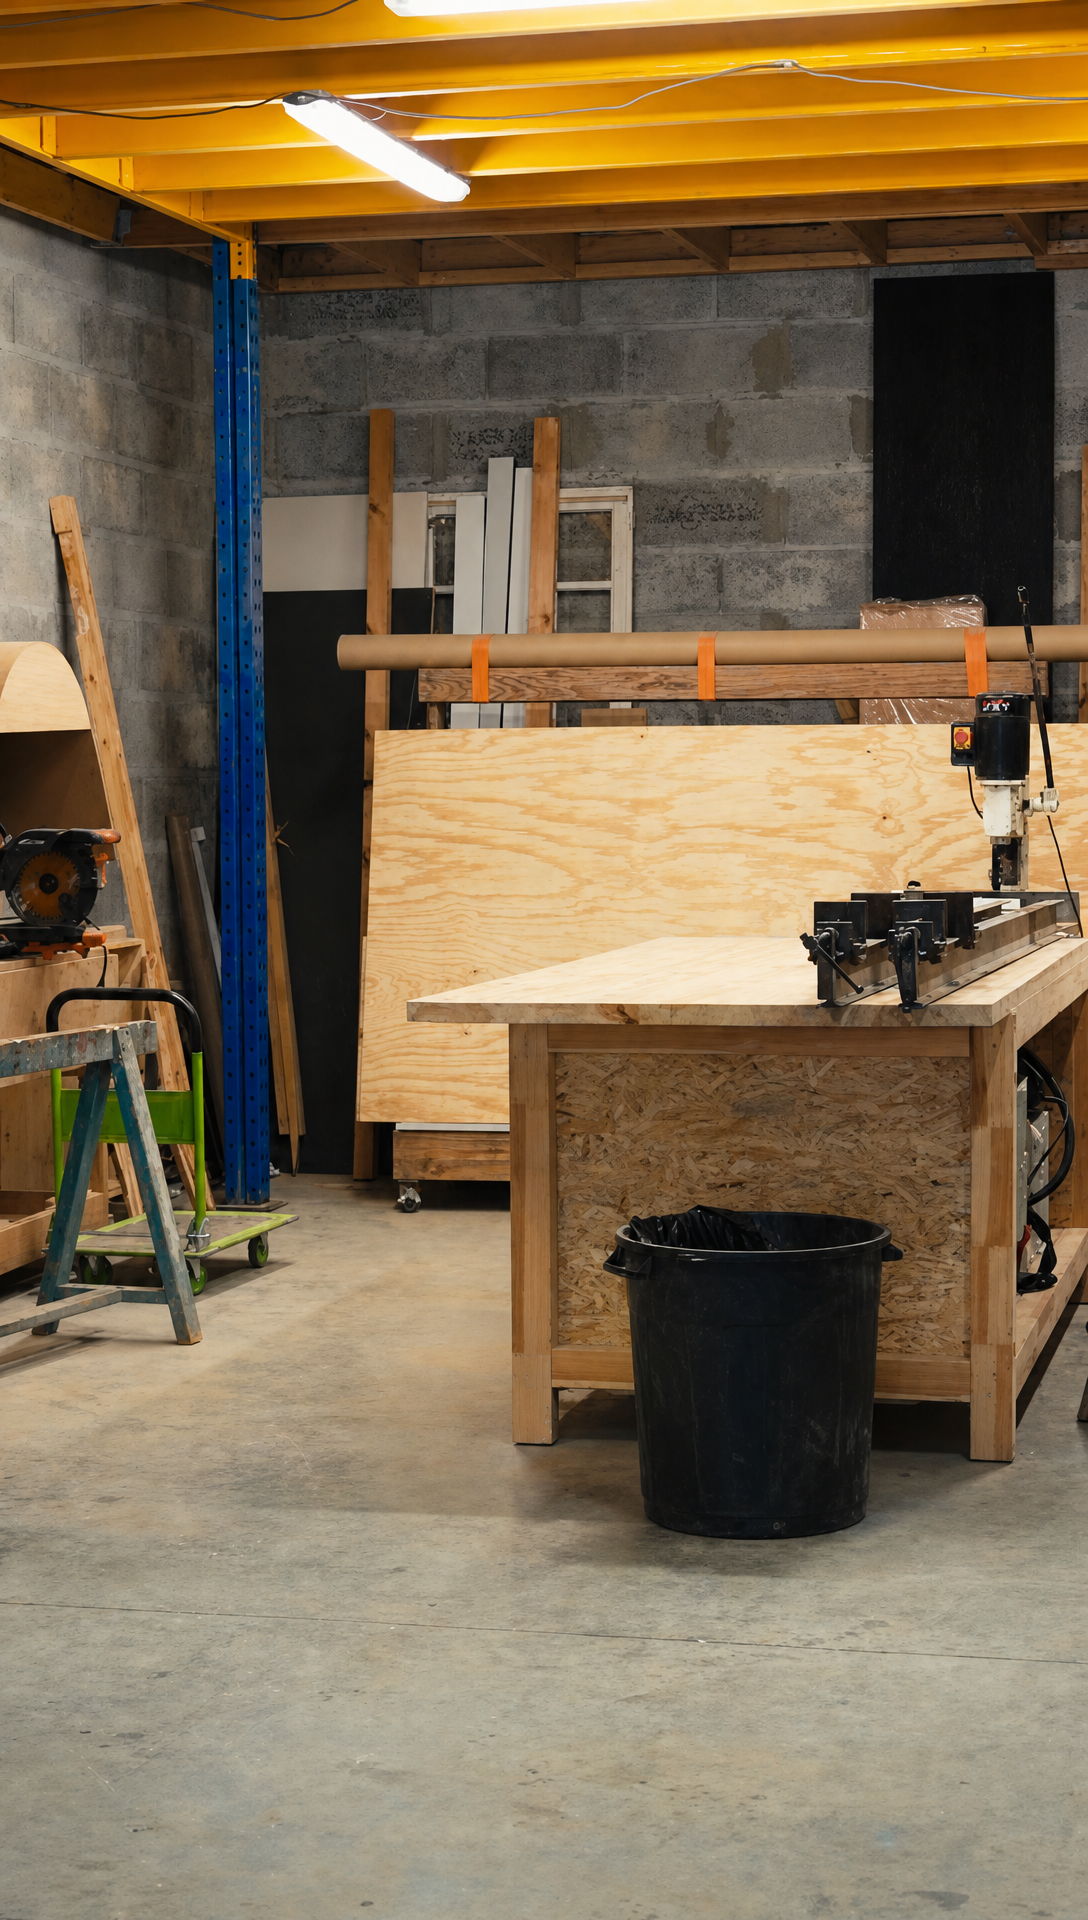 There is one catch, and it's the location. The workshop is on the opposite side of Bordeaux from us. Bordeaux isn't a big city, but the rocade, the ring road that loops around it, is an absolute nightmare in the mornings and evenings. At rush hour it feels like the whole city is on it. That limits how well I can use the place, so I've only signed up for three months to start with. If the traffic proves too much I'll have to look elsewhere, but so far so good. Milling Beech For The PantryThe first job in the new workshop was for our own house. If you're a blog regular, you'll know the pantry designs have taken over my life for the last few weeks. The plan is to turn what is currently a bit of a mess into a large built-in cabinet suite, chock full of shelving and drawers. That all starts with milling lumber. If you've never come across the term, milling is taking a rough board from the timber yard and turning it into a flat, straight, finished piece of wood you can build with. Each board gets one face flattened on the jointer and an edge squared up against the fence. Then it goes through the thicknesser until both faces are parallel and it's down to the right thickness, and finally the table saw cuts it to width. It's a simple process, if a bit of a faff. I'd bought a big batch of beech boards for the face frames and door fronts, so I printed out my cut list and got stuck in. 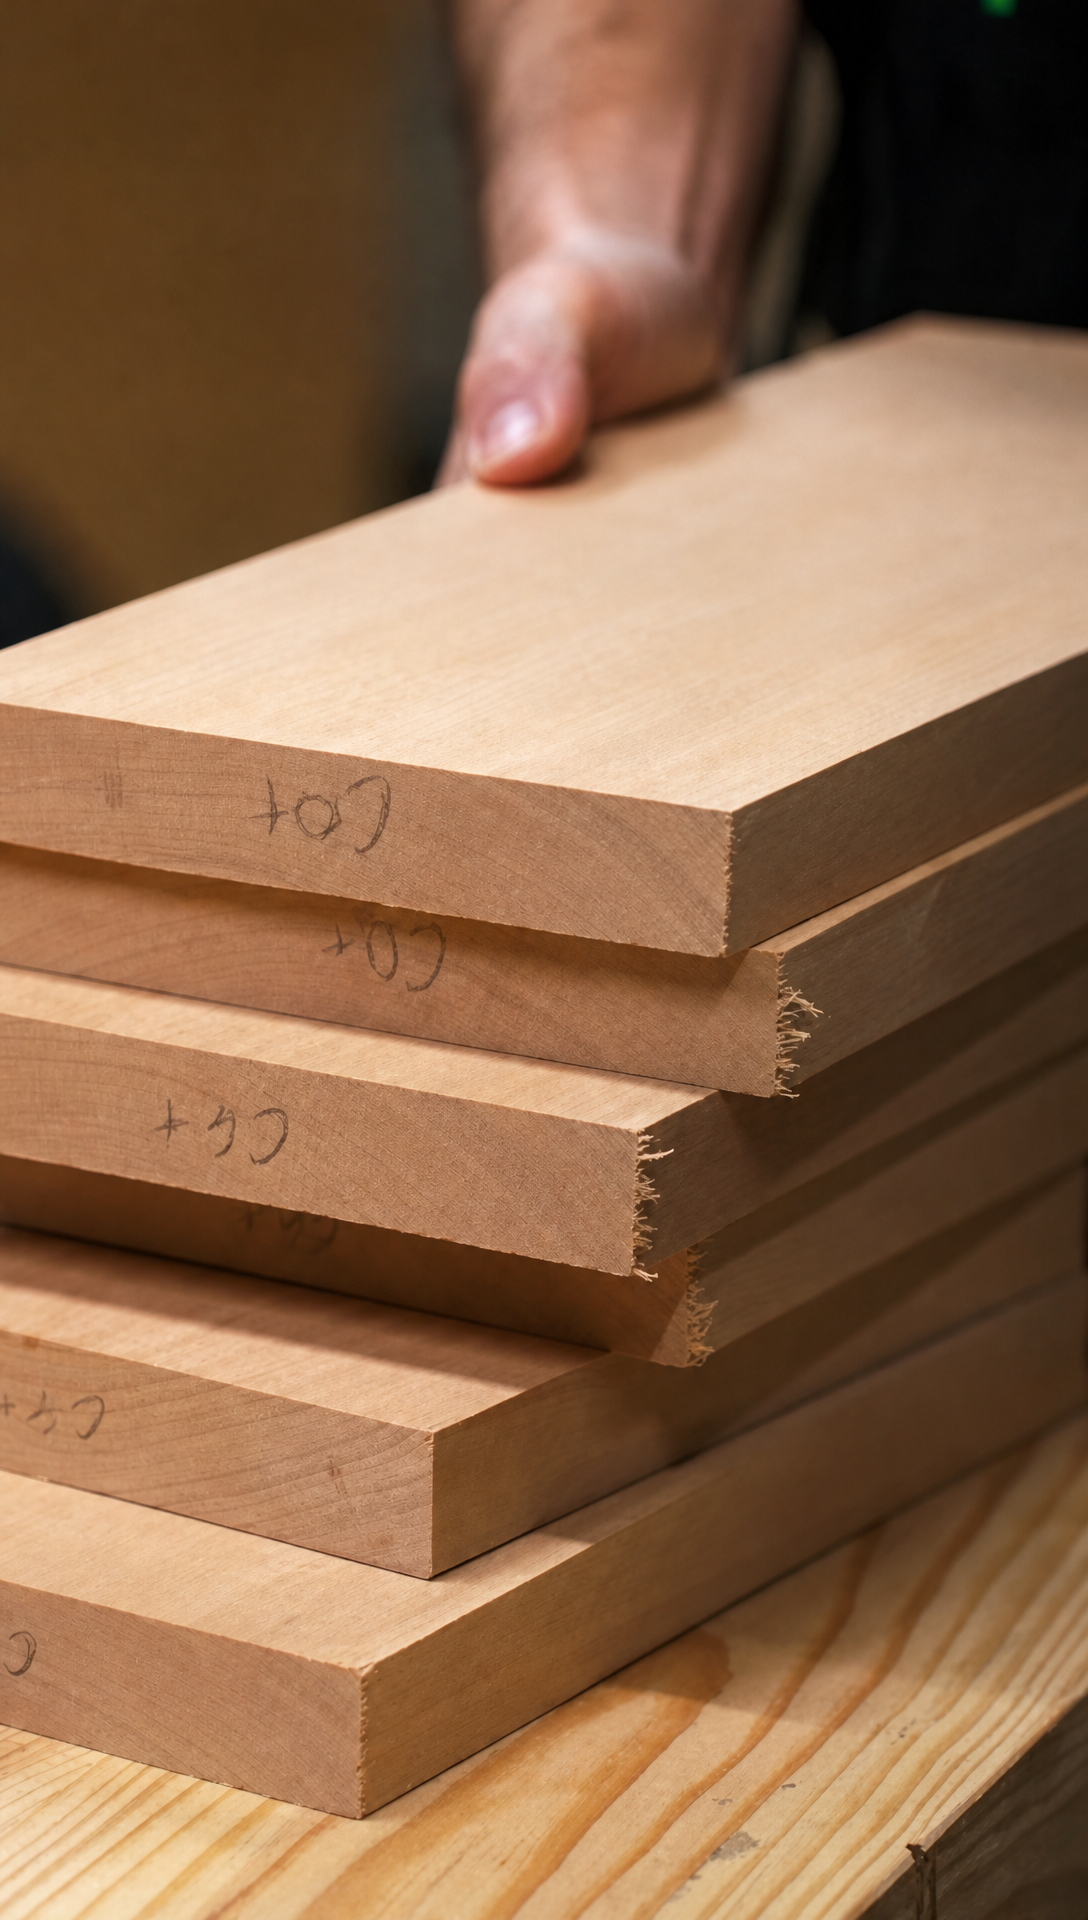 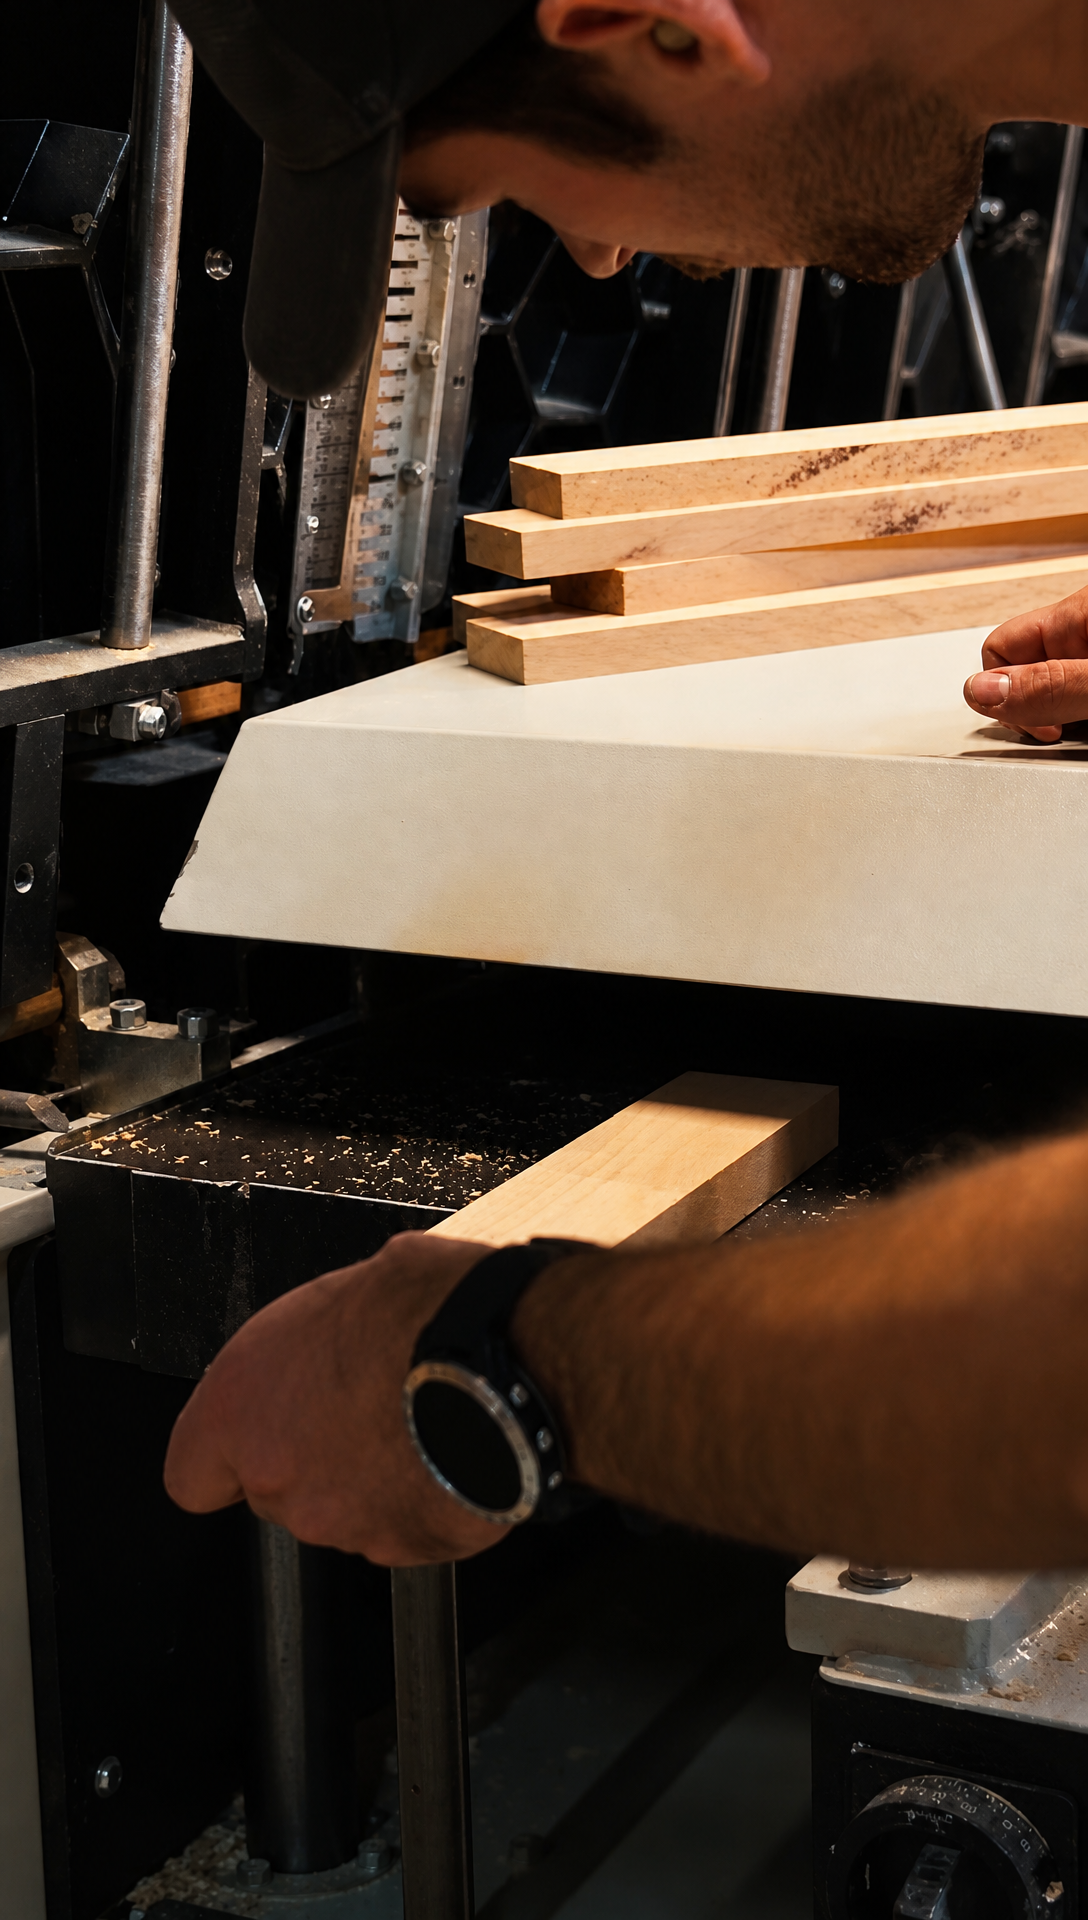 There's something so incredibly satisfying about milling. A rough, slightly bowed board goes in and comes out smooth and dead straight. That's lucky, because I have to do it about a million more times. There are around 200 pieces on the list for the face frames alone, all to be cut and glued up, which means a couple of days at least. So the music went on and I got my head down. Romy Takes On The Attic BeamsBack at the house, Romy gave up a weekend to tackle the exposed beams in the attic. It's a job we probably should have done much earlier, but we live and learn. Don't fret, the beams are staying. We're very lucky to have them, and some are original to the house, so sanding them back to bare wood was never on the cards. Romy loves the colour the old ones have gone over the years. There were two problems. The first was plasterboard dust and splashes, which had left pale stains all over them. The second was a couple of beams that were replaced at some point, probably when the previous owner redid the roof, and they stick out like a sore thumb next to the rest. 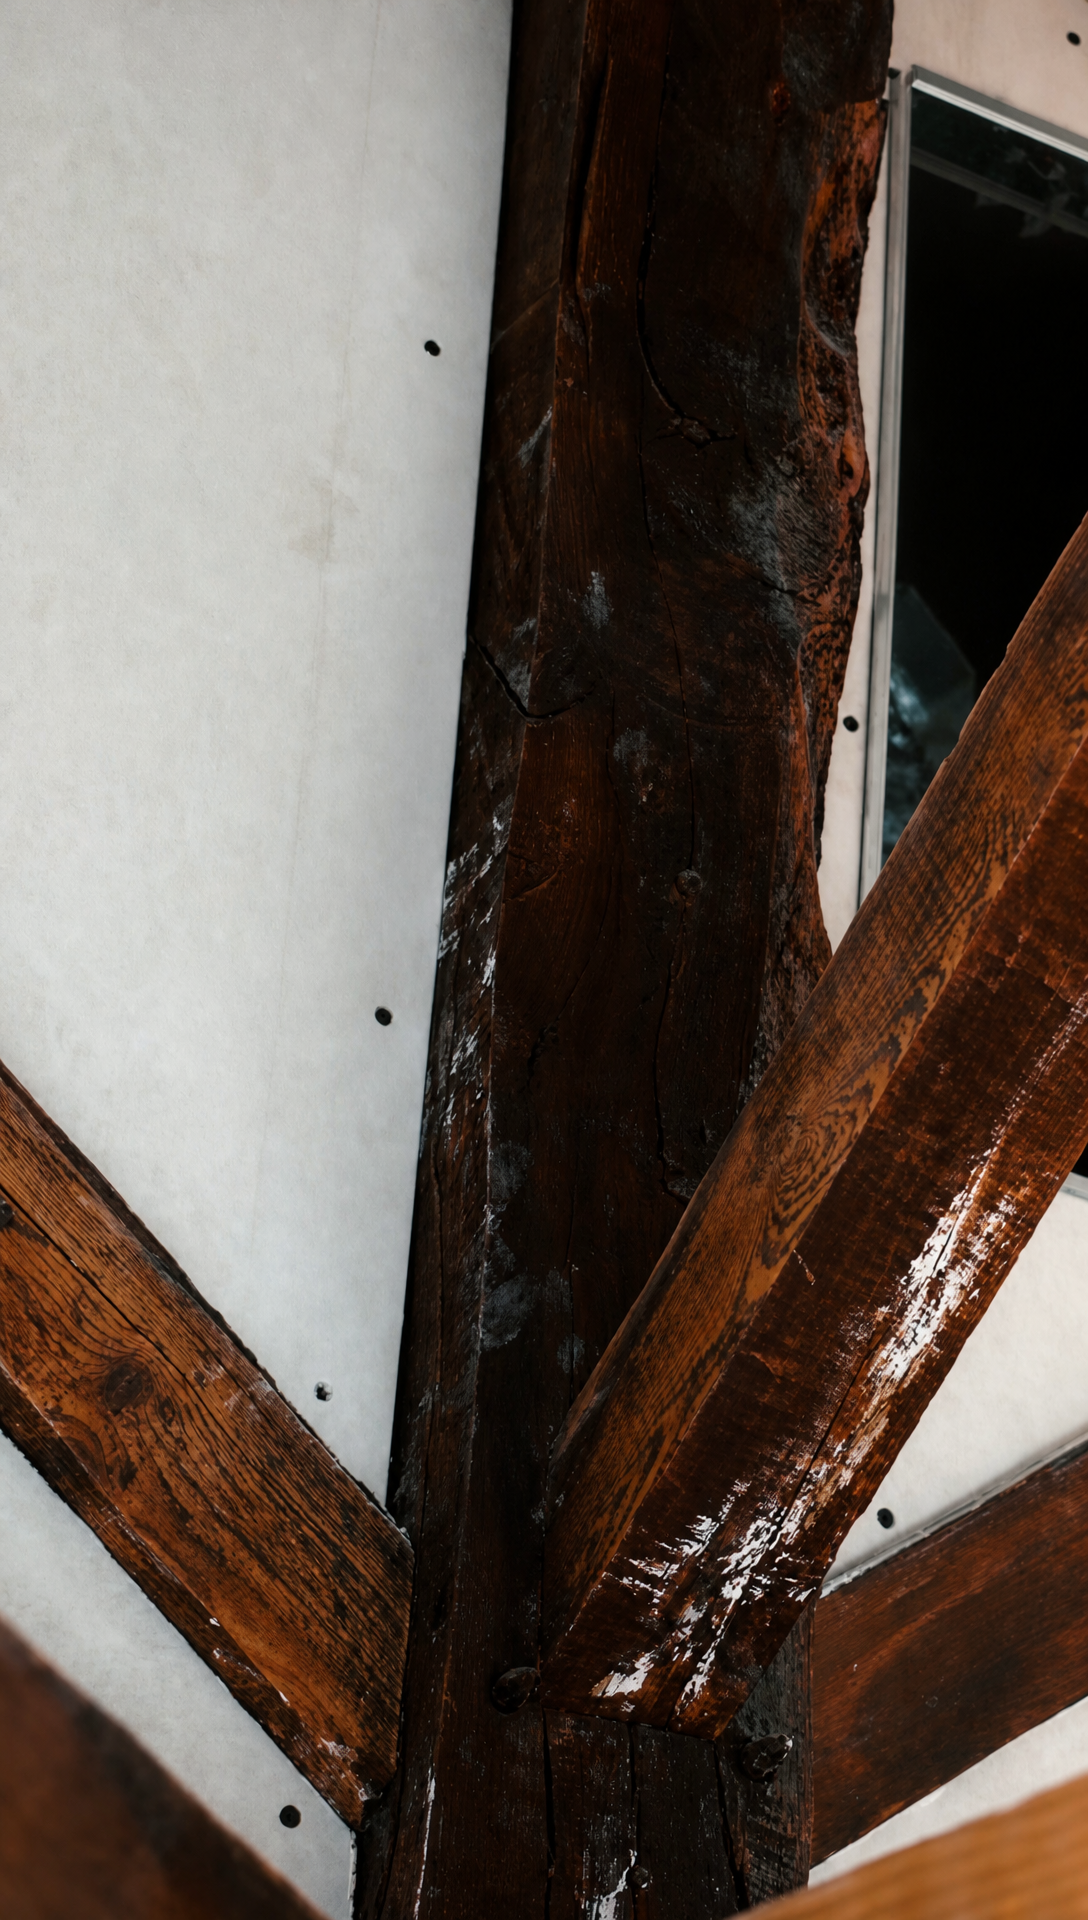 She started by vacuuming the lot from the top of a ladder, vacuum in one hand. She knows what you're going to say in the comments, and you're right, it wasn't very safe. She didn't want to use the sander without the vacuum attached, though, and doing every beam by hand would have taken roughly a thousand years. 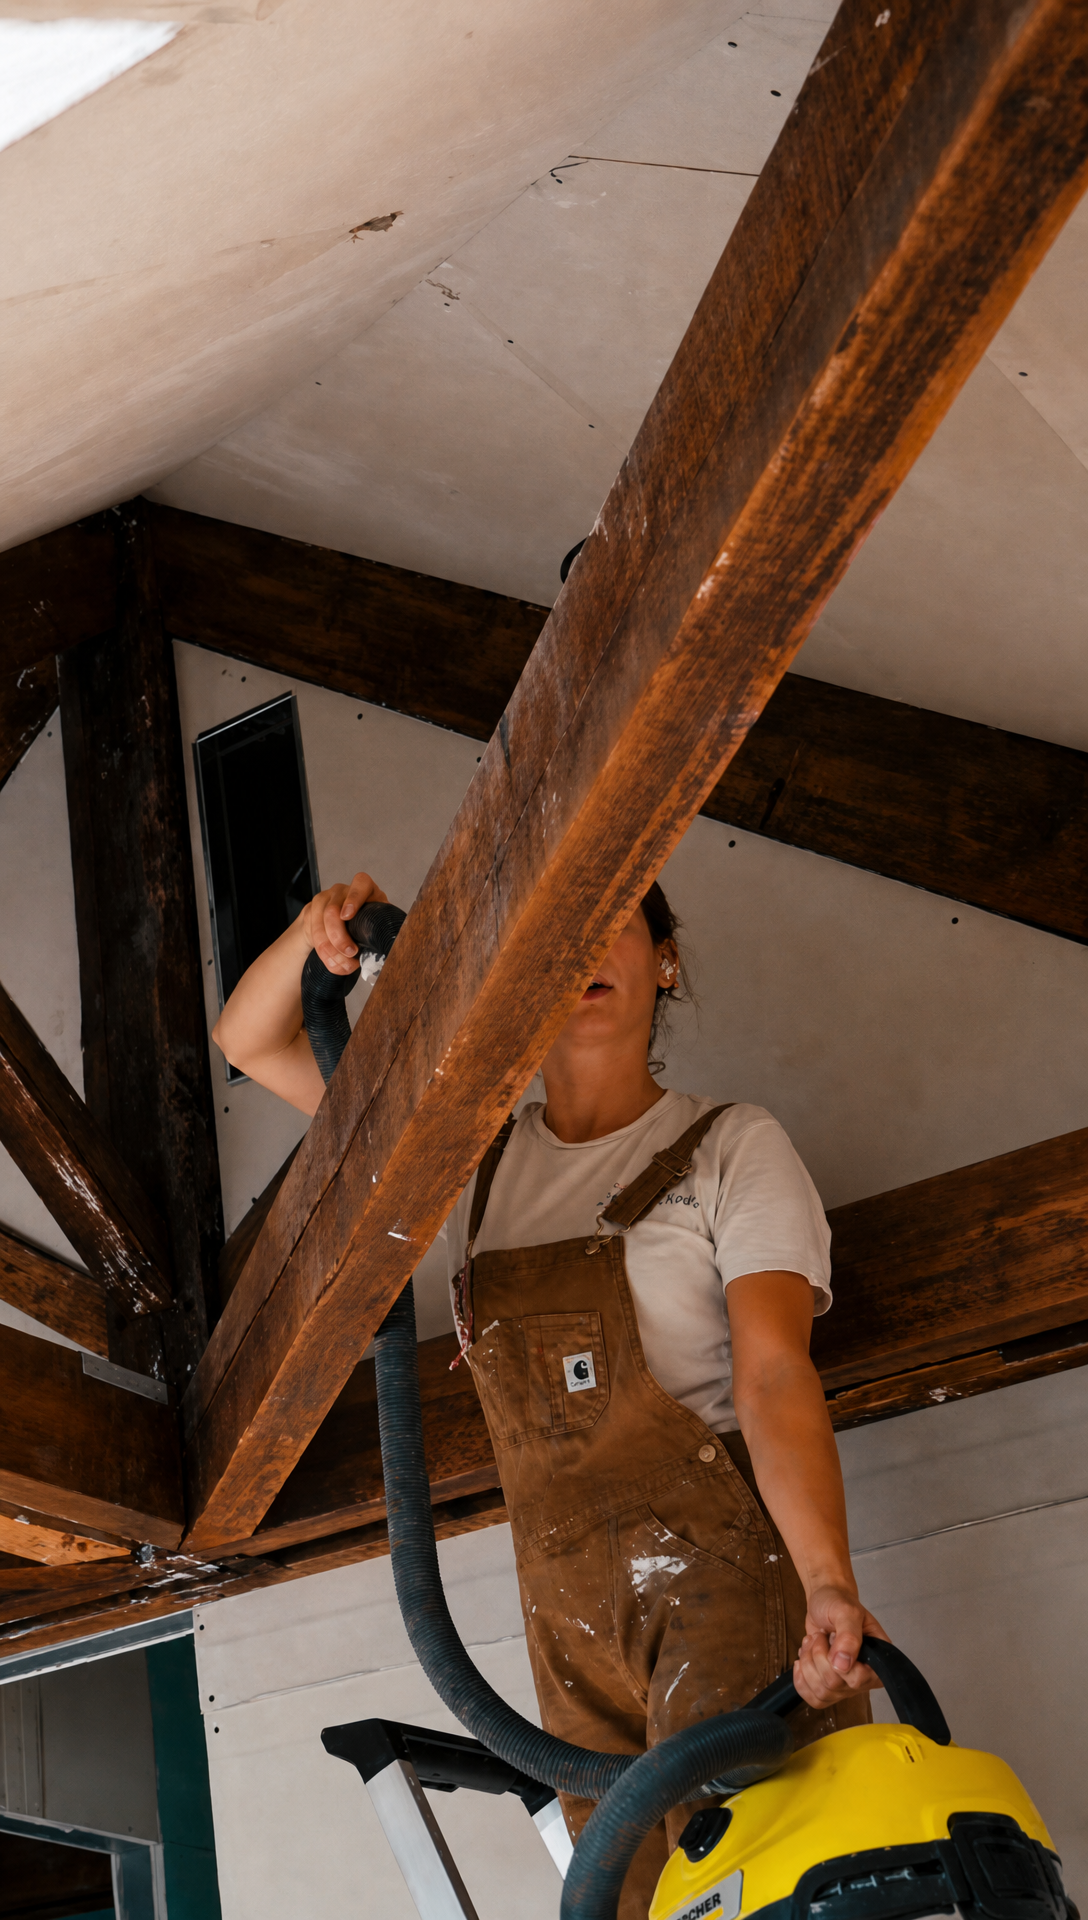 Whilst the vacuum got the dust off, it left the stains behind. So she went looking for a better way and came home from the DIY shop with a soft brass brush. It's meant for furniture restoration, and it turned out to be brilliant for a rough pass over old timber. It shifted the dust and a good chunk of the marks along with it, so every beam got the brush treatment. 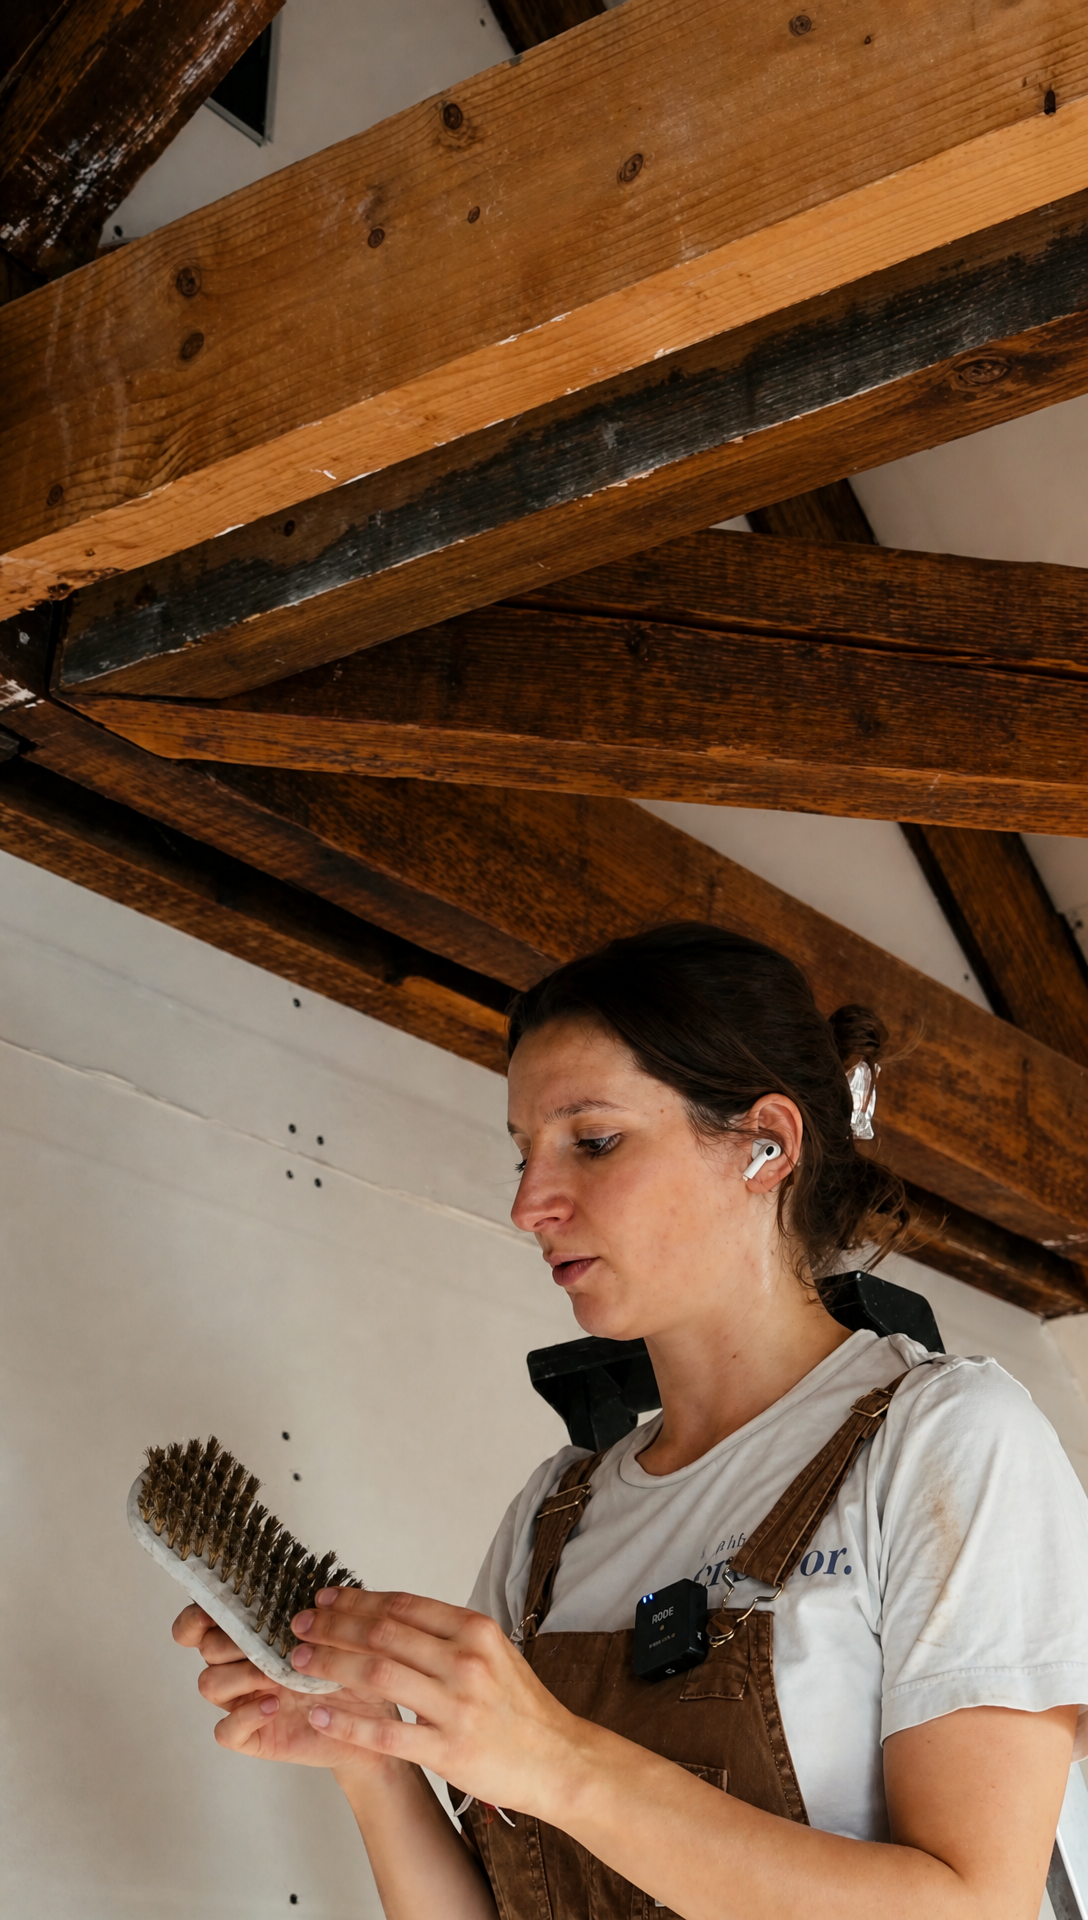 Once the beams were clean, the uneven patches were easy to spot, and the new beam stuck out most of all. Romy had three Libéron products lined up to try. The first was brou de noix, a natural stain made from walnuts, which she also uses as ink for her calligraphy. The second was Black Bison wax in dark oak, a tinted wax she loves and has used many times before. It stains, protects and leaves a lovely finish. The third was the same Black Bison wax without the colour, to give the old beams a bit of a pick-me-up. 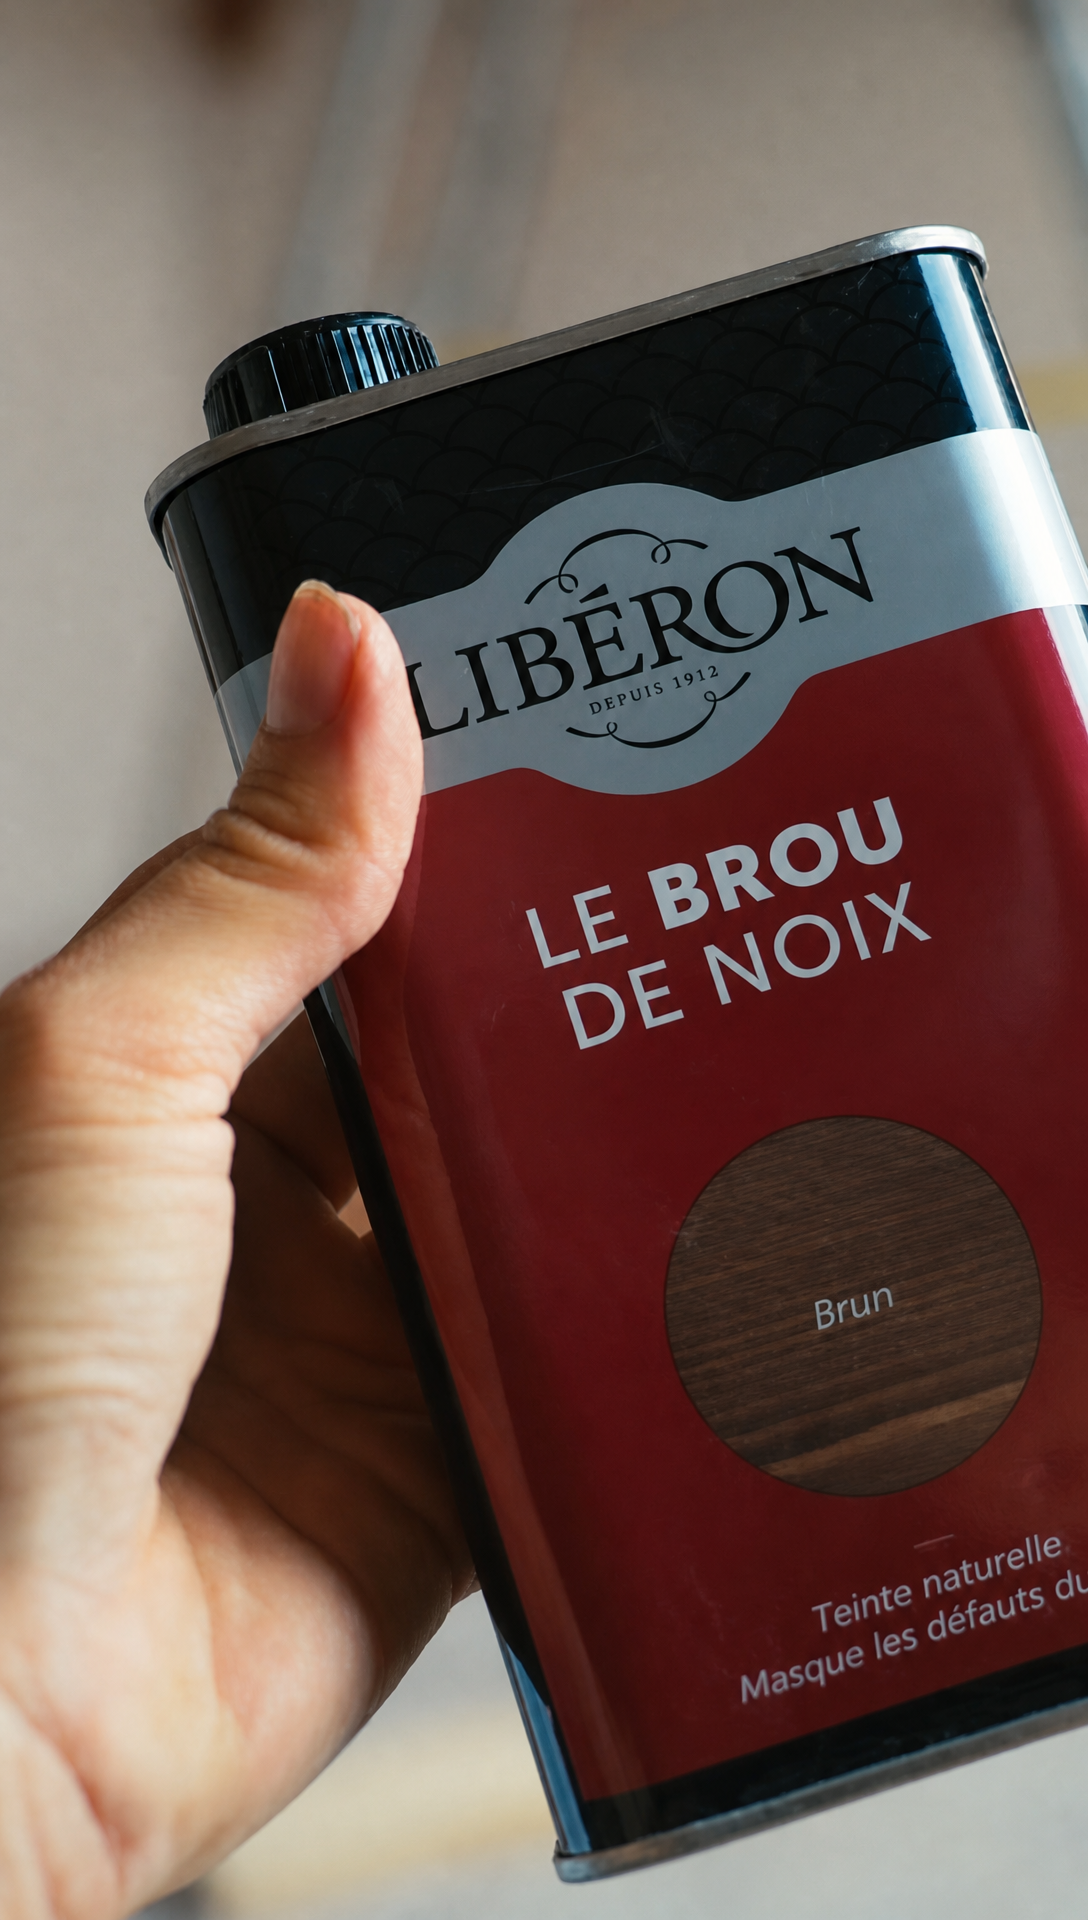 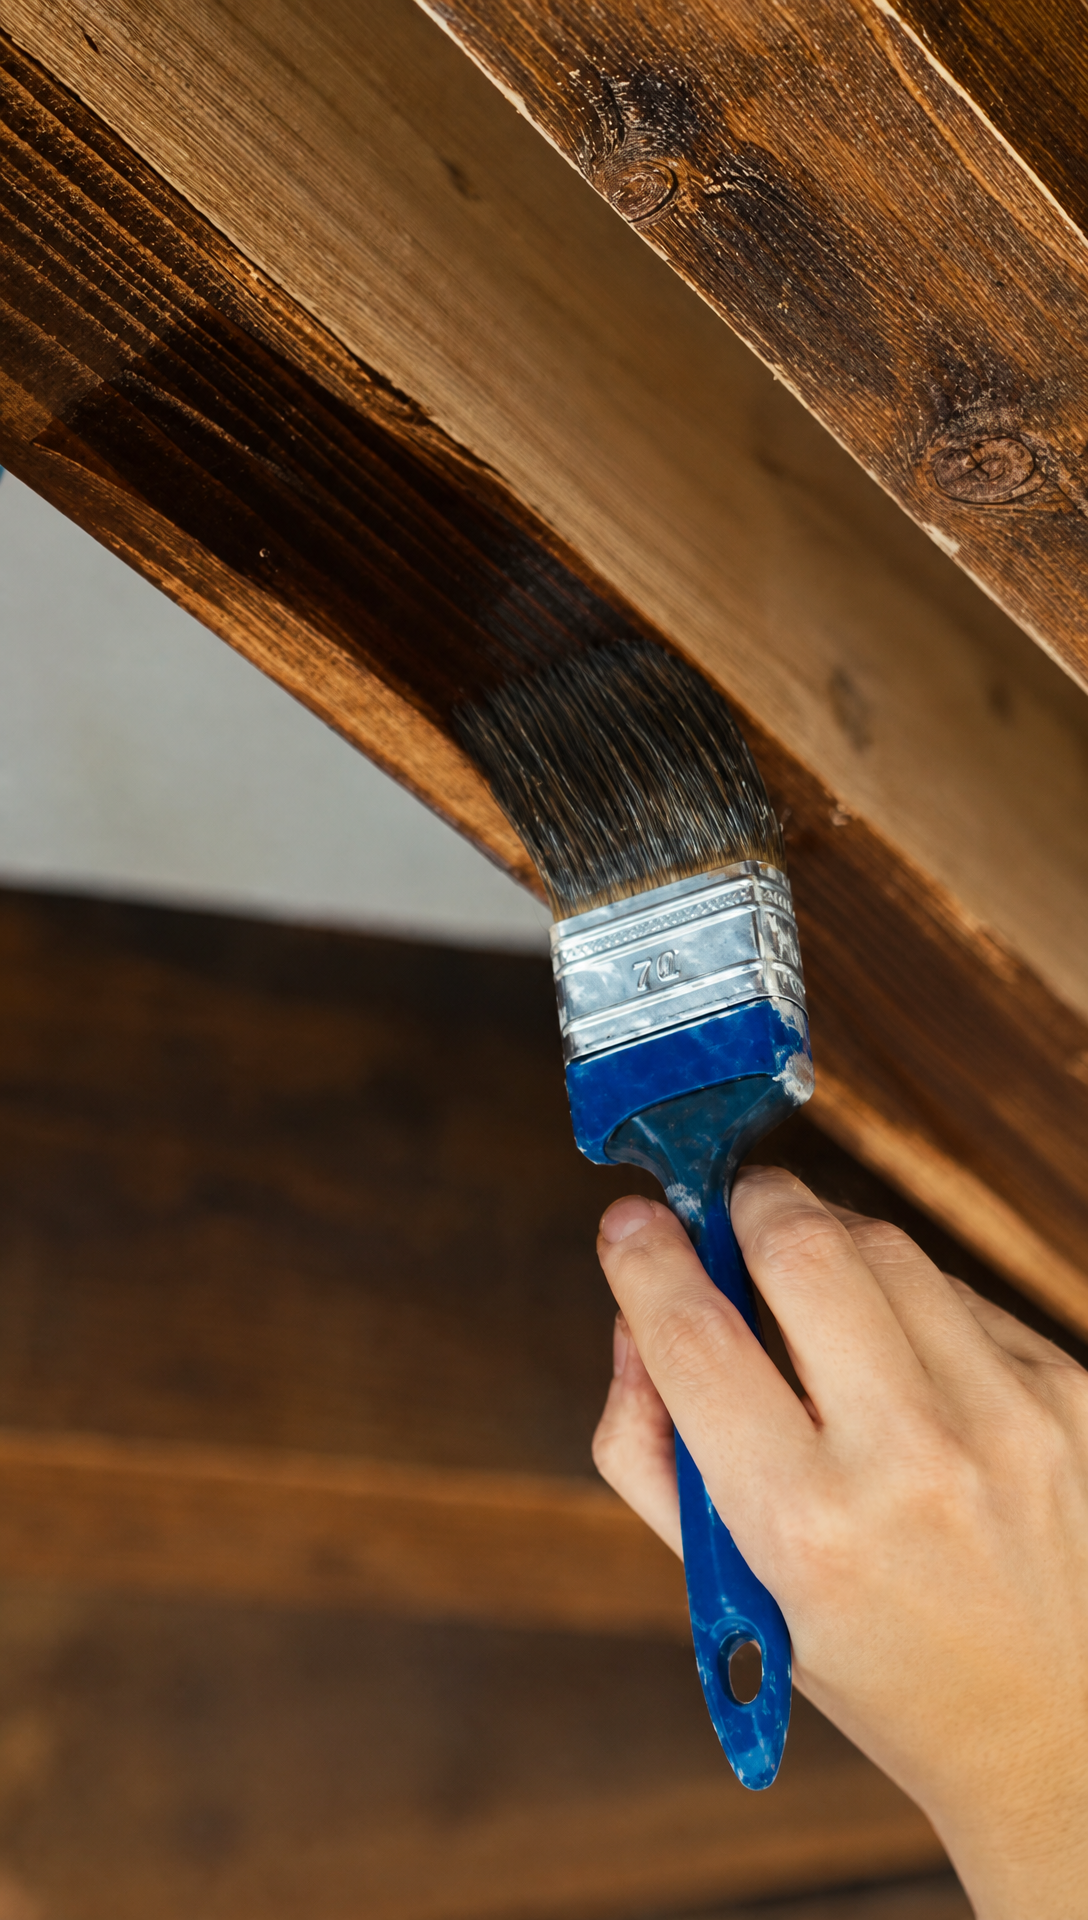 Fred And The Finishing CoatWith the beams done, our lovely neighbour Fred came over to finish the plasterboard, taping and filling every joint and then sanding it all smooth. It was not an easy job. As anyone following along will know, the attic has been a nightmare for plasterboard cuts from day one. Every beam and every angle meant another odd shaped piece, until the walls were one giant jigsaw puzzle, and every one of those pieces meant another joint for poor Fred to fill. 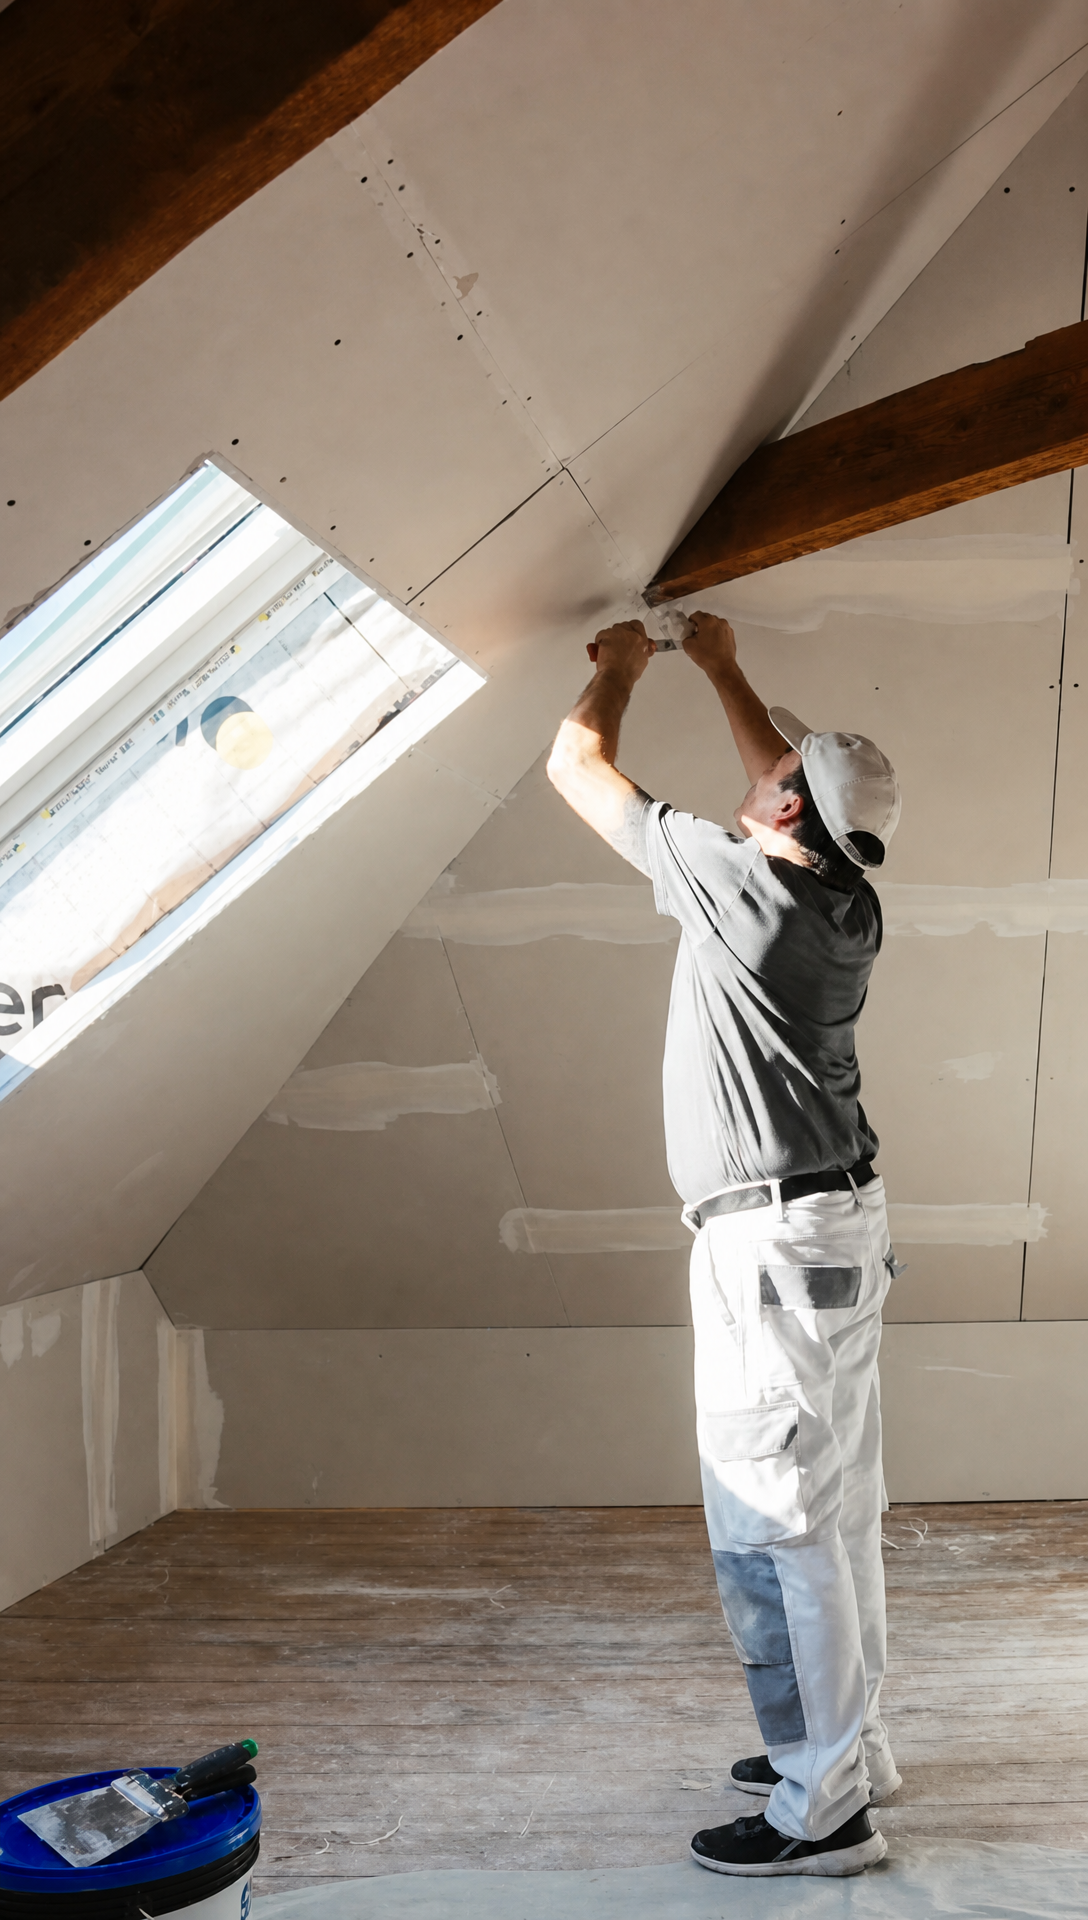 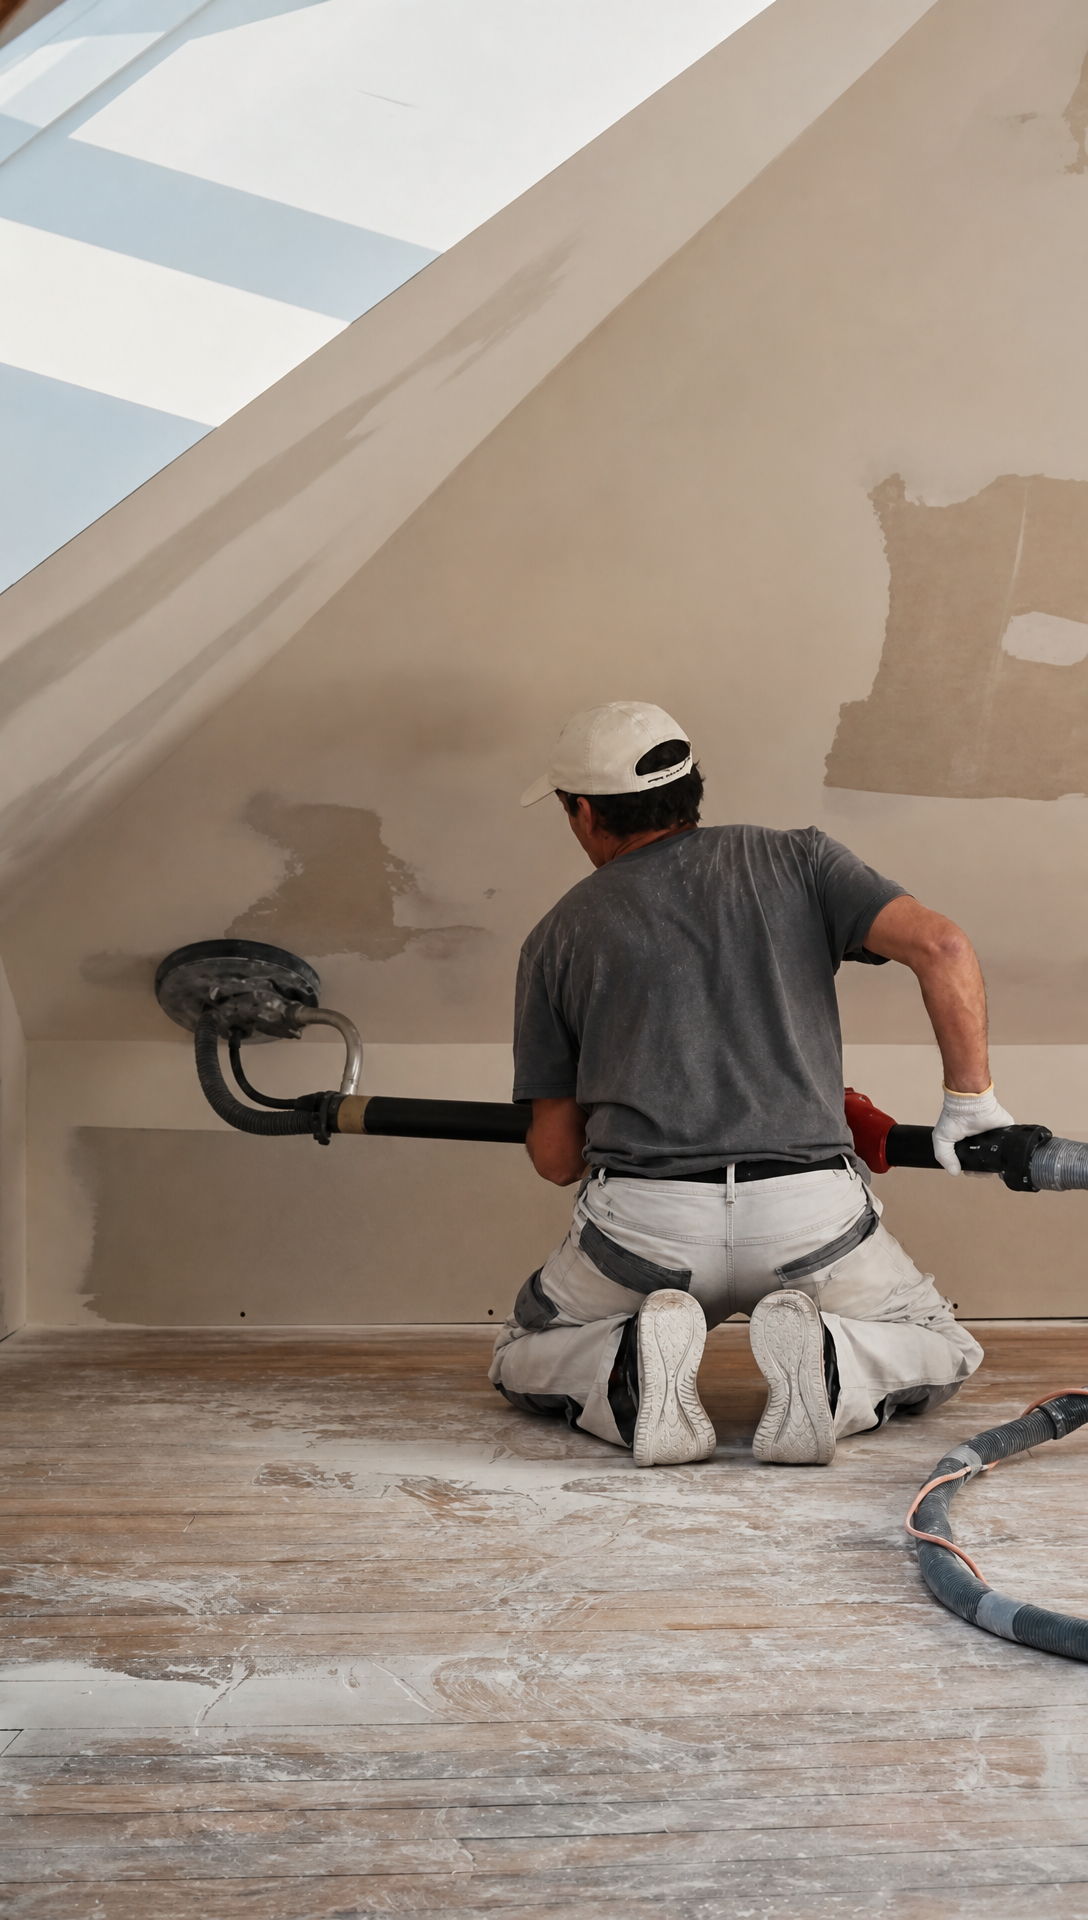 I did try to get him to say a few words for the video, but he's far too shy. So instead, a huge thank you to Fred from both of us. Romy's Brocante HaulThen came Romy's favourite kind of day out. She and a friend drove out to the Grande Brocante de Rauzan, a big antiques fair about 45 minutes from Bordeaux. A brocante is roughly the French version of a car boot sale, only with far better furniture. She went armed with a list, mostly to stop herself going too crazy. Top of it were things to upholster. Romy has started an upholstery class in Bordeaux every Tuesday, so she needs projects: chairs, footstools, anything cheap enough to practise on. Vintage fabric was on there too, because new fabric costs a fortune. Then came little boxes and trinkets to keep things tidy, wall lights for upstairs, and glasses and tableware. 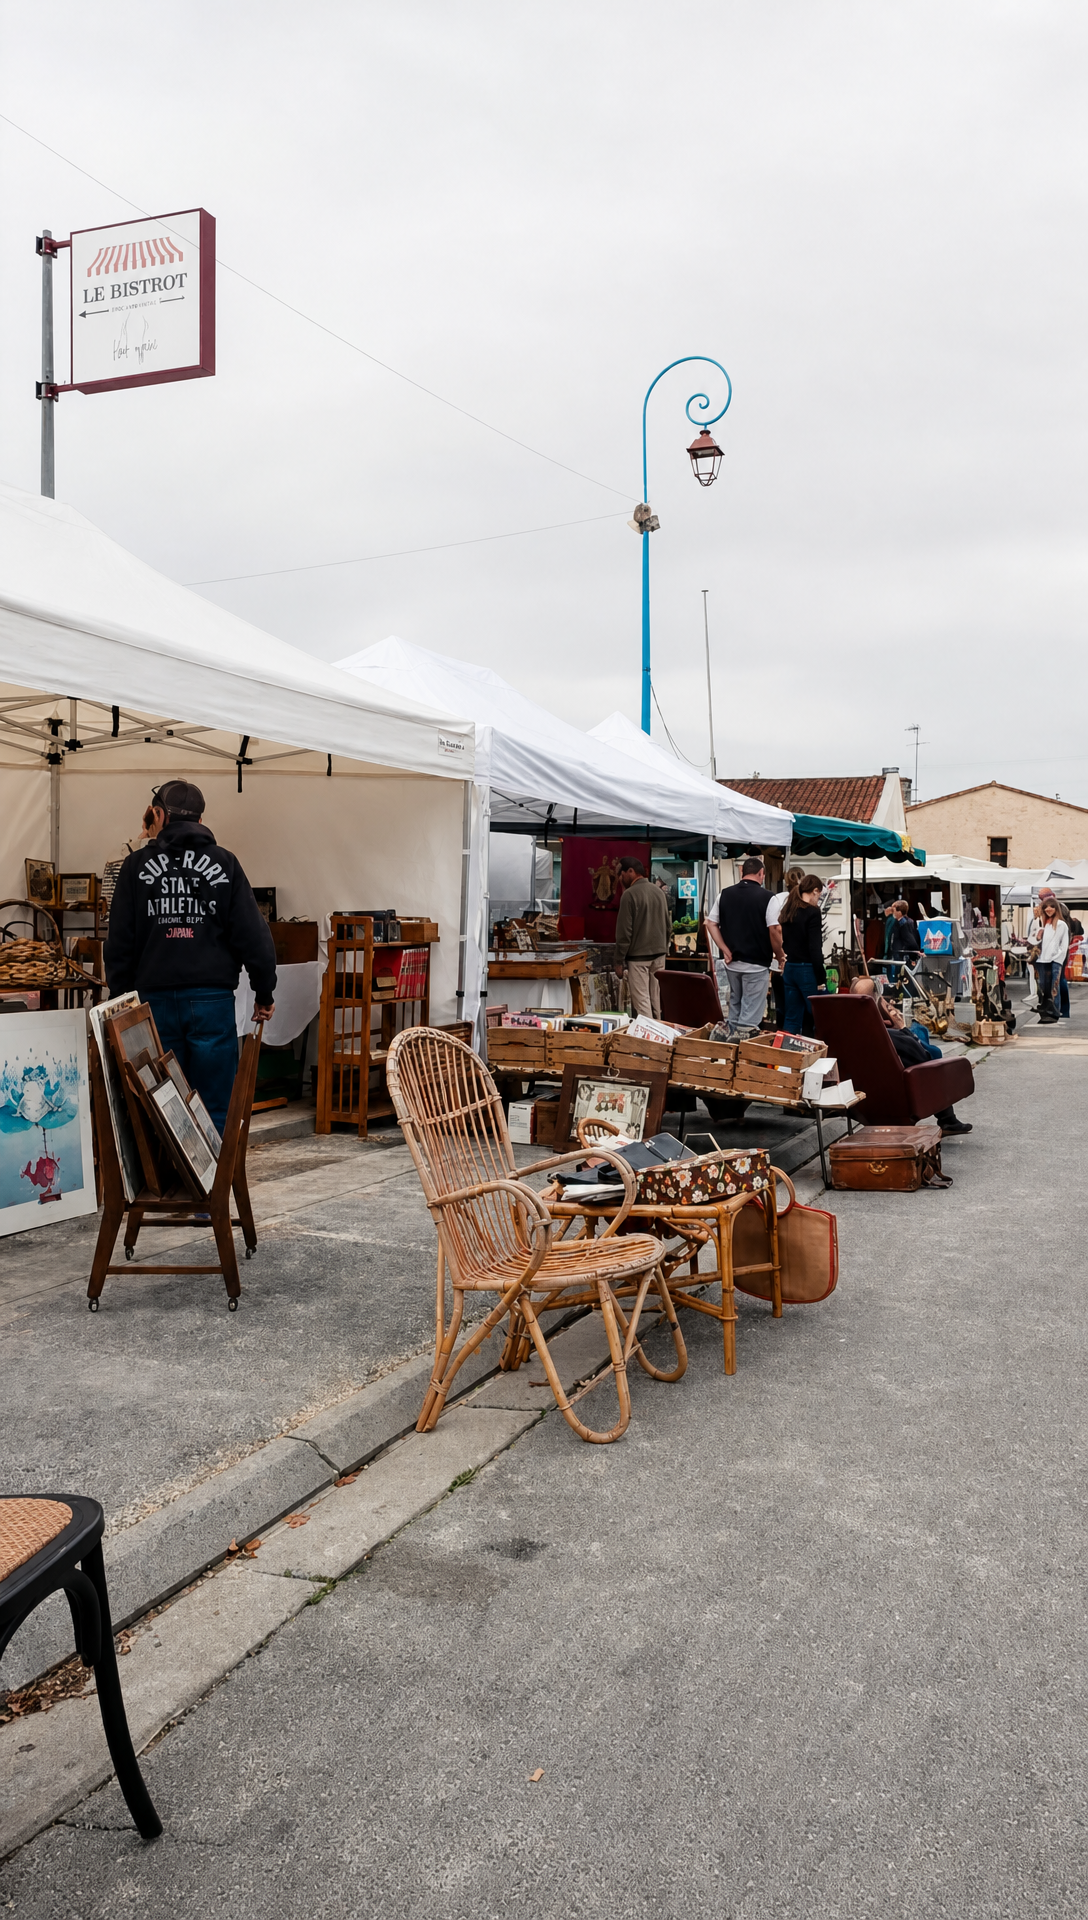 It was a really good one, almost overwhelming, with everything from very expensive pieces to proper bargains. If you're anywhere nearby, it's well worth the trip. First out of the bag was a little vintage sewing box. It cost five euros and it's already full of her upholstery bits. 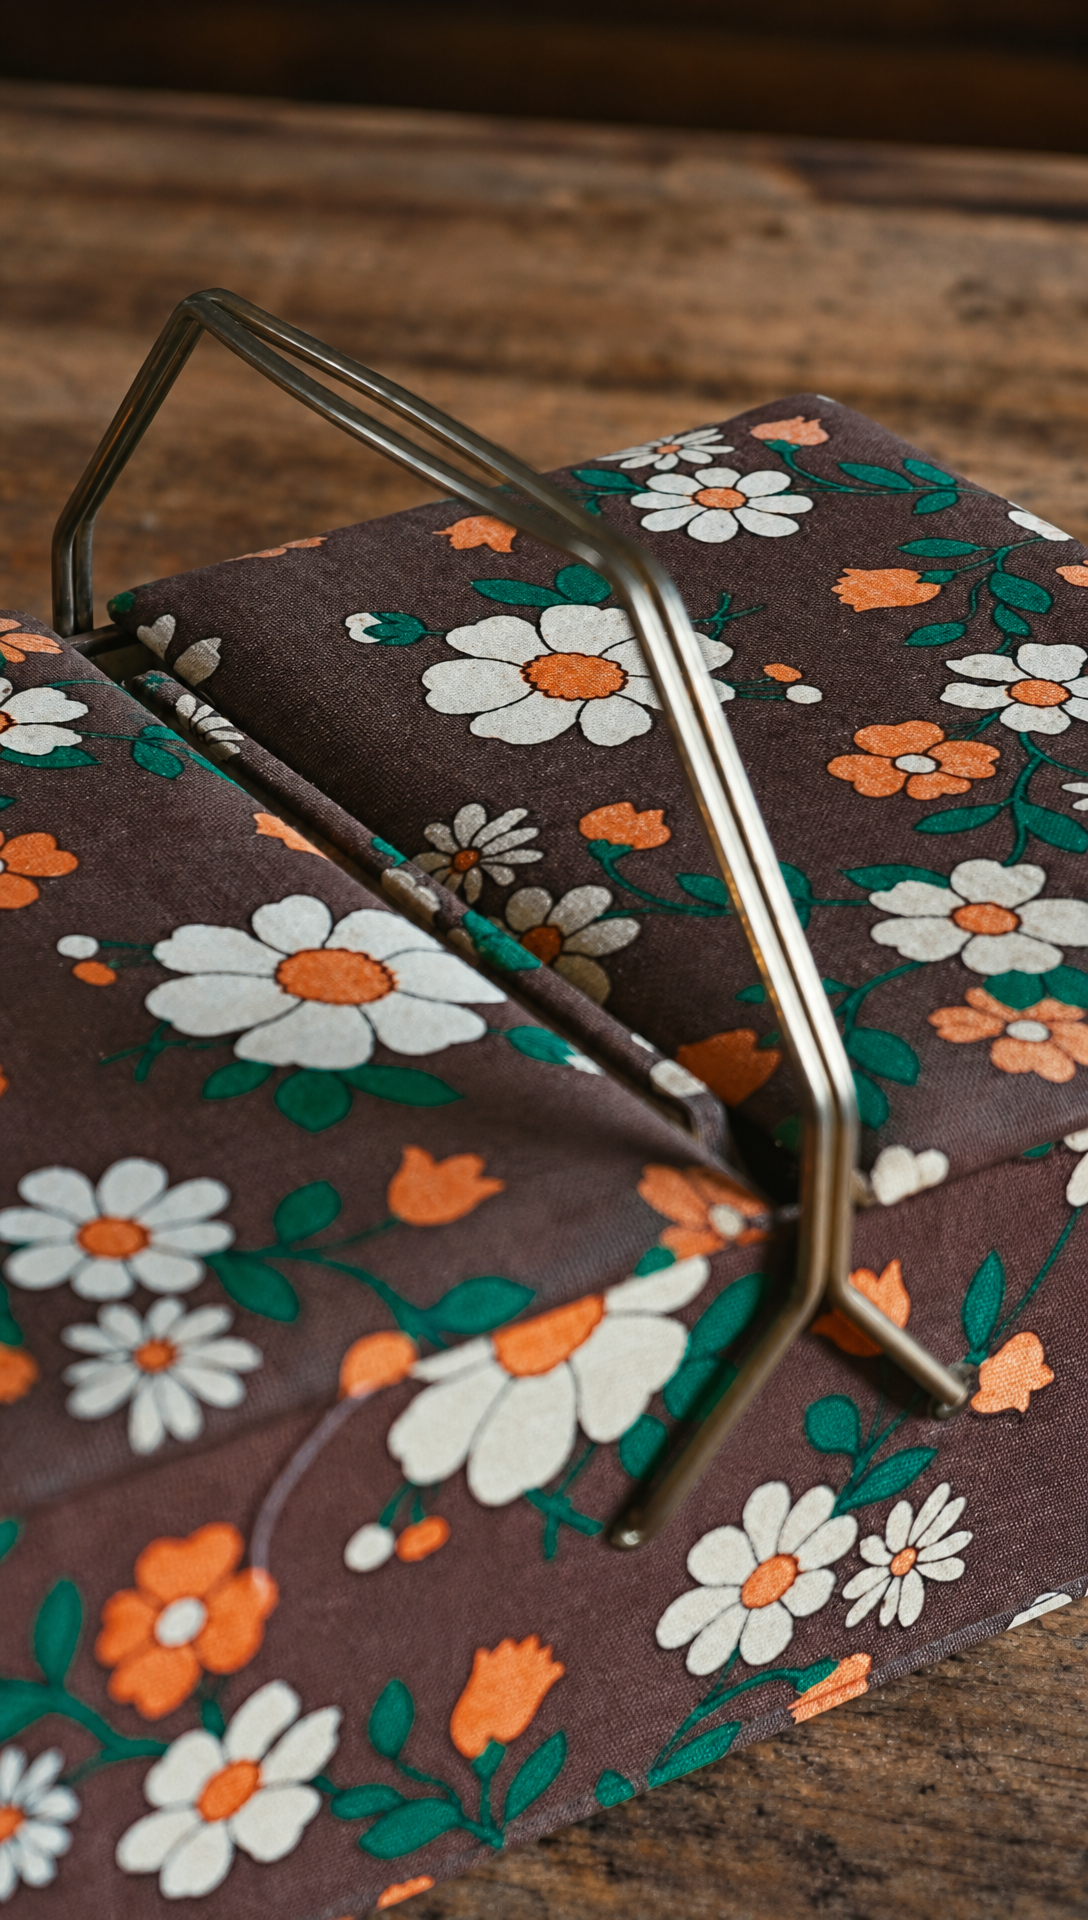 Next up was a wicker basket for our linens, which will sit on the shelf above our bed. It was 40 euros, which in Romy's world is a small fortune. She'll be the first to tell you she's terrible at haggling, but she'd been hunting for the right size for ages and this one is perfect. It just needs a wash. 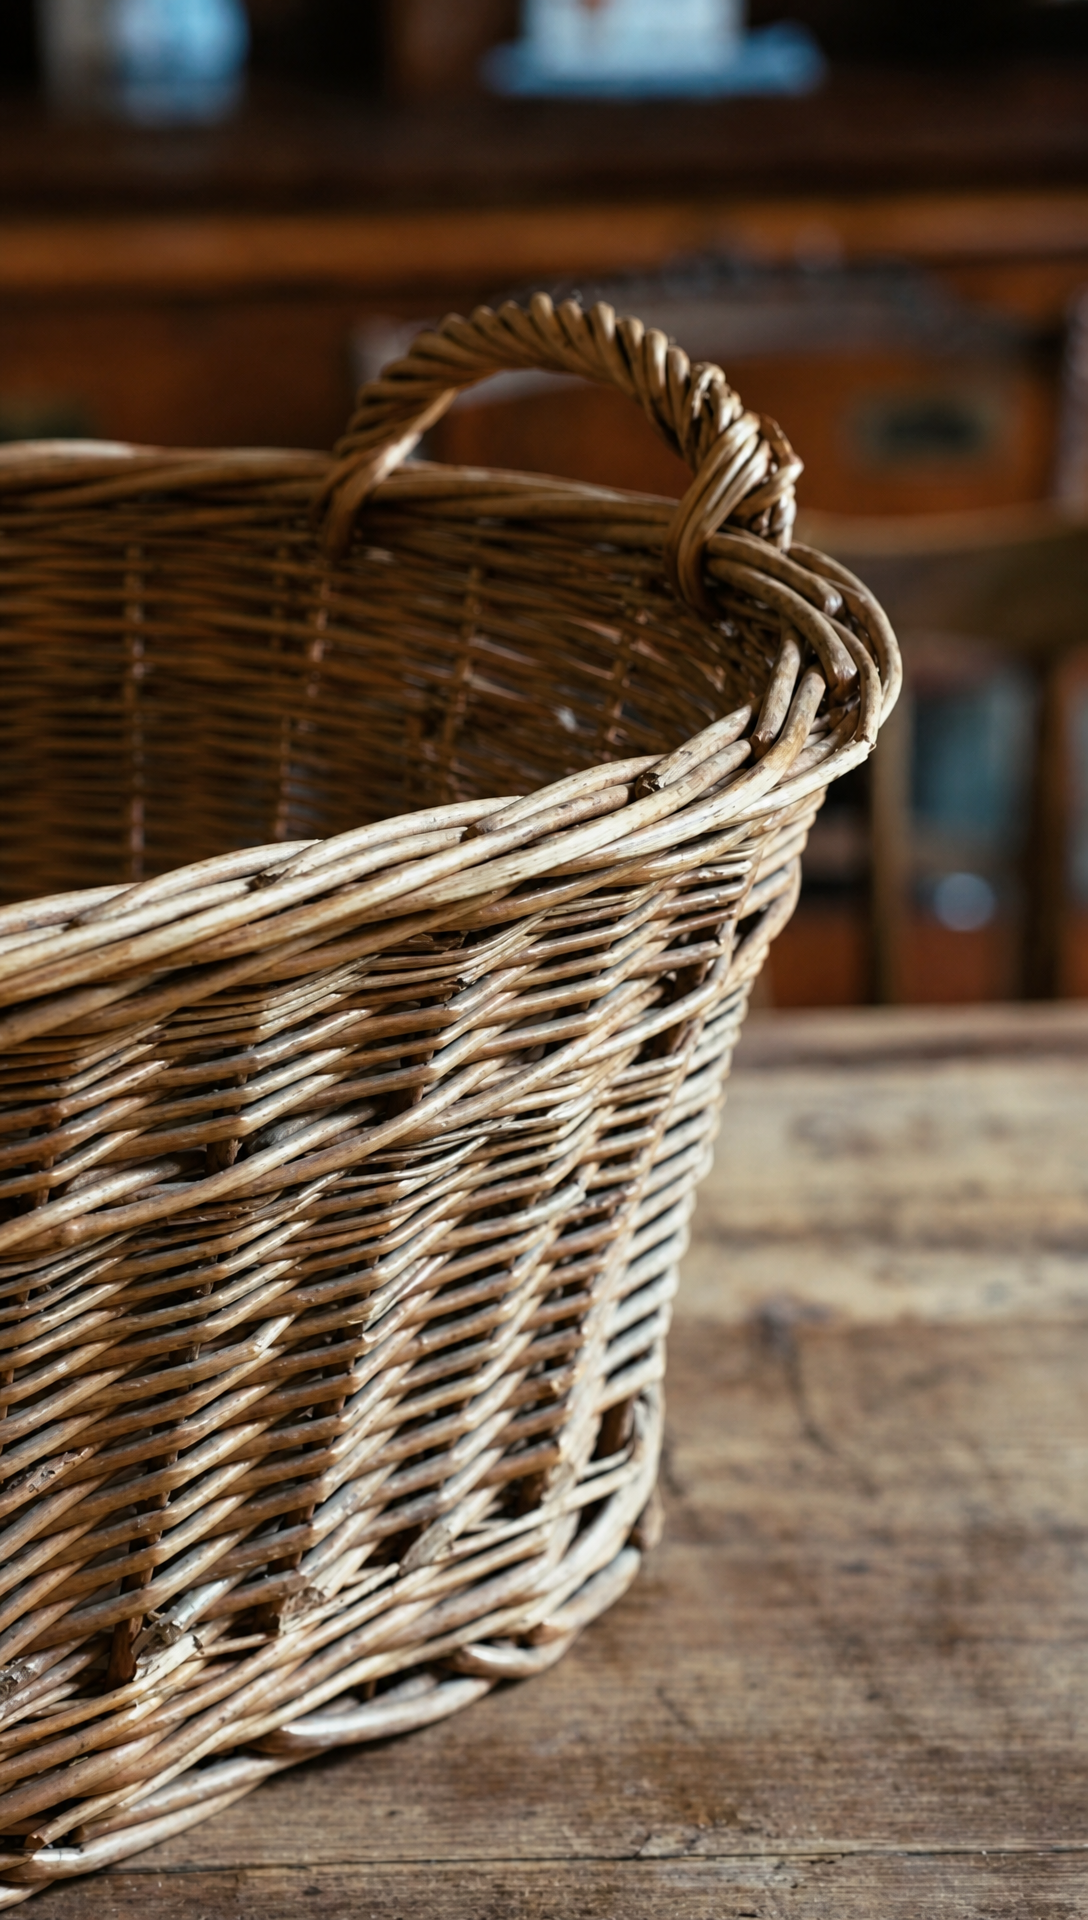 She also came home with a stack of antique postcards of the Dordogne, where she's from, at a euro a card. They came from a lovely old man who's retiring soon and gave her a very good deal. She's going to frame them like the ones we already have up. 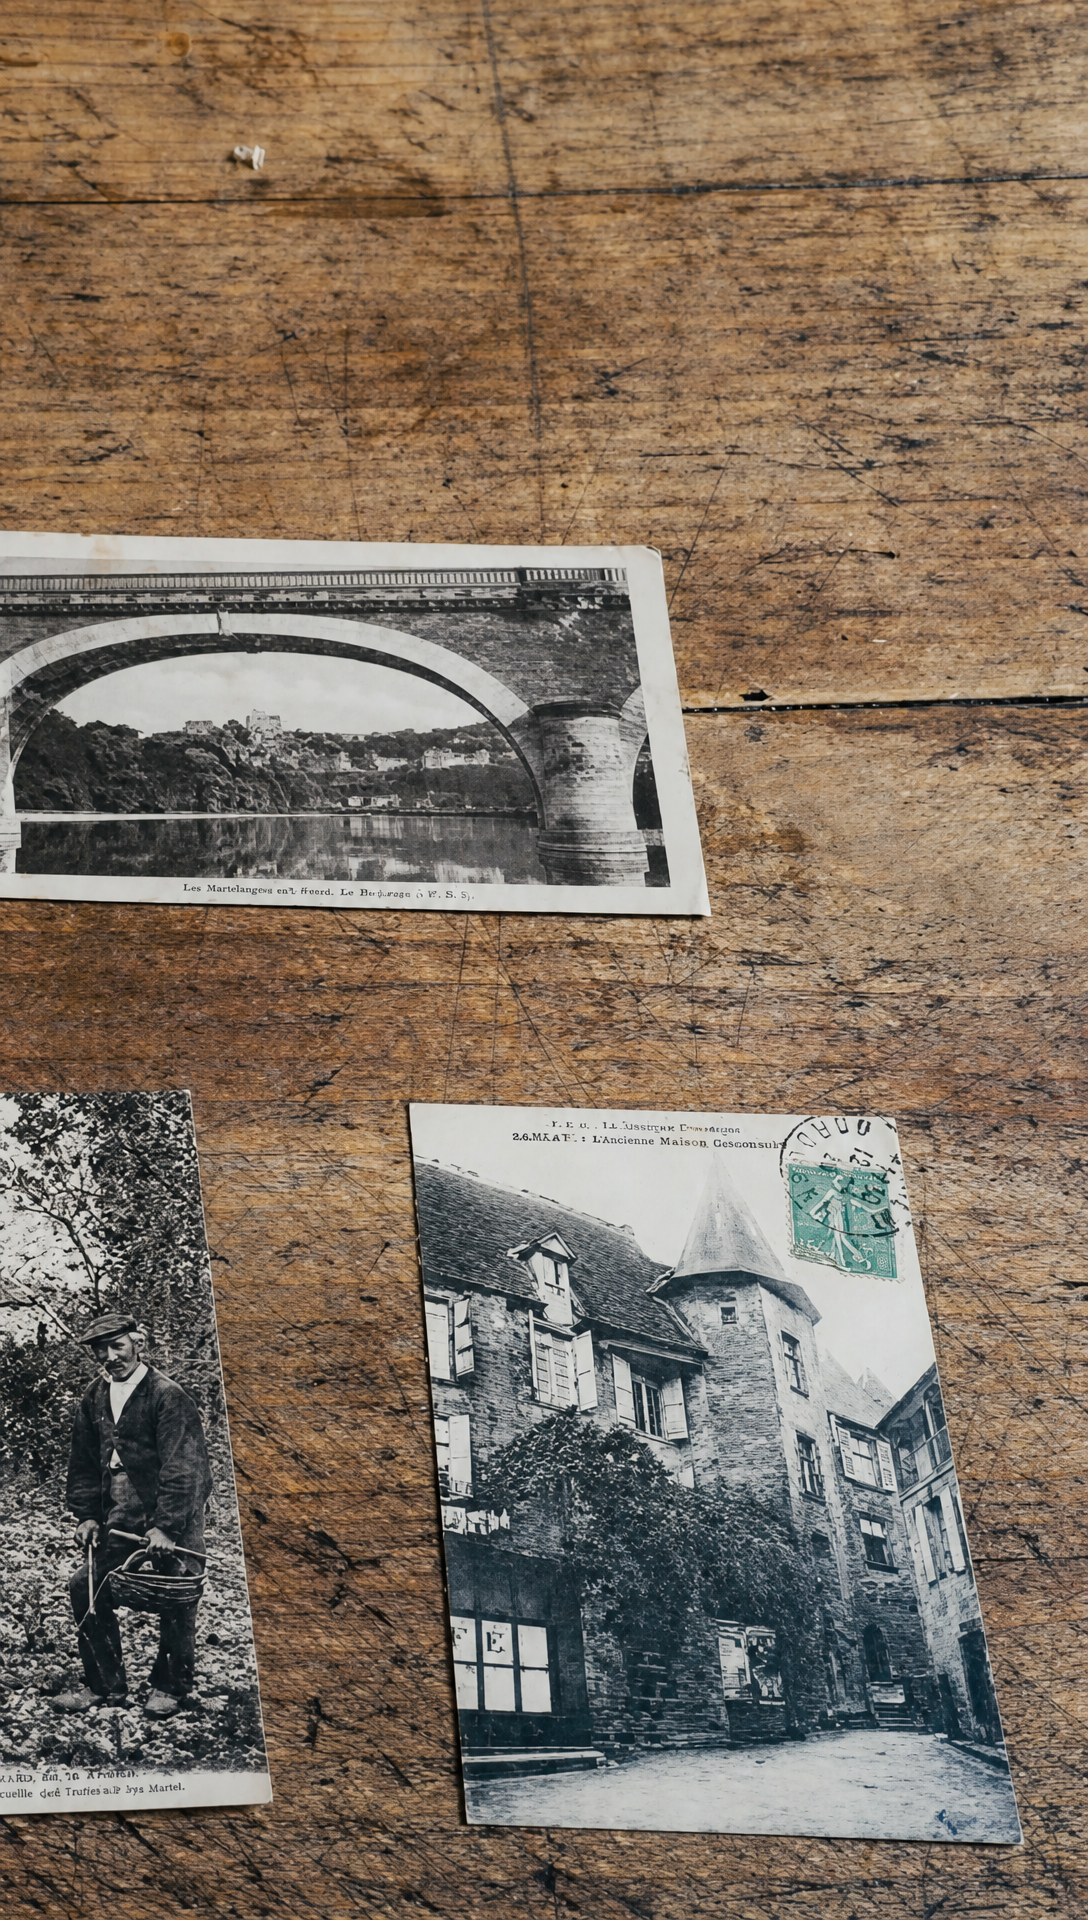 Then there are the chairs, a pair of them for 40 euros. The seller said they were Louis XVI. Her upholstery teacher says Louis Philippe. Either way they look fairly old, and judging by the staples underneath, someone reupholstered them not that long ago. The fabric is nice. The chairs themselves are really, really uncomfortable, so they're getting redone. The good news is the wood is in lovely condition and only needs a clean, with no sanding at all, which made Romy very happy indeed. 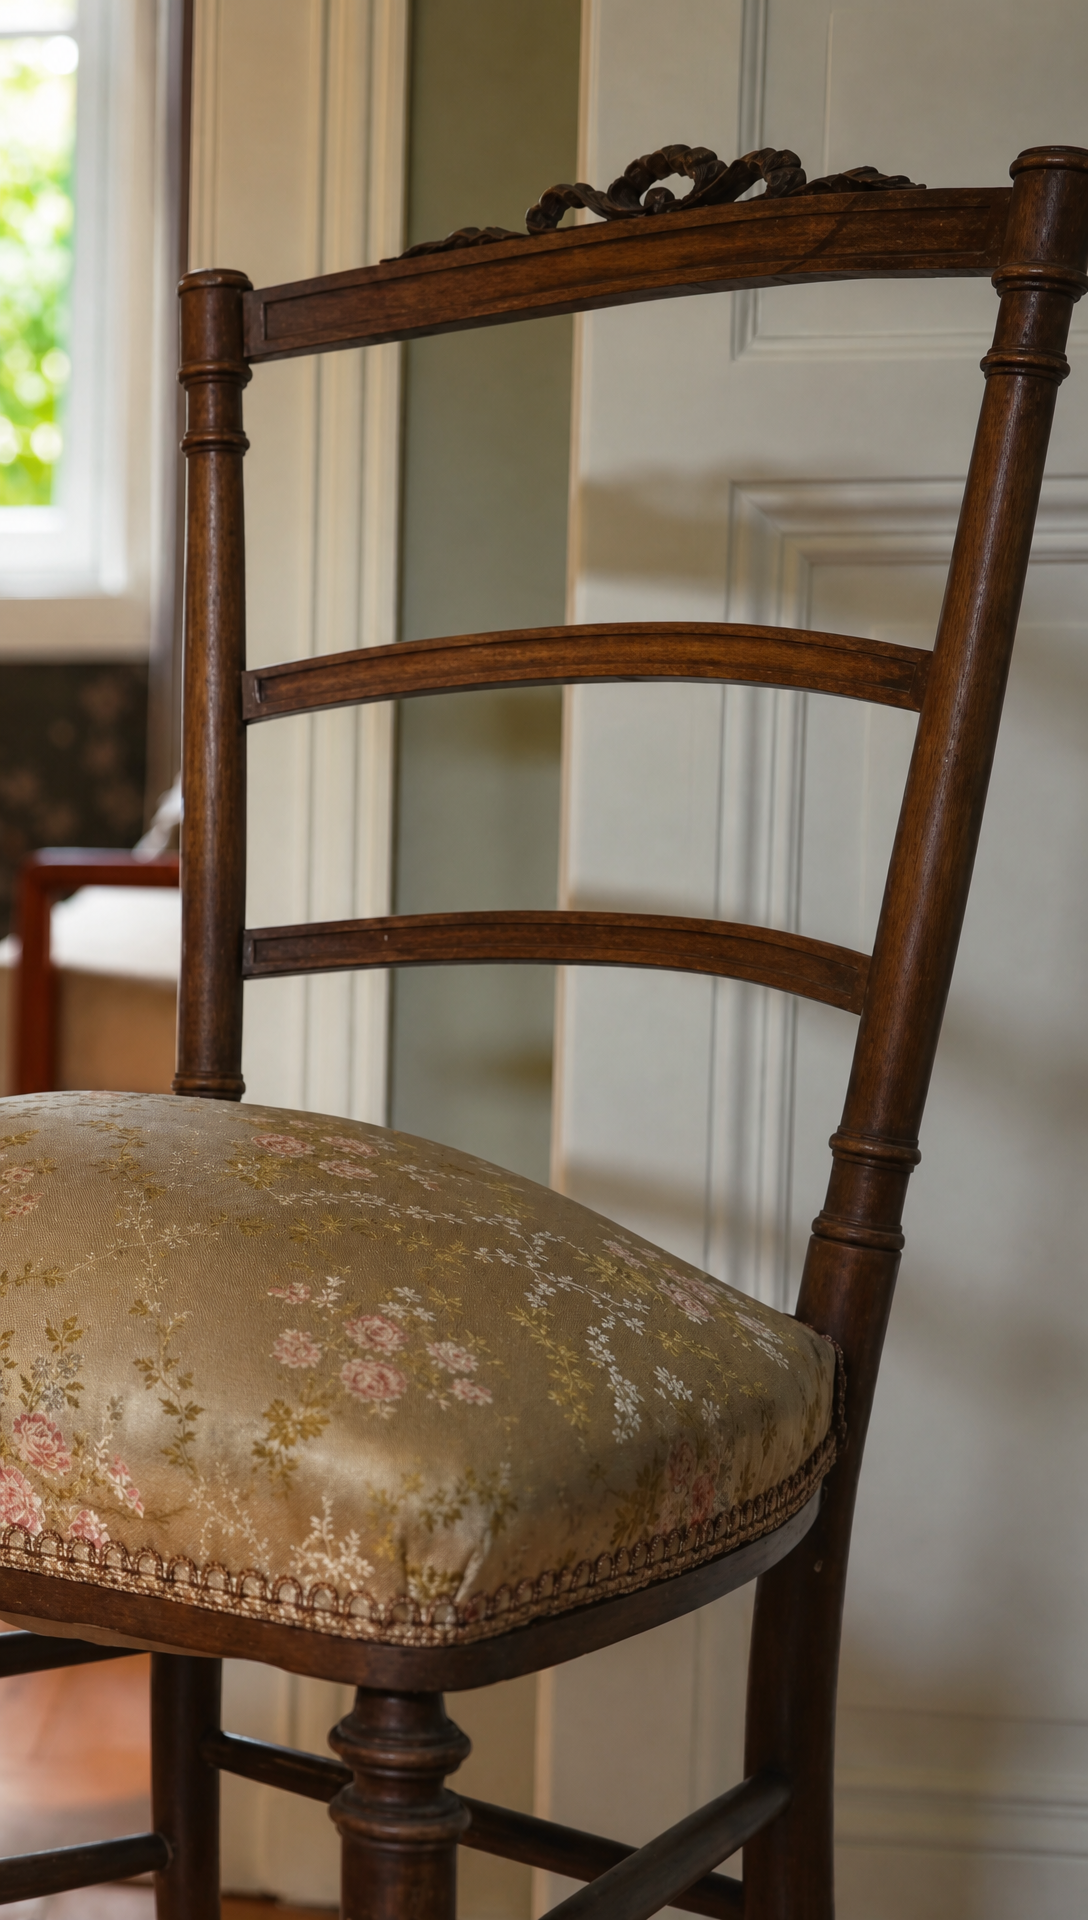 Last and largest are two big armchairs for ten euros each, which is an absolute steal. These are going to be Romy's big upholstery project of the year. She has always dreamt of learning to make chairs like these, and it will take her a while. Buying two means she can restore one during her classes and show you the other one on the channel, step by step. 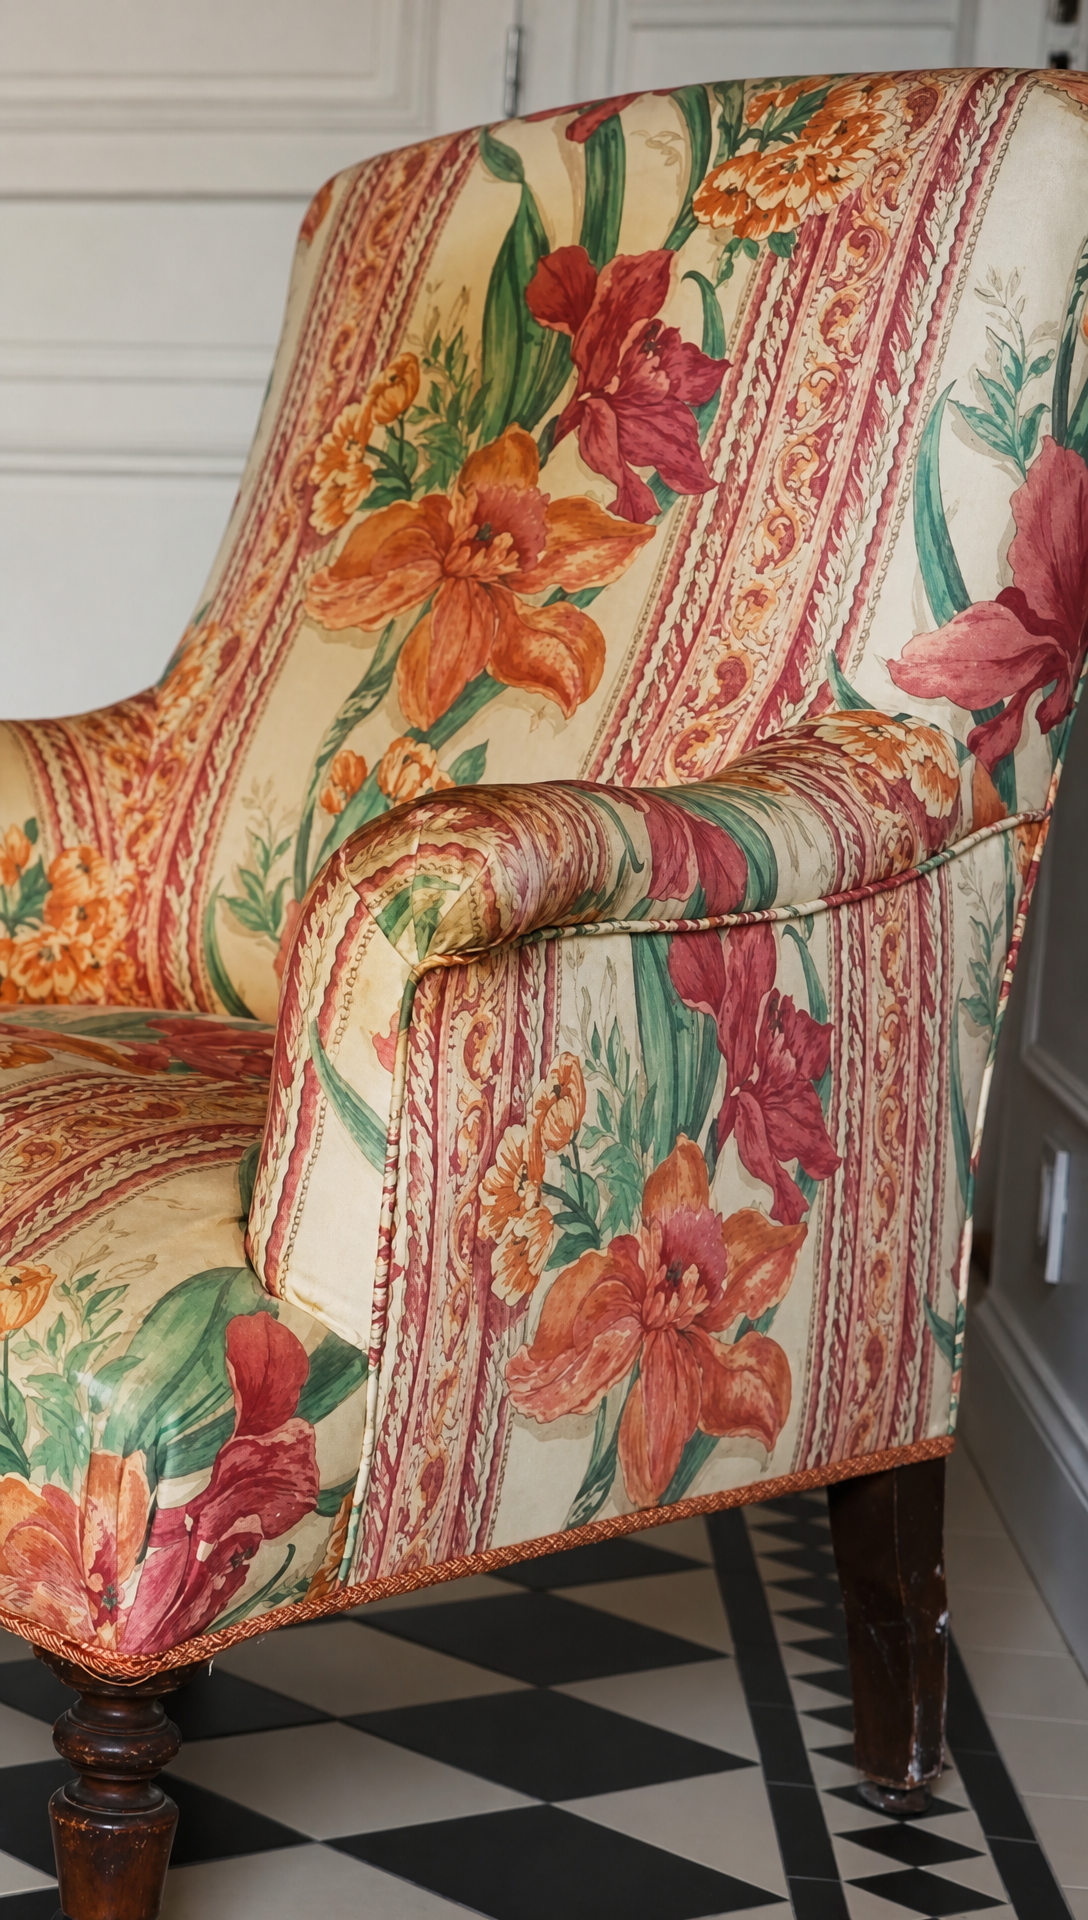 Brocante season runs right up to Christmas here, so there will be plenty more of these trips. Although by her own admission, Romy needs to stop buying chairs. The Front Garden In OctoberRomy also made the most of a gorgeous October day to start tidying up the front garden. Her vision for this space is a naturalistic border, loose and green and flowering right through the year, set against the crisp lines of the new hedge. Some plants loved it over the summer, and the zinnias in particular were very happy there. A season of watching it also showed her what isn't working. The biggest problem is winter. Most of the plants are spring and summer flowering perennials that die back, and the whole bed turns a rather sad brown. So she planted a few evergreen shrubs in the middle, to give the border some structure and something to look at through the colder months. 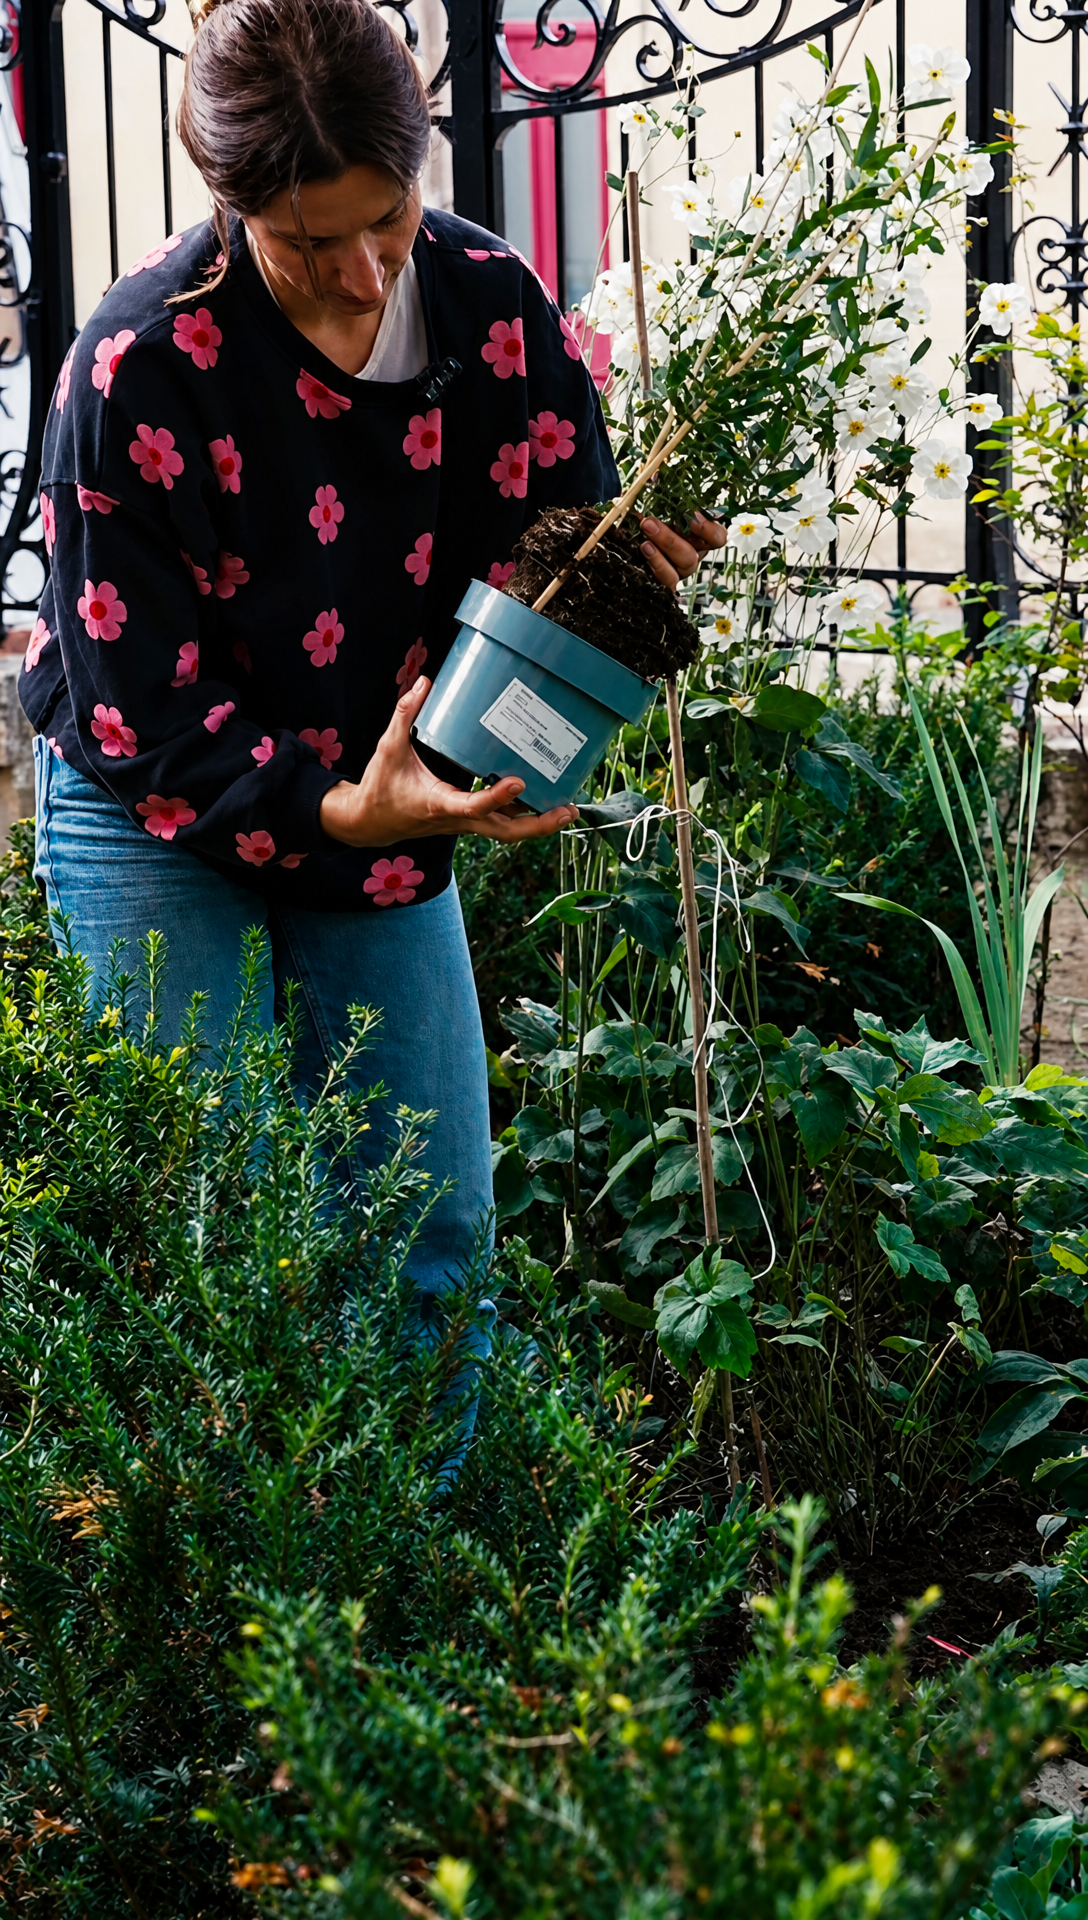 Next year she's doubling down on what worked. More foxgloves, because she isn't sure they'll self seed and doesn't want to risk it. More Japanese anemones too, which look lovely and are about the only thing that properly thrives here in September and October. Phoebe, as ever, was on hand to inspect the planting. 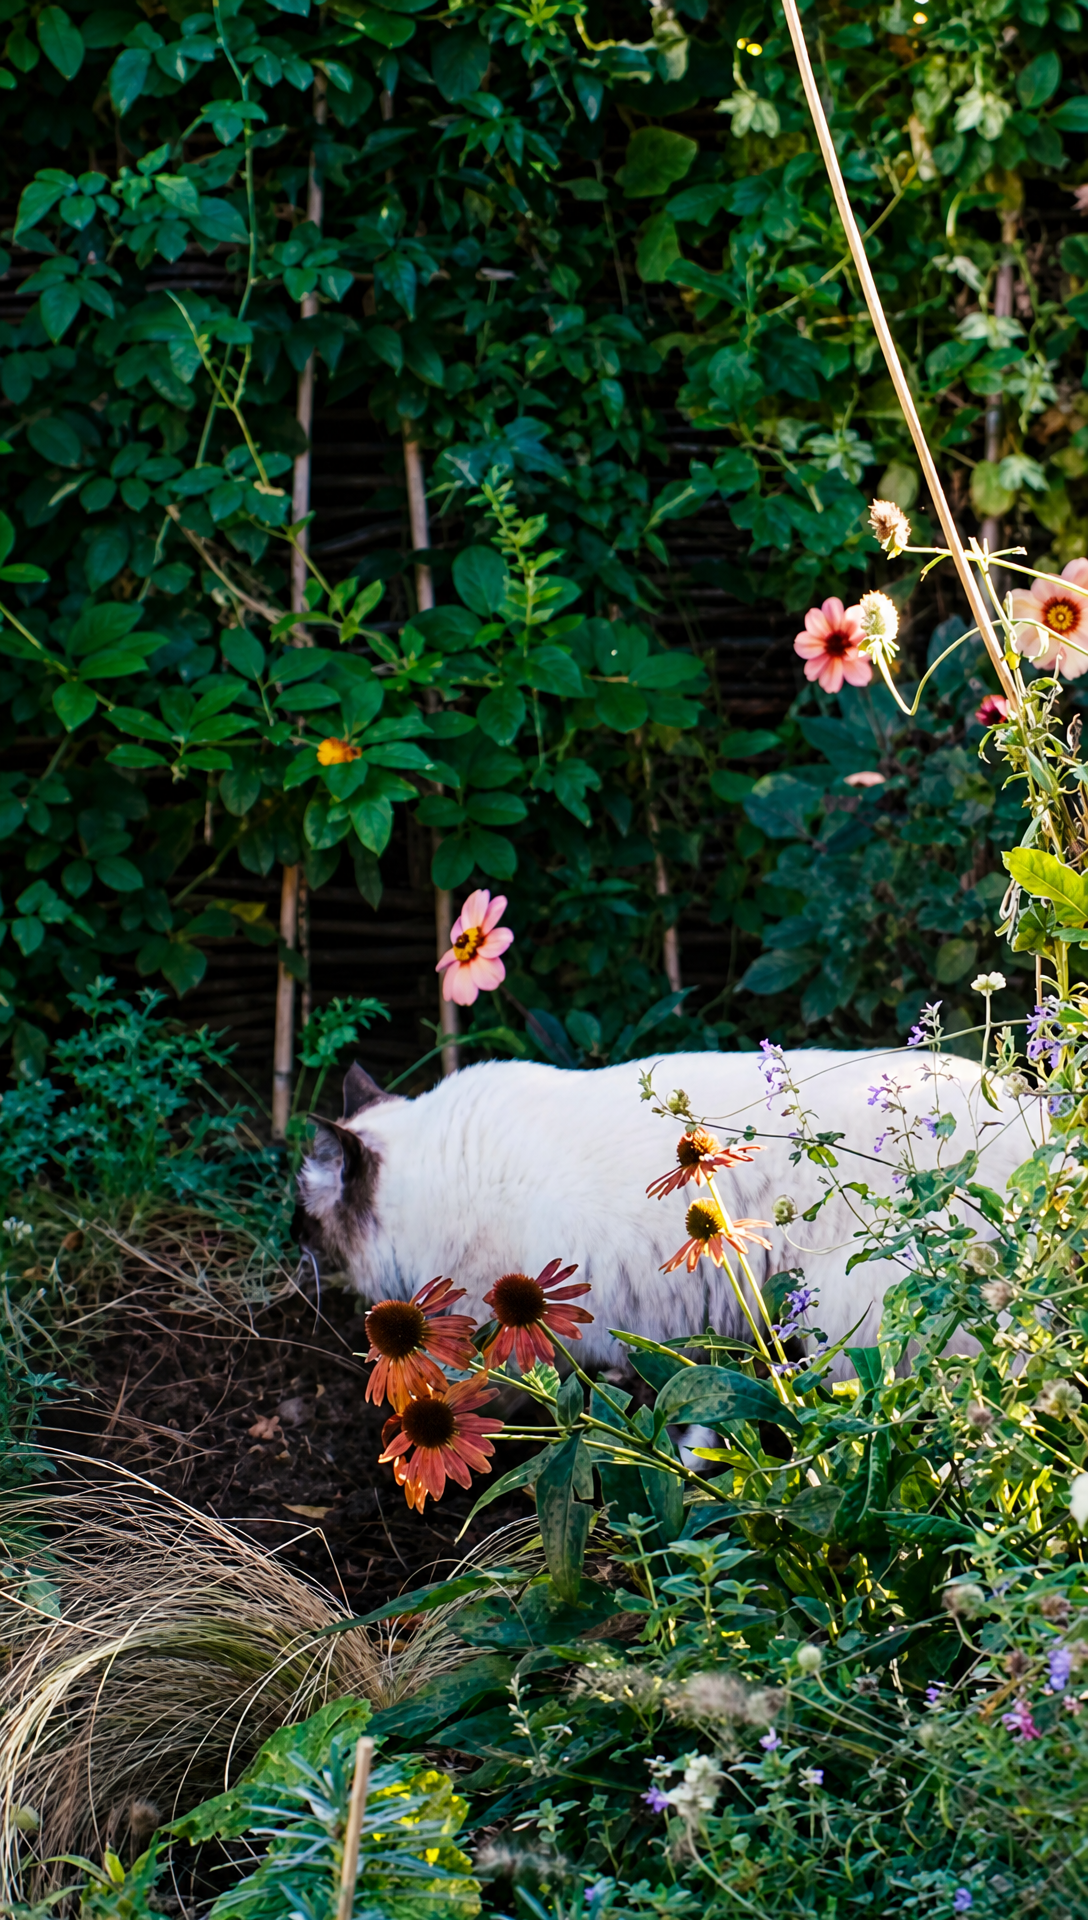 The one thing that refuses to go away is the mosquitoes. It was mid October and the little blighters were still thriving, so Romy had to retreat indoors for repellent before she could carry on. Pumpkins In The TreeIt wouldn't be the end of October without a couple of pumpkins. We carved them at the table, wrapped them in chicken wire and hung them from the tree in the front garden, where they swing over the border and glow a lovely spooky orange once it gets dark. 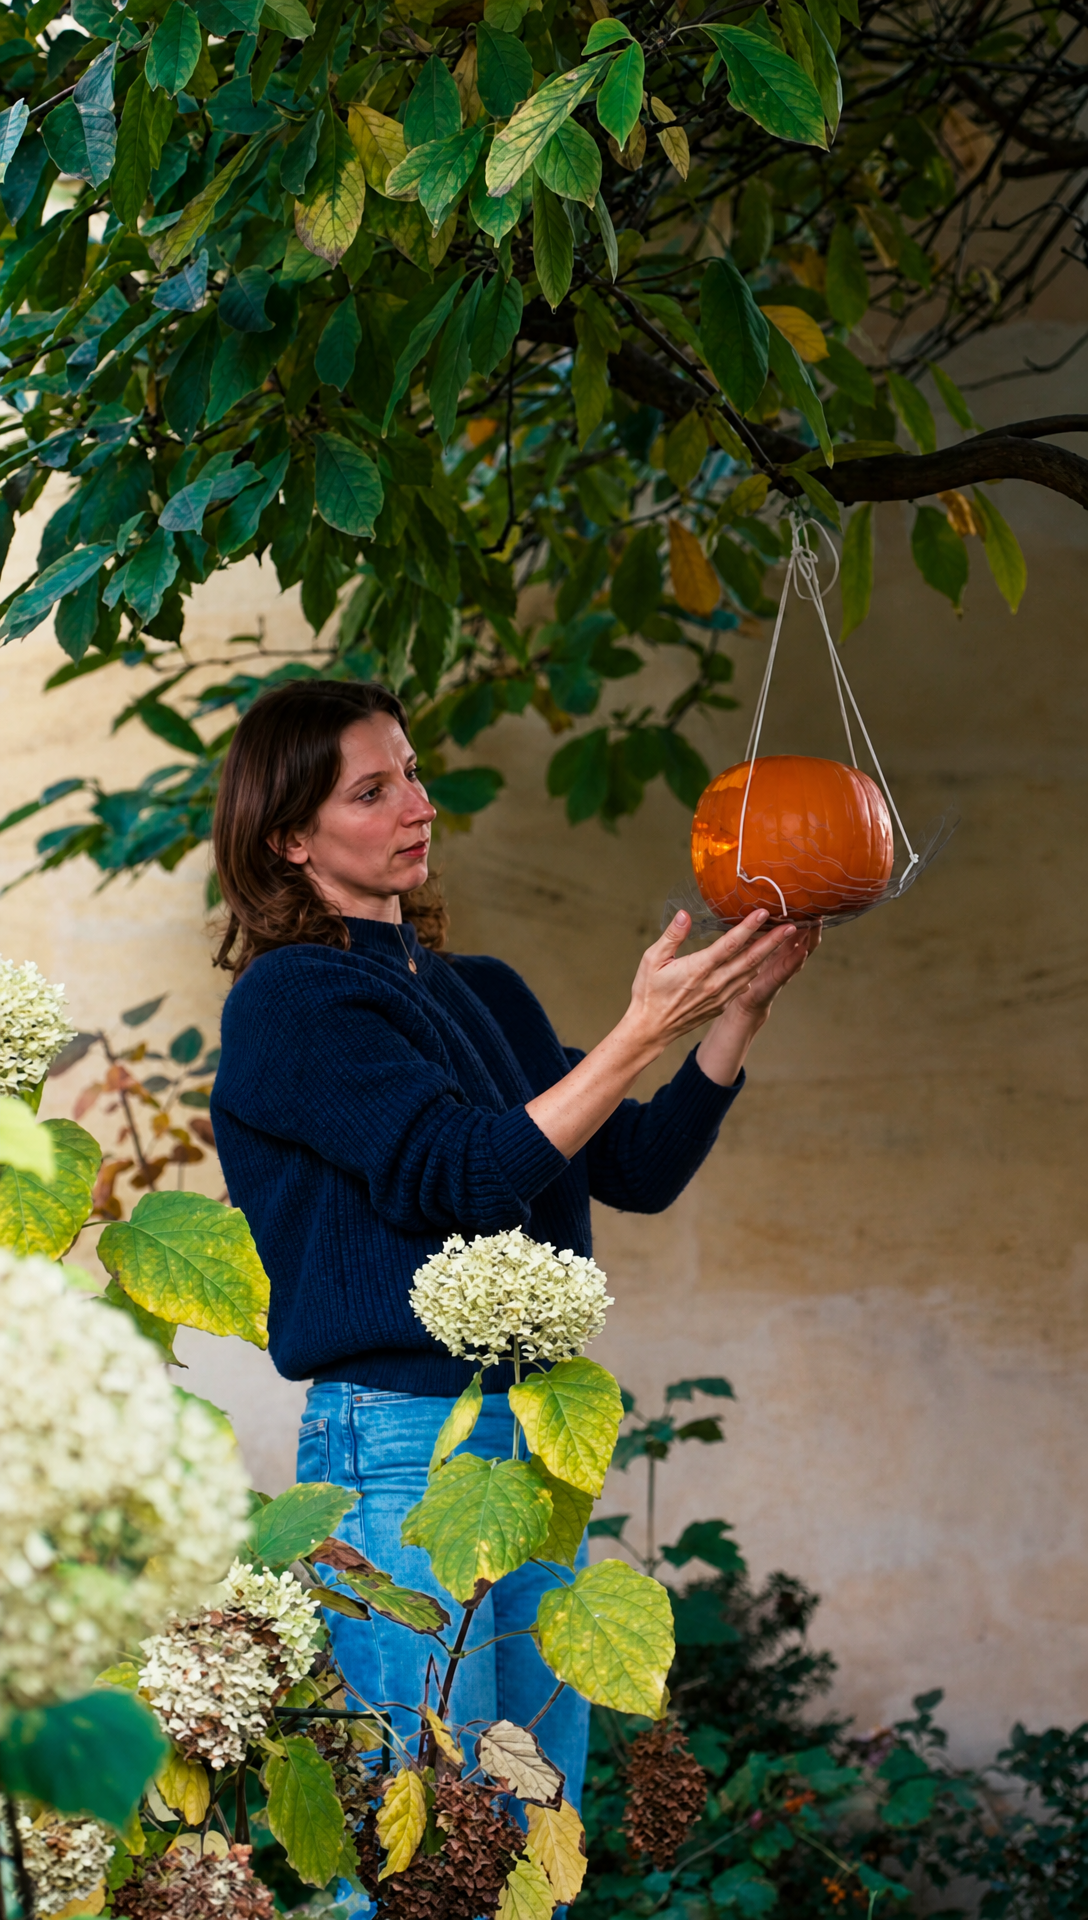  The video is at the top of the page if you'd like to see it all in motion, from the first beech board through the thicknesser to the pumpkins lighting up. I hope you enjoy it. And if you know your Louis XVI from your Louis Philippe, Romy would love a verdict on those chairs in the comments. |
Restoring la Chartreuse
Follow along as we renovate a 200 year old townhouse in the French South West.
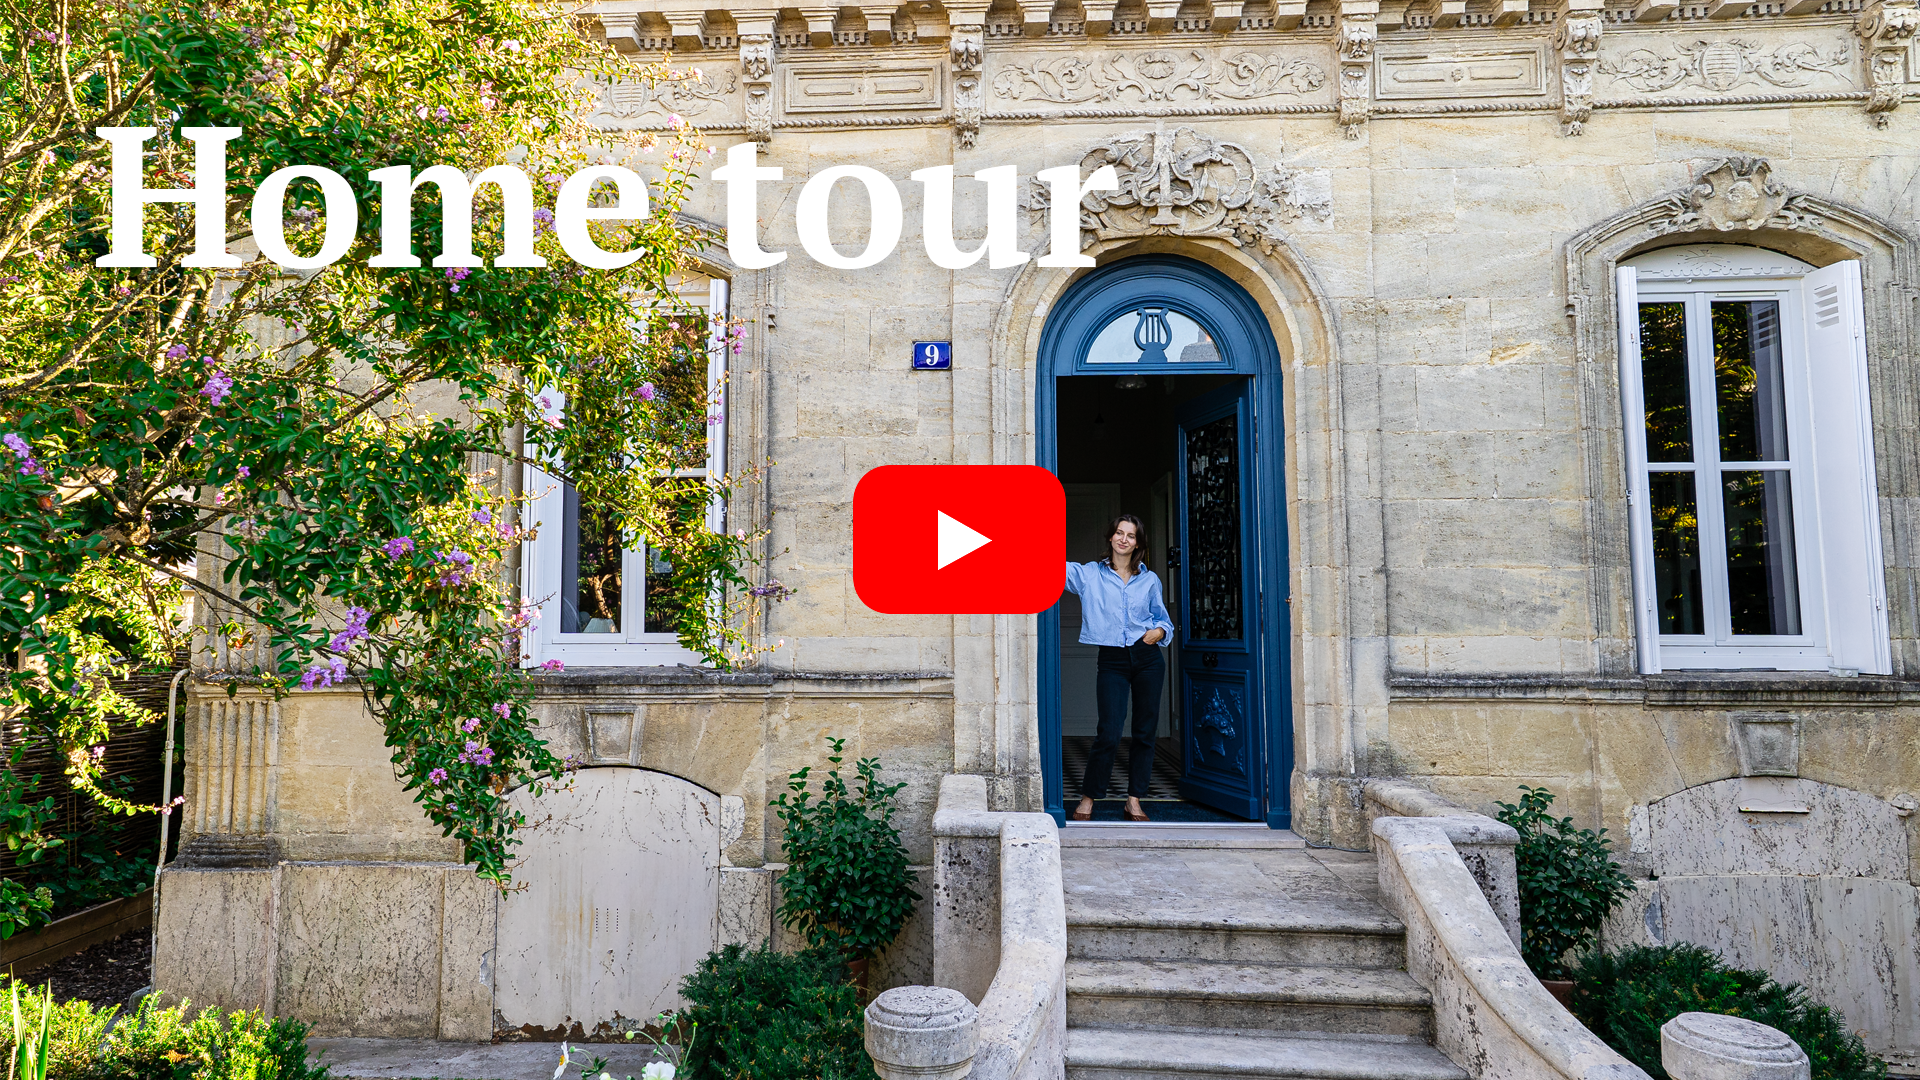
A Full Tour Of Our French Home, Three Years In Watch the video on YouTube We've been renovating our home for the better part of three years now, which is pretty nuts when I write it down. Half of it is done, half of it isn't, and some of it may never be. There's enough finished, though, to make a proper tour worthwhile. So here it is, every room of the house, the lovely ones and the ones full of boxes, starting on the street outside and ending up in the back garden. Romy and me at the front...
Our French Attic Finally Gets Its Walls Watch the video on YouTube The attic has been missing from the last couple of episodes. Work up there never stopped. I couldn't find a good way to blend it in with the range hood and the pantry drawings, so we saved it up to show you in one go. This is that episode, and it is mostly plasterboard: around beams, over a staircase, and on top of a mistake I made with the insulation. First, A Thank You Before we go upstairs, a quick word on last time. I told...
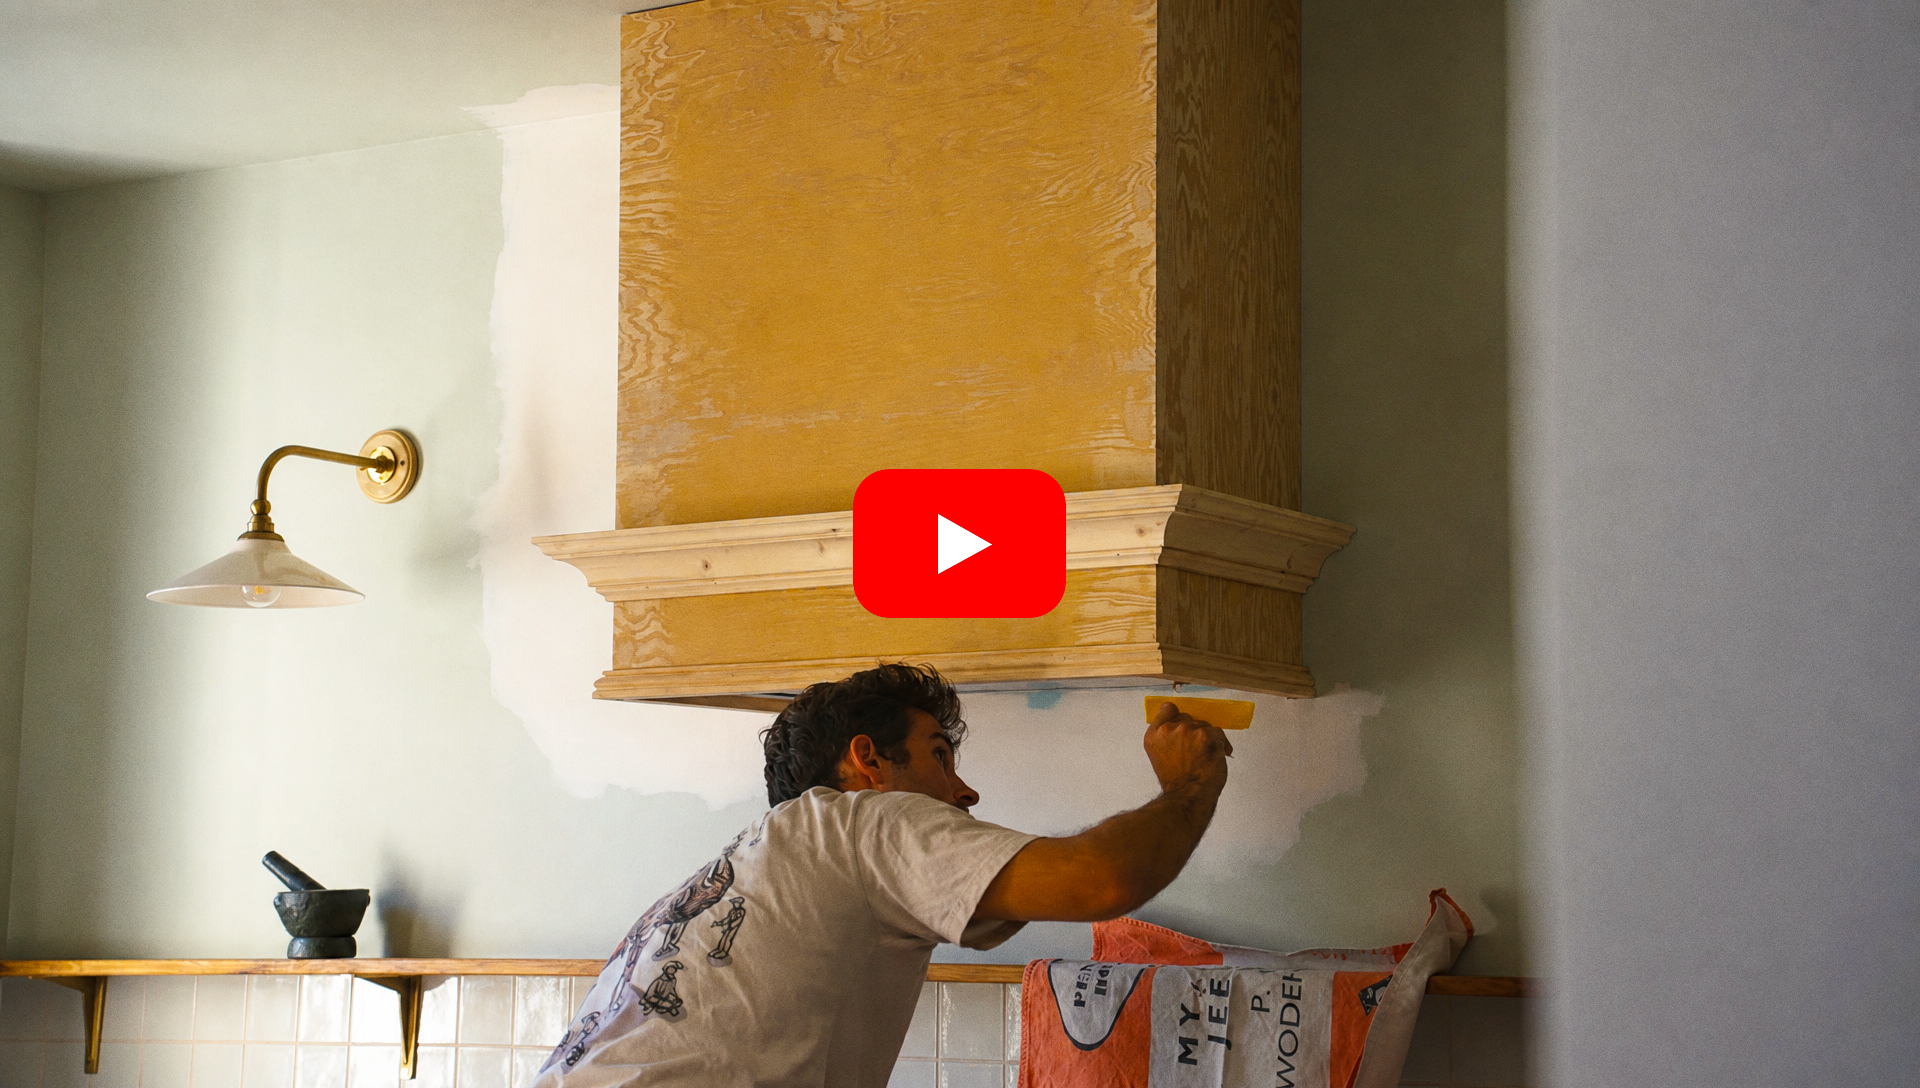
Our French Kitchen Is Finally Finished Watch the video on YouTube Last episode ended with a plywood box above the stove and a set of mouldings that hadn't turned up. They have now. It took a while, because France shuts down in August and nothing moves until September, but the mouldings are here, the hood is finished and painted, and for the first time since we moved in the kitchen is complete. Give or take a few sockets. There's a lot else in this one. The pantry design is settled after...