Follow along as we renovate a 200 year old townhouse in the French South West.
A Full Tour Of Our French Home, Three Years In
A Full Tour Of Our French Home, Three Years In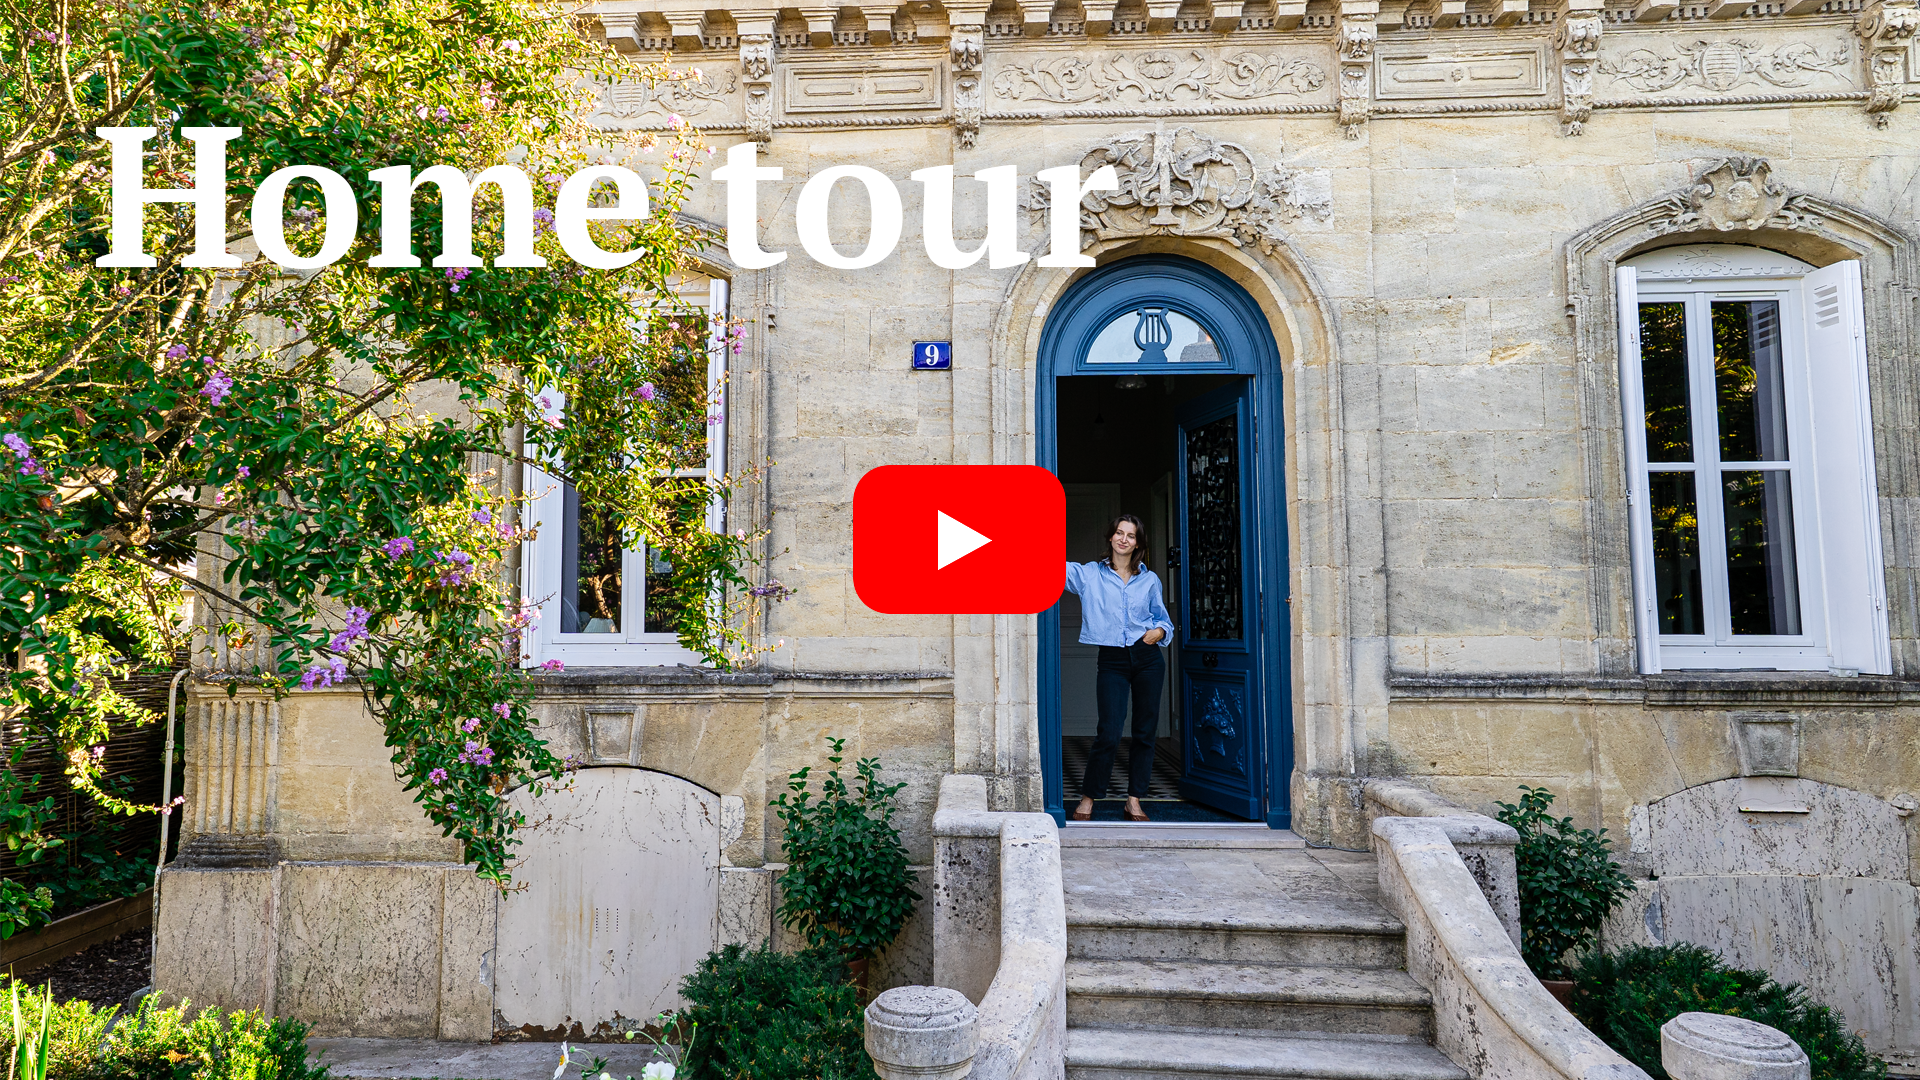 We've been renovating our home for the better part of three years now, which is pretty nuts when I write it down. Half of it is done, half of it isn't, and some of it may never be. There's enough finished, though, to make a proper tour worthwhile. So here it is, every room of the house, the lovely ones and the ones full of boxes, starting on the street outside and ending up in the back garden. 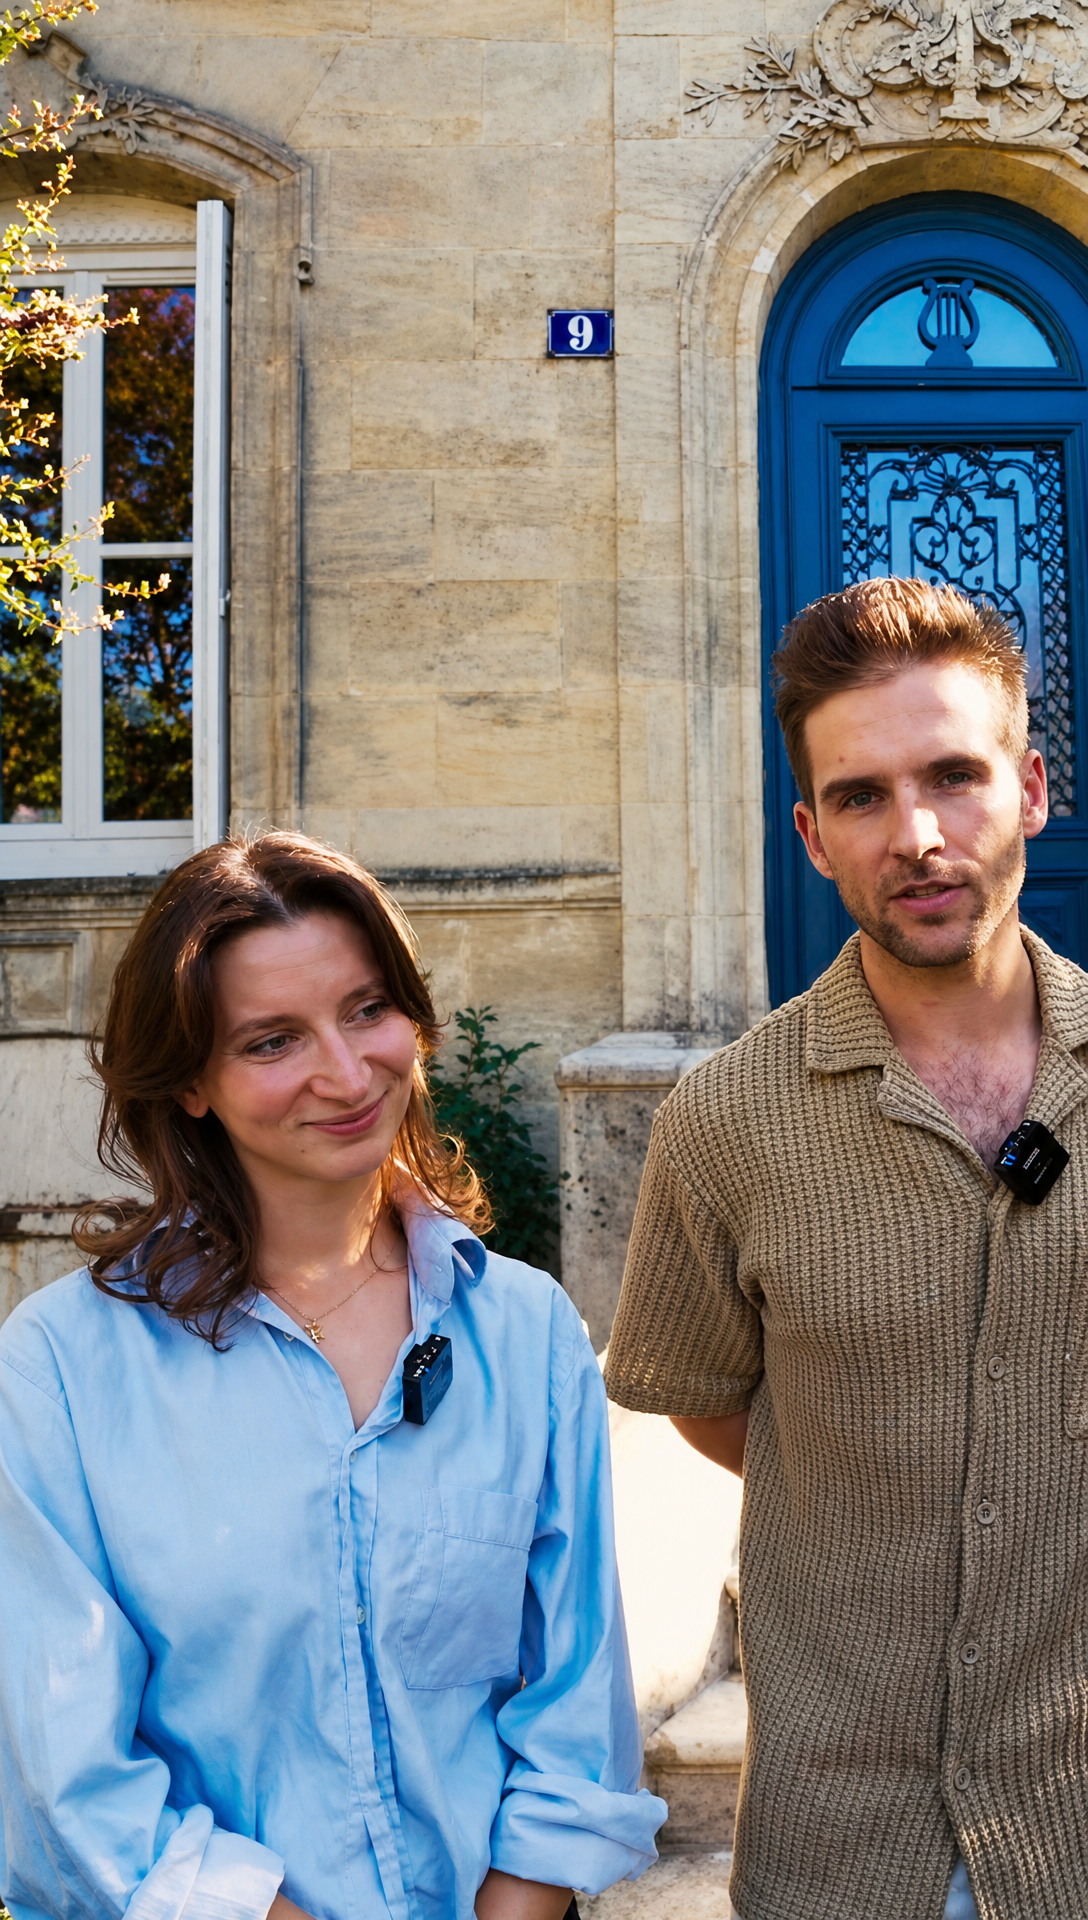 The Facade And A LegendWe're in Bordeaux, in the southwest of France, and the house is a chartreuse. Sadly not the liqueur. It's the typical house for this part of the country: stone built, symmetrical, a central door with steps up to it and some decorative carving across the front. Ours is covered in little musical motifs, on the stone and on the door itself. Legend has it the house was built by the first violinist of the Bordeaux orchestra, or at least that's what the estate agent told us. I'm not so sure. Romy doesn't much care whether it's true, because it's pretty either way. One day we'll go to the archives and find out. 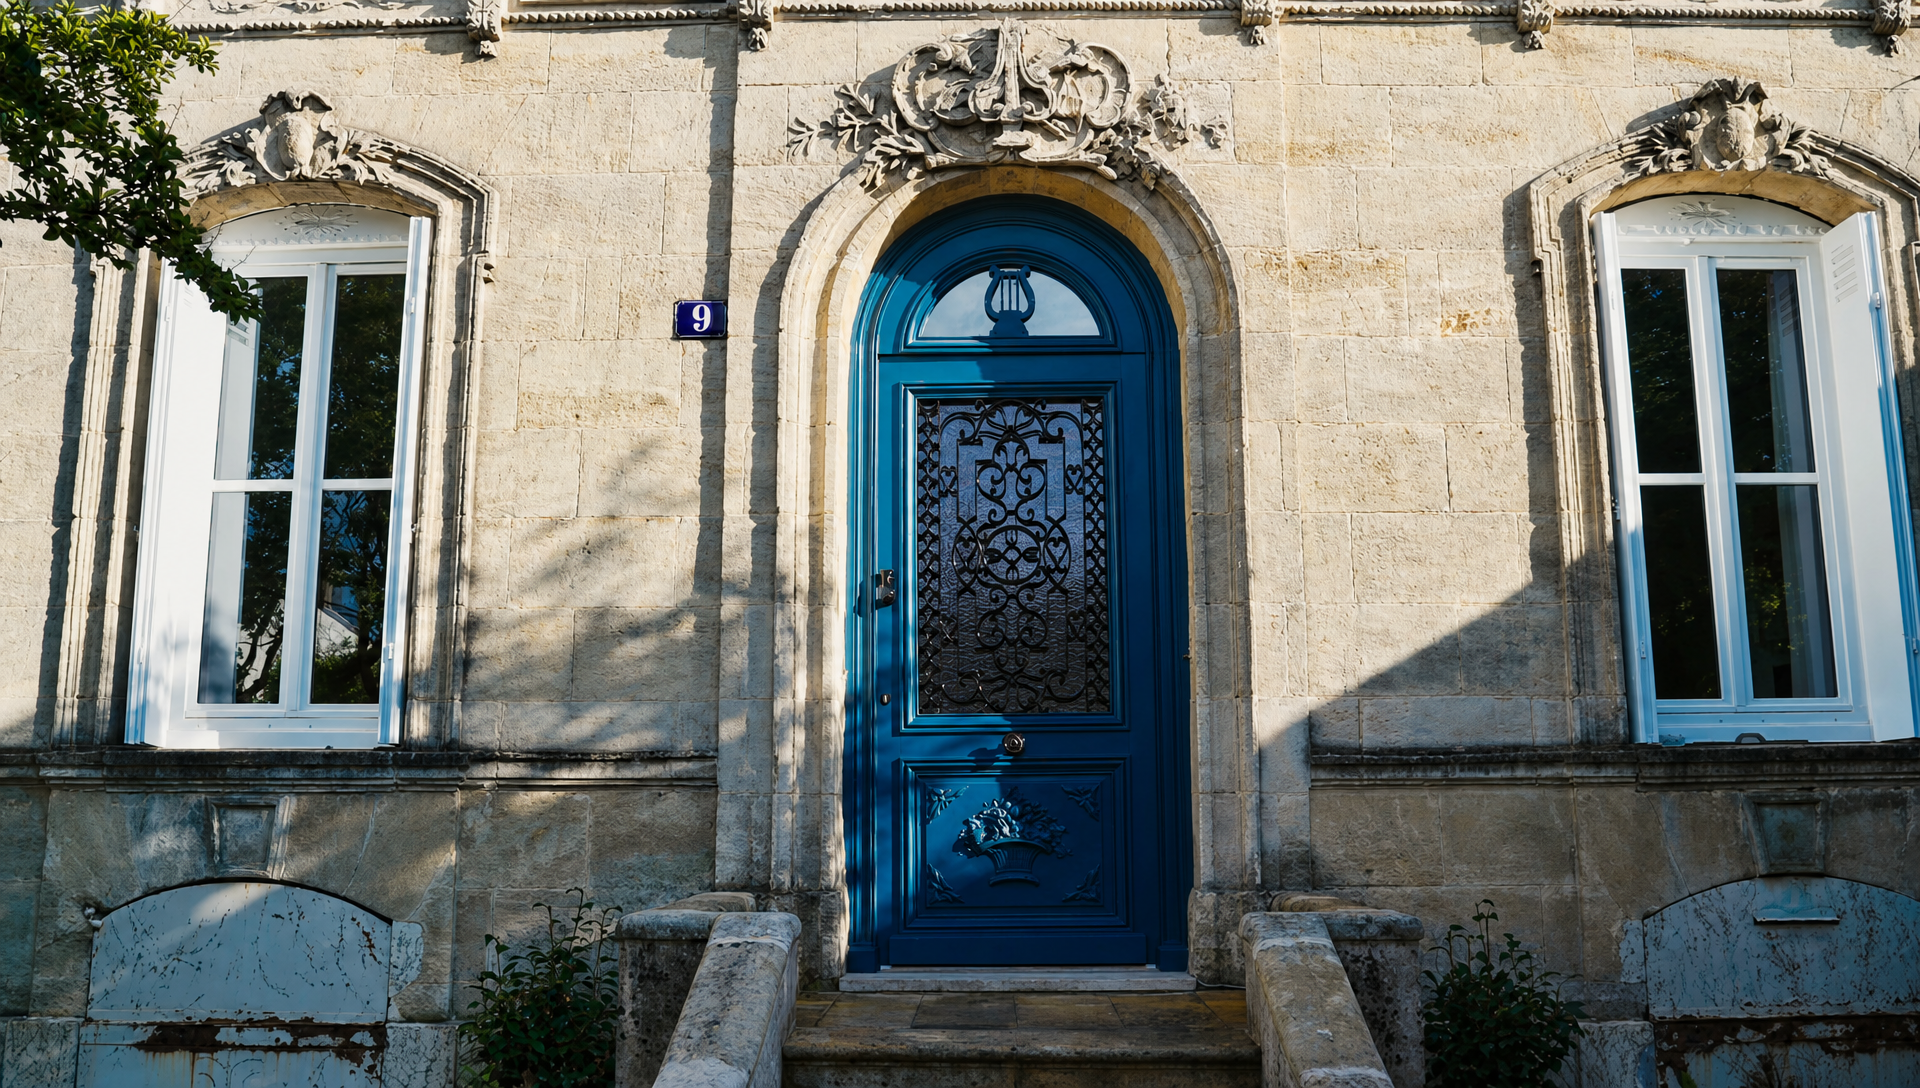 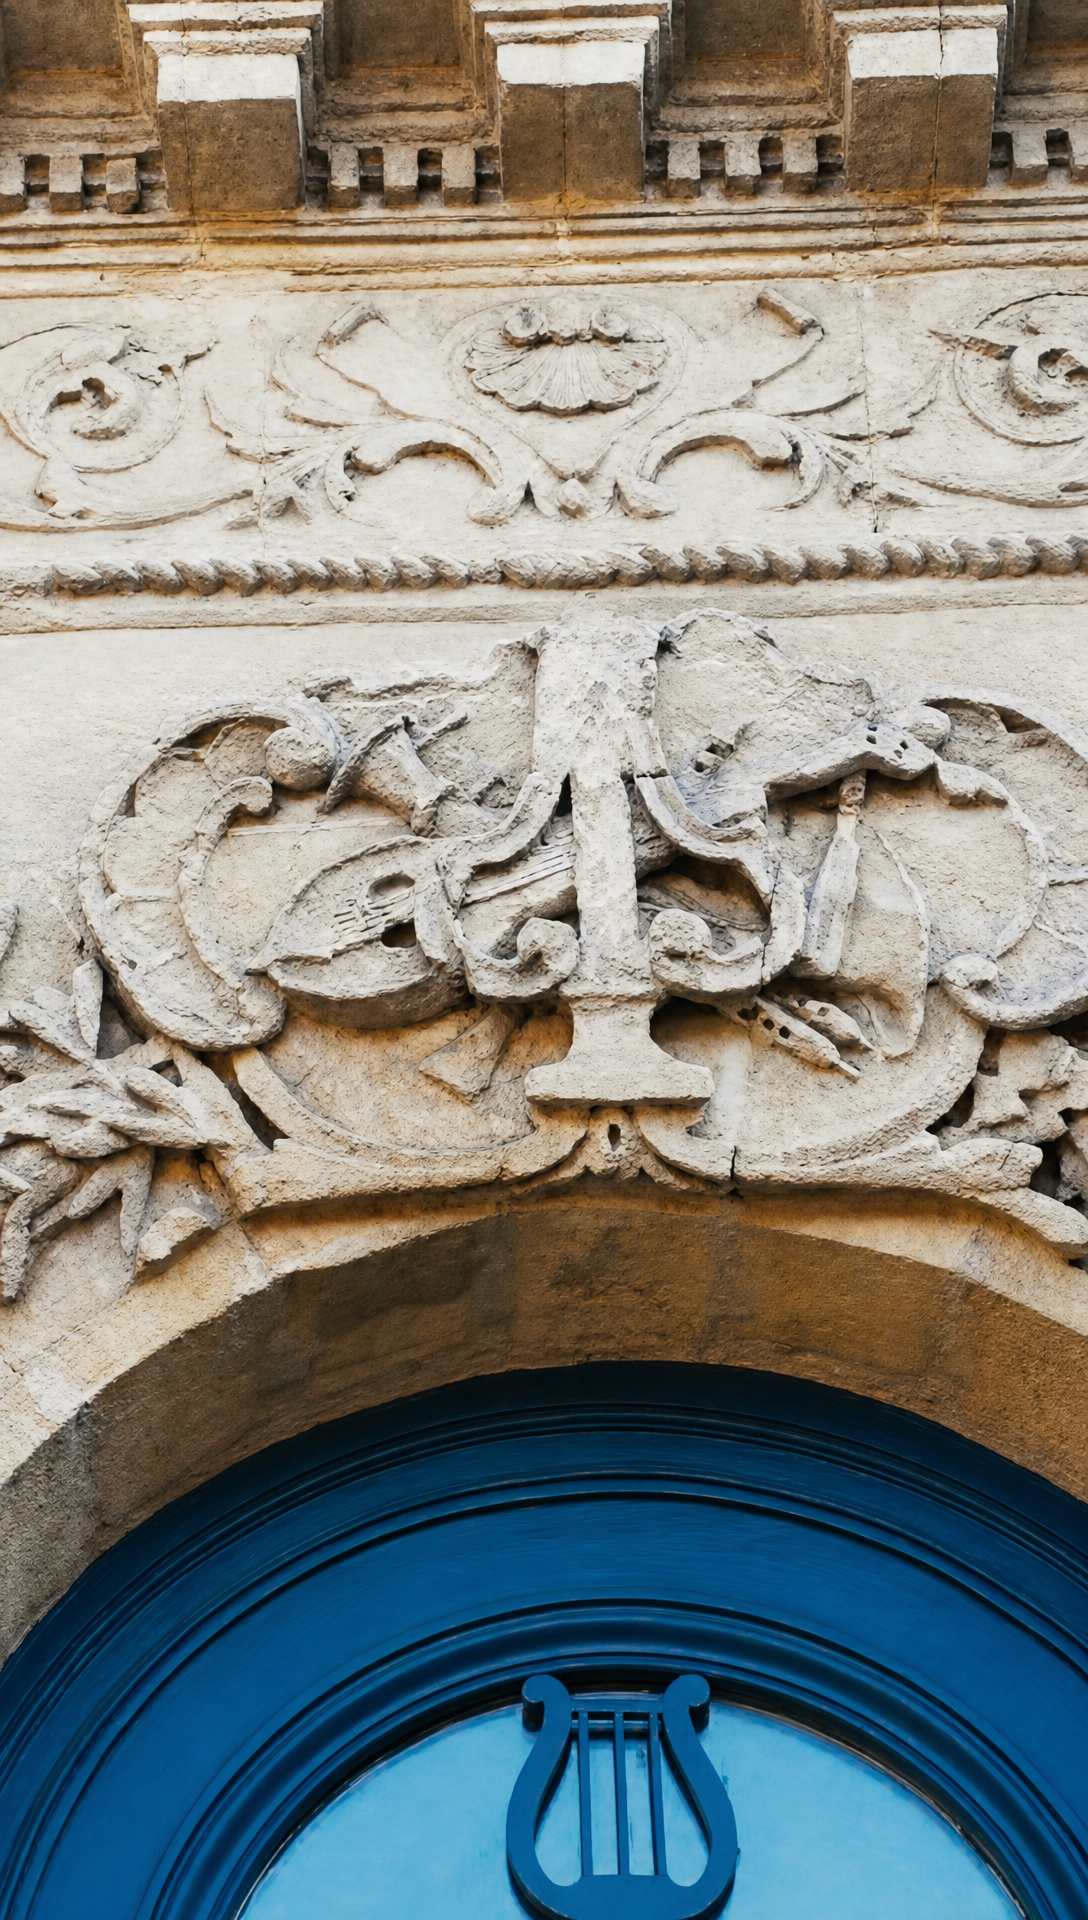 When we first viewed the house it was in a very bad state, especially outside. The garden was overgrown, the gate had rusted through and the door was knackered. Even so, the facade and that door were a big part of why we fell for the place. You could stand on the pavement, squint past the mess, and see what it would look like. The door we were determined to save. Luckily we found a company that restores old doors, they did a wonderful job, and we repainted it as close to the original blue as we could get. For everyone who has asked, and a lot of you have, it's Hicks Blue by Little Greene. 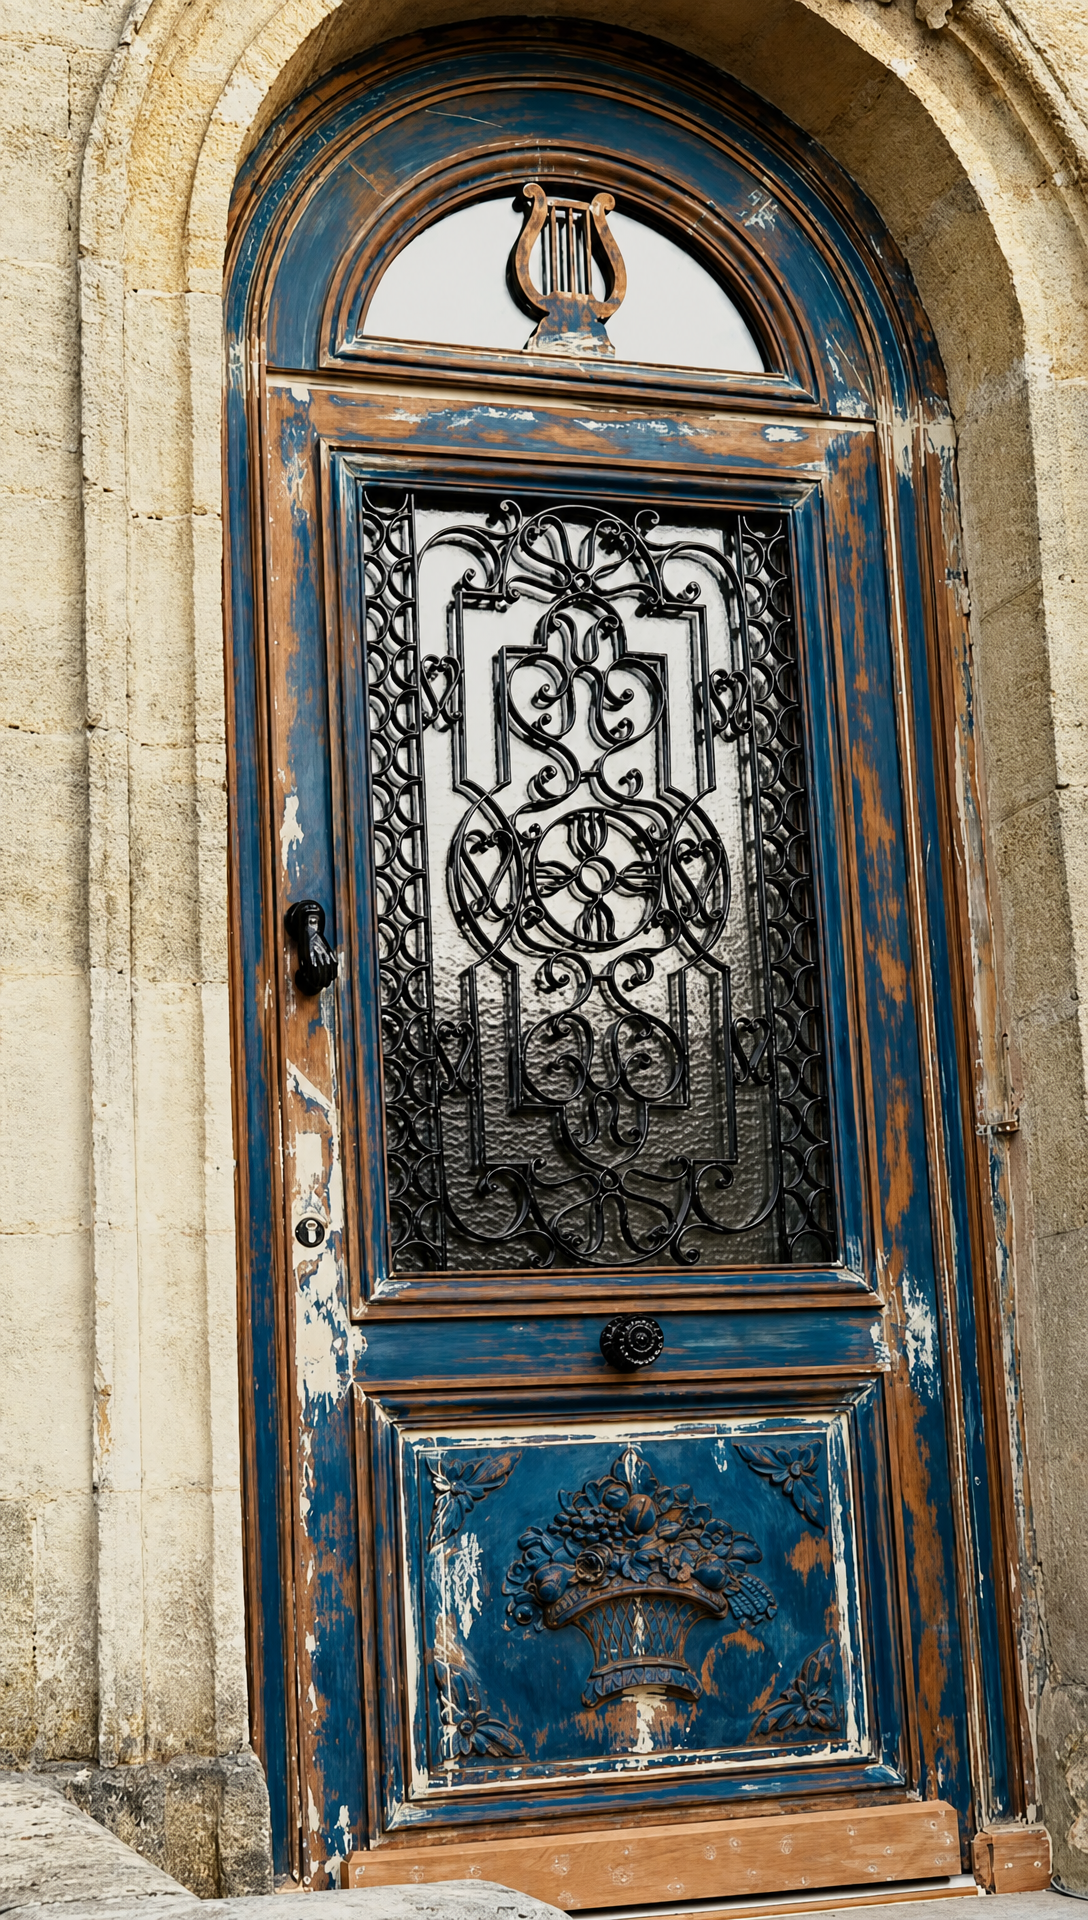 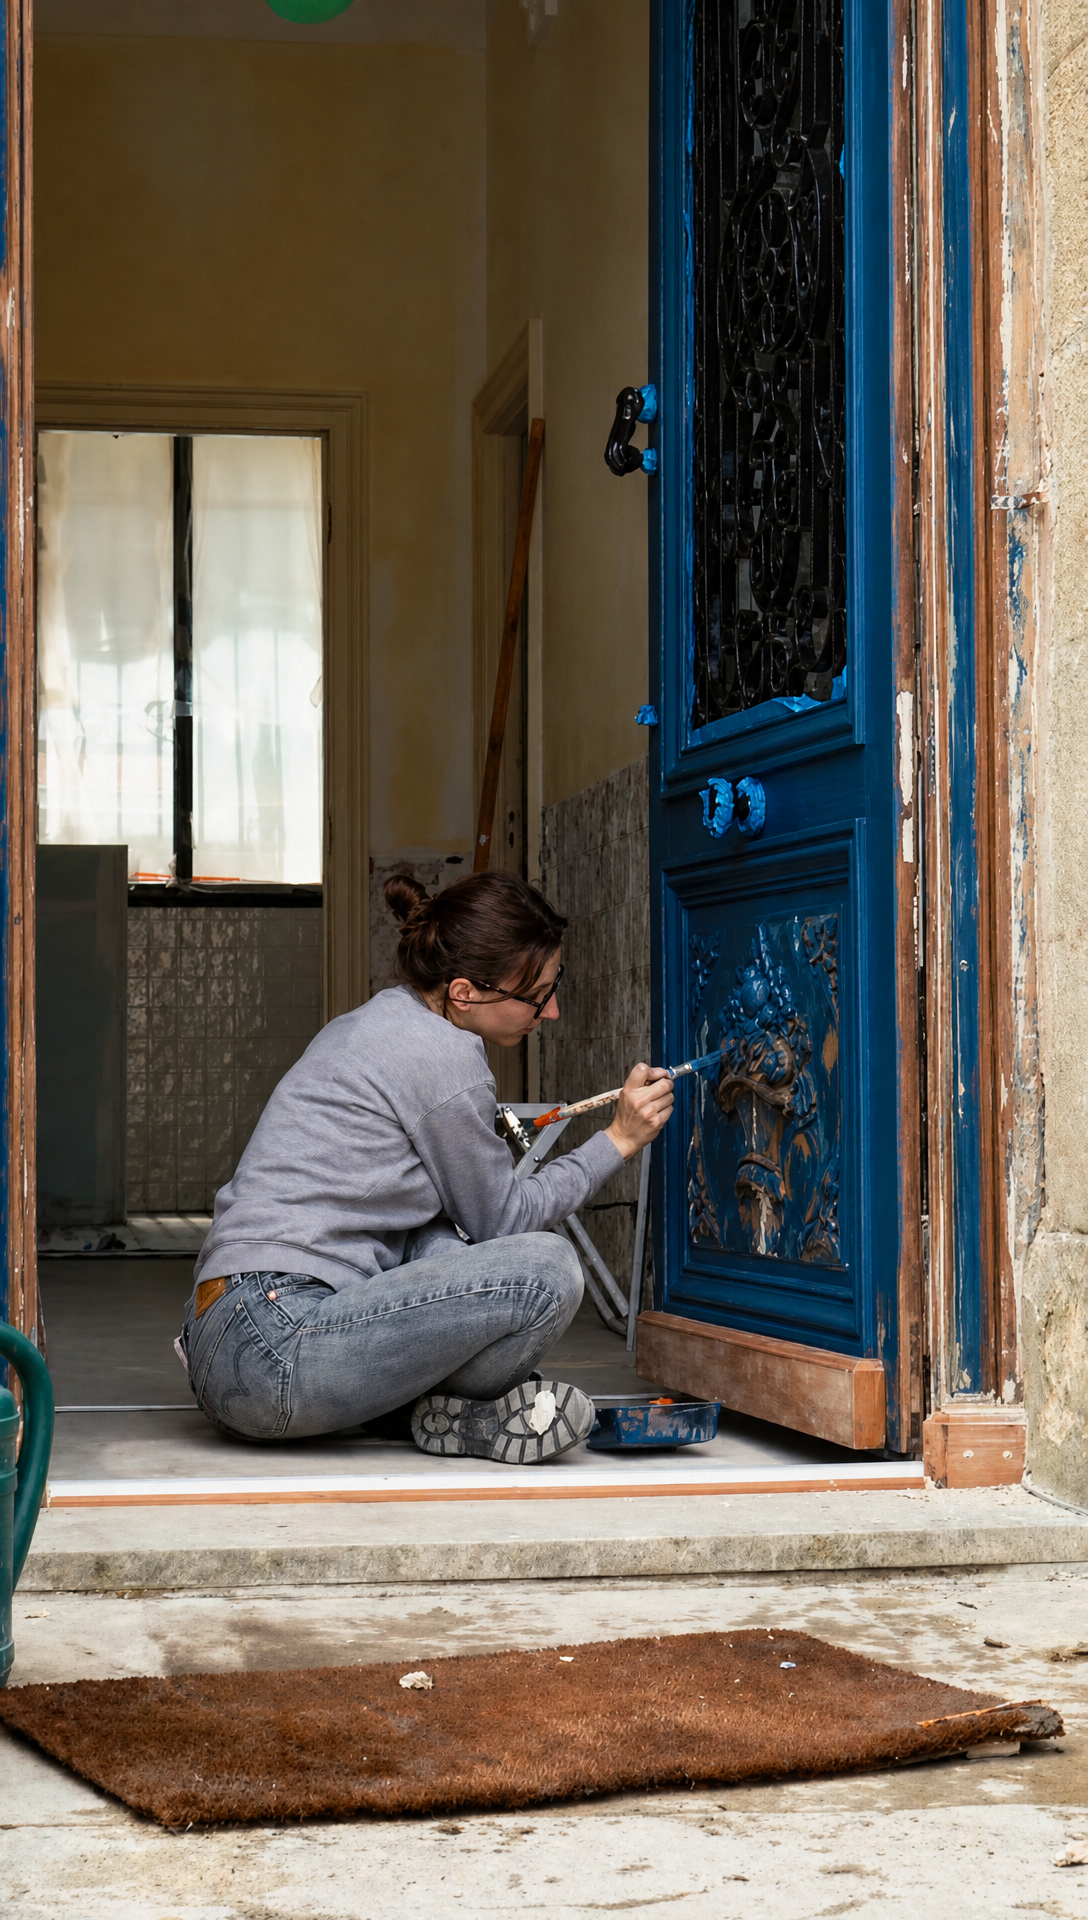 We also get a lot of questions about the stains on the stone, so here's the answer. We can't pressure wash it. The sandstone is brittle and would fall apart. The choices here are a chemical wash or a laser treatment, and the laser costs a small fortune, so the stains are staying put for now. Maybe one day. The HallwayThe hallway splits the house in two. Office, bedroom and bathroom down one side, living room, dining room and kitchen down the other. Romy liked the simplicity of that layout from the first viewing. It felt traditional, and it was easy to picture what it could become, even though at the time the floor was mostly broken tiles. 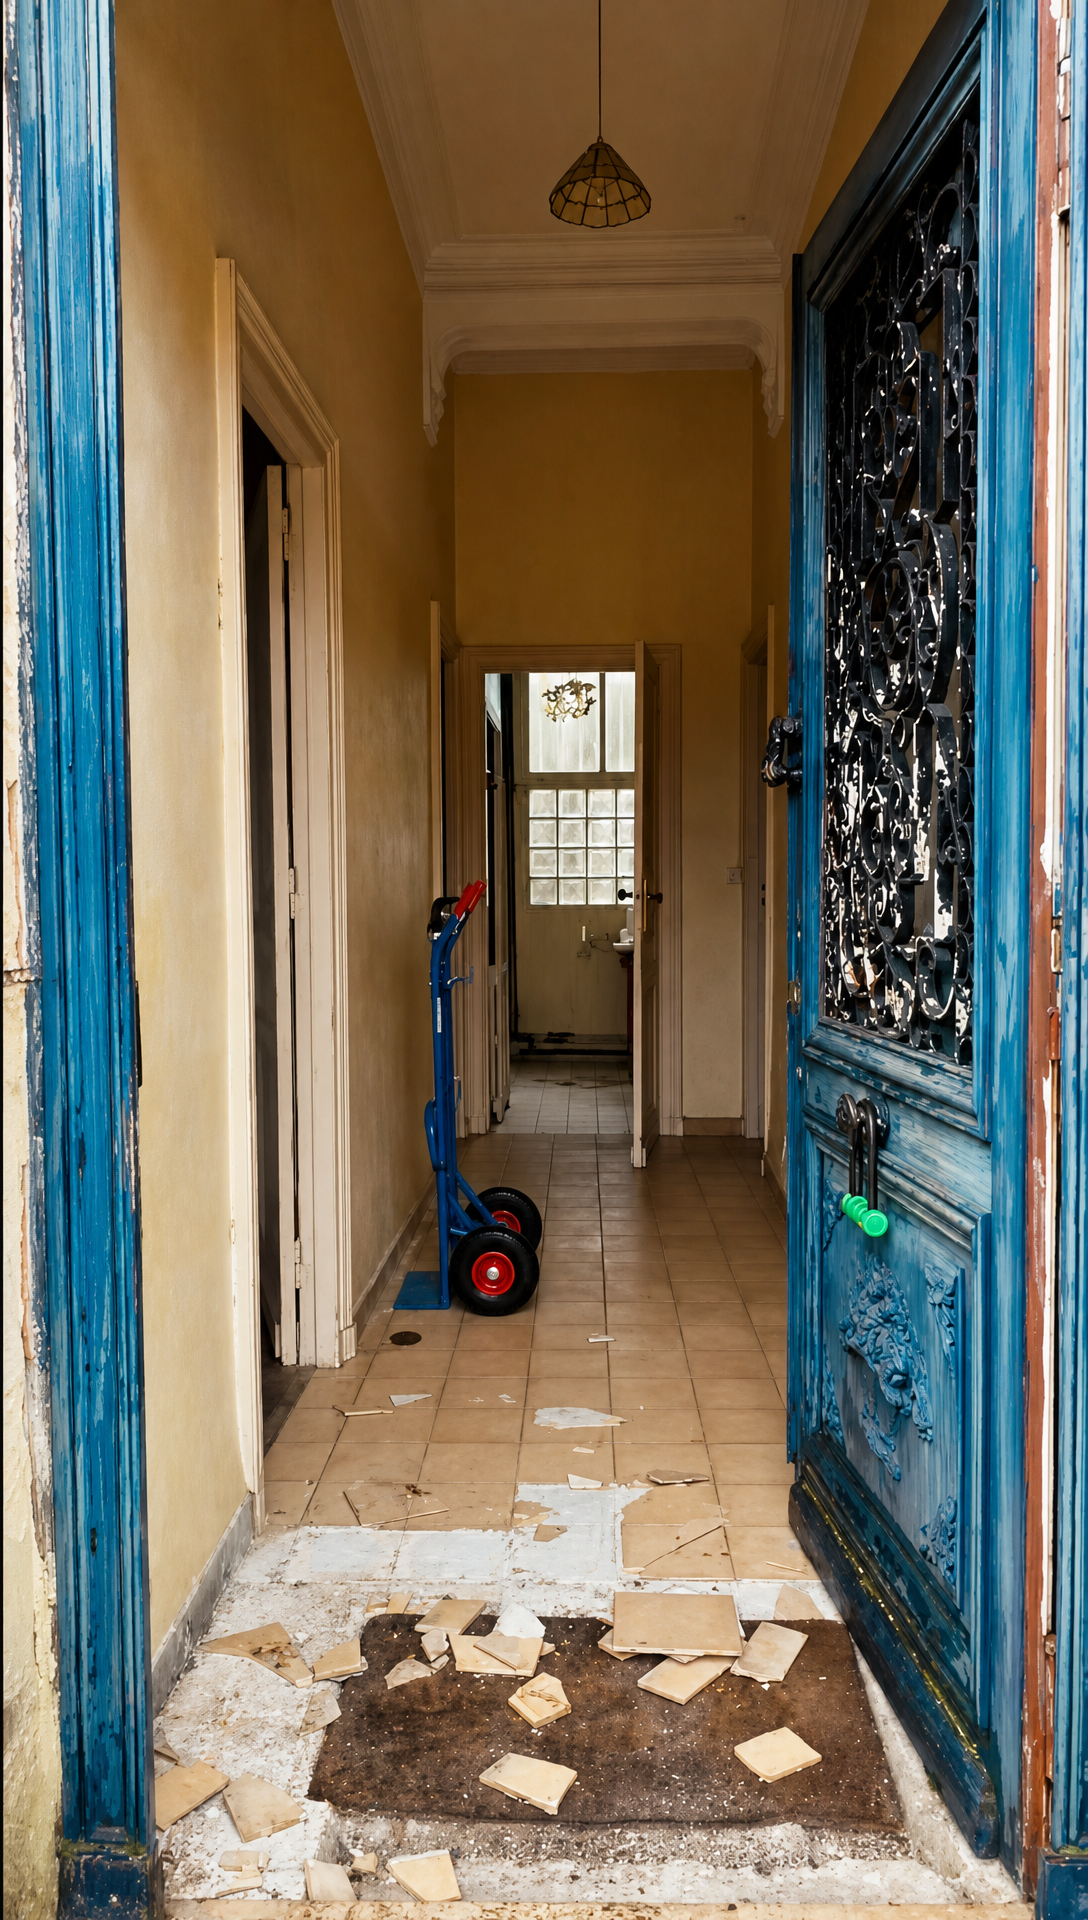 What we wanted throughout the house was something in keeping with its age, with enough of our own taste thrown in that it still felt like a home. In here that started with the panelling. The ceilings are about four metres high, and the panelling breaks the walls up and brings in a bit of cosiness. I wouldn't call it the cosiest hallway in the world, but it helps. The walls are a warm white that changes with the light through the day, and the whole thing feels welcoming, which is all you really want from a hallway. The biggest project in this room was the floor. We wanted to bring back a bit of grandeur, so we went for a black and white chequered floor from Original Style, a UK company. It suits a Bordeaux townhouse, but it has a British touch to it too. You could picture it in a Victorian terrace in England, and that's a big part of why we like it. 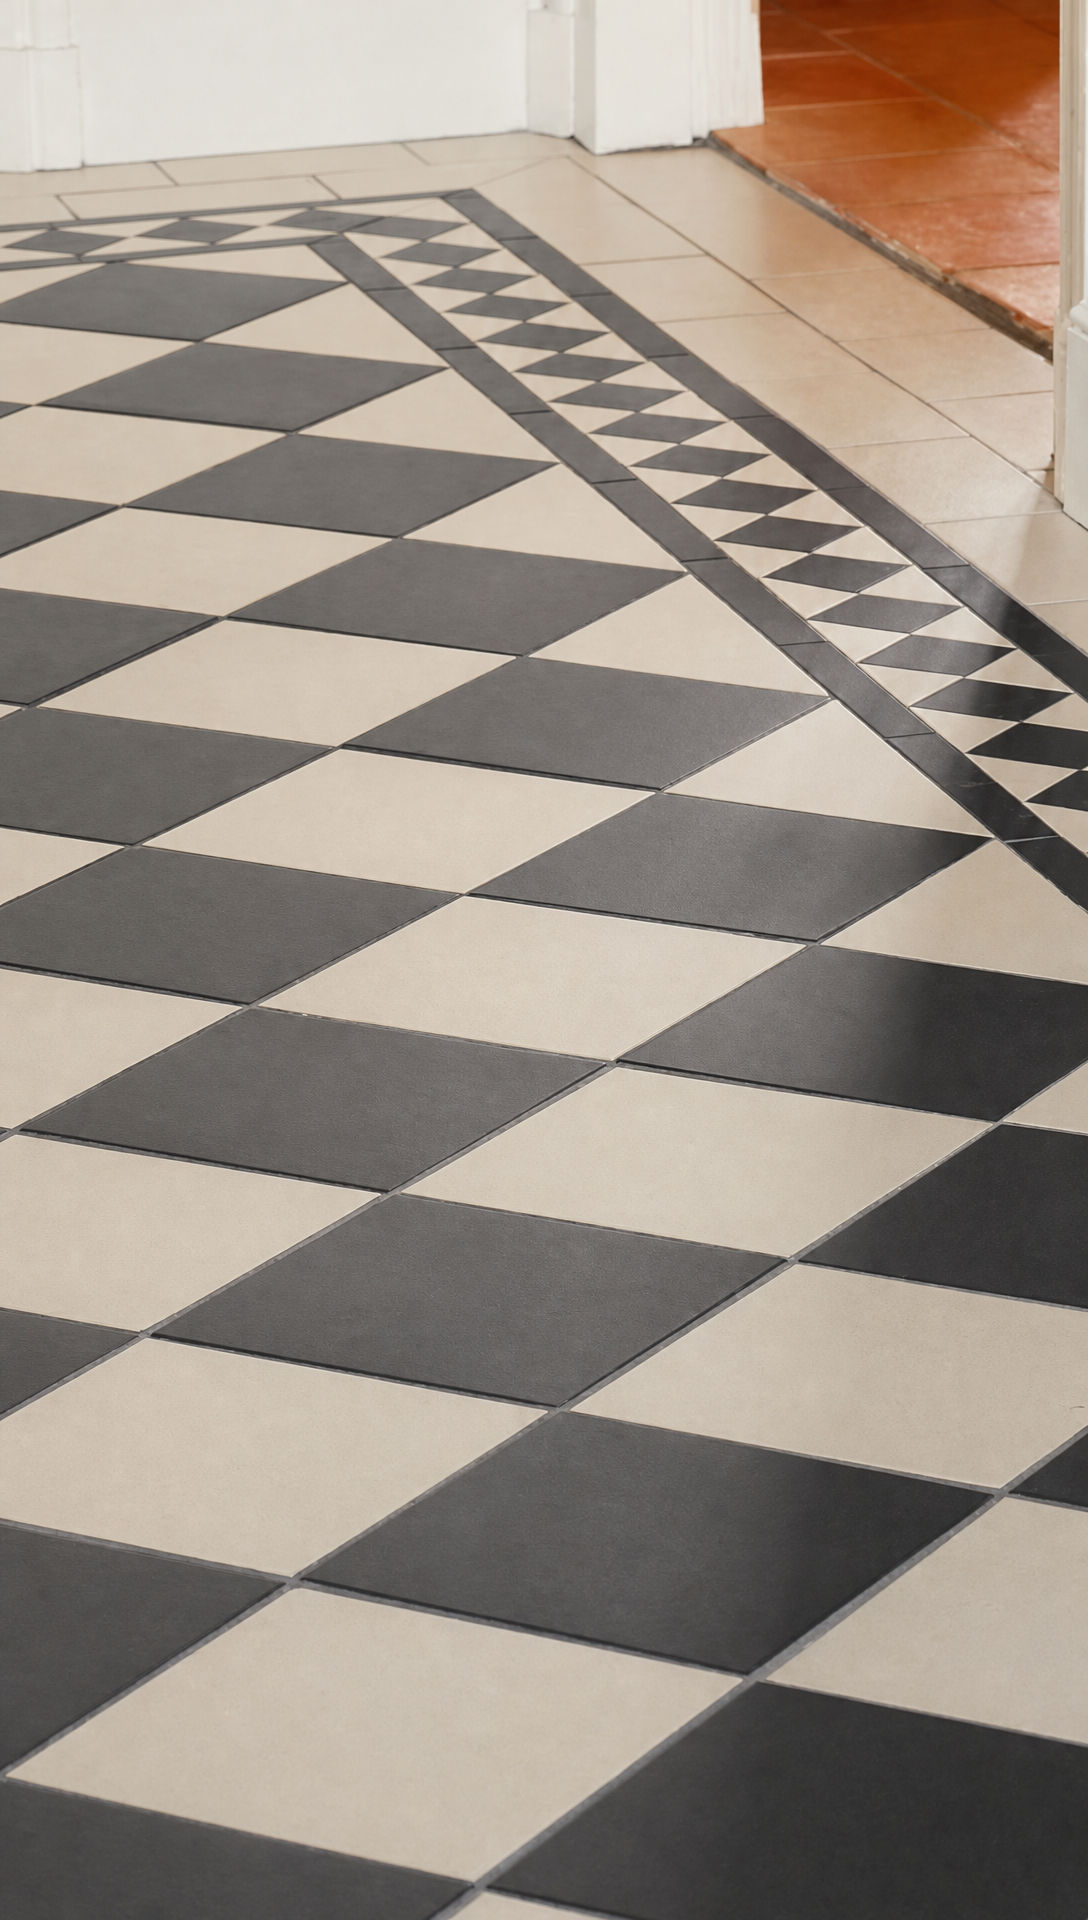 Then we spent years with no lights at all, because nothing we found worked in this space. On a trip back to the UK last year we stumbled across the Exeter Antique Lighting Company, which has the most amazing collection of antique lights, and came home with three delicate glass pendants. They're all slightly different, and they look perfect up there. Years without a hallway light, sorted on a day out in Devon. 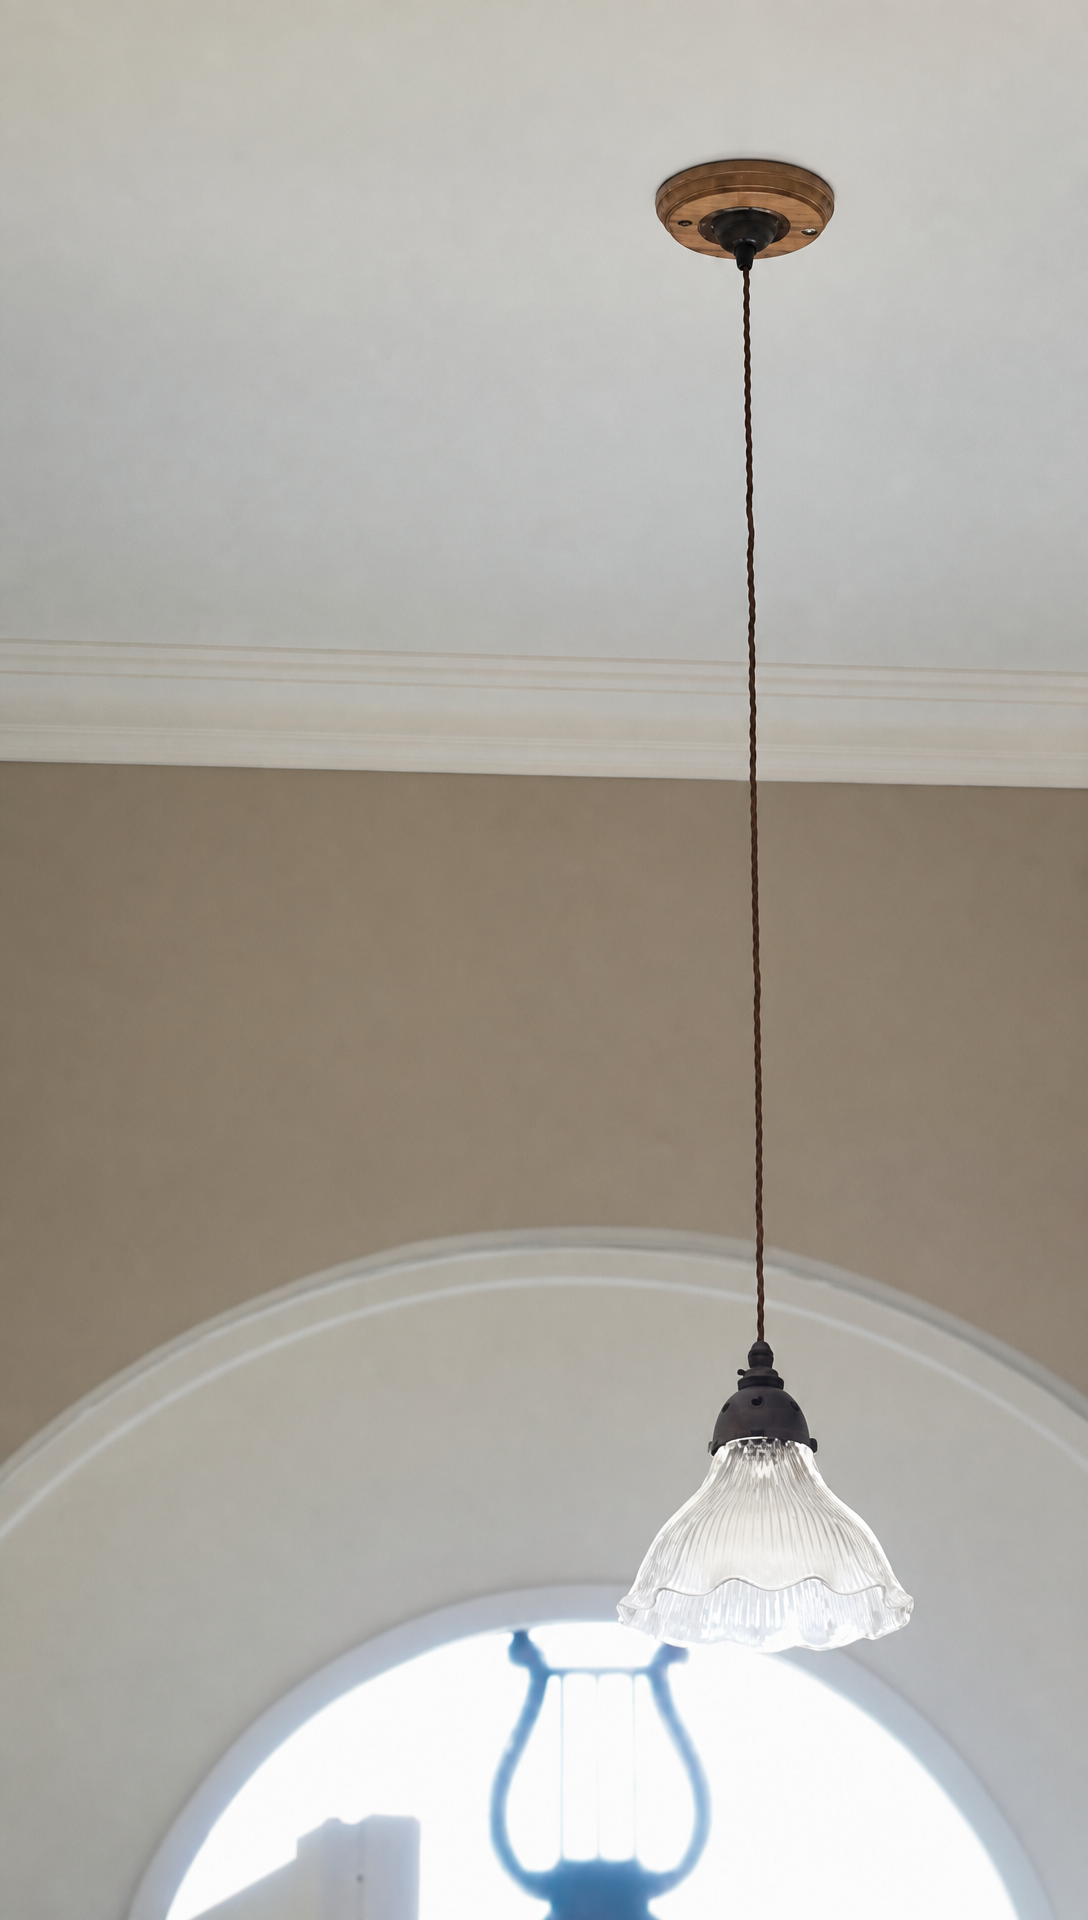 The Kitchen And Dining RoomThis is the room we love the most, and the one that has changed the most. It gets wonderful light all day long. It joins onto the living room, so light comes in from the north and the south, and first thing in the morning it hits the tiles at the back of the kitchen in a way that makes me want to get up early. Almost. 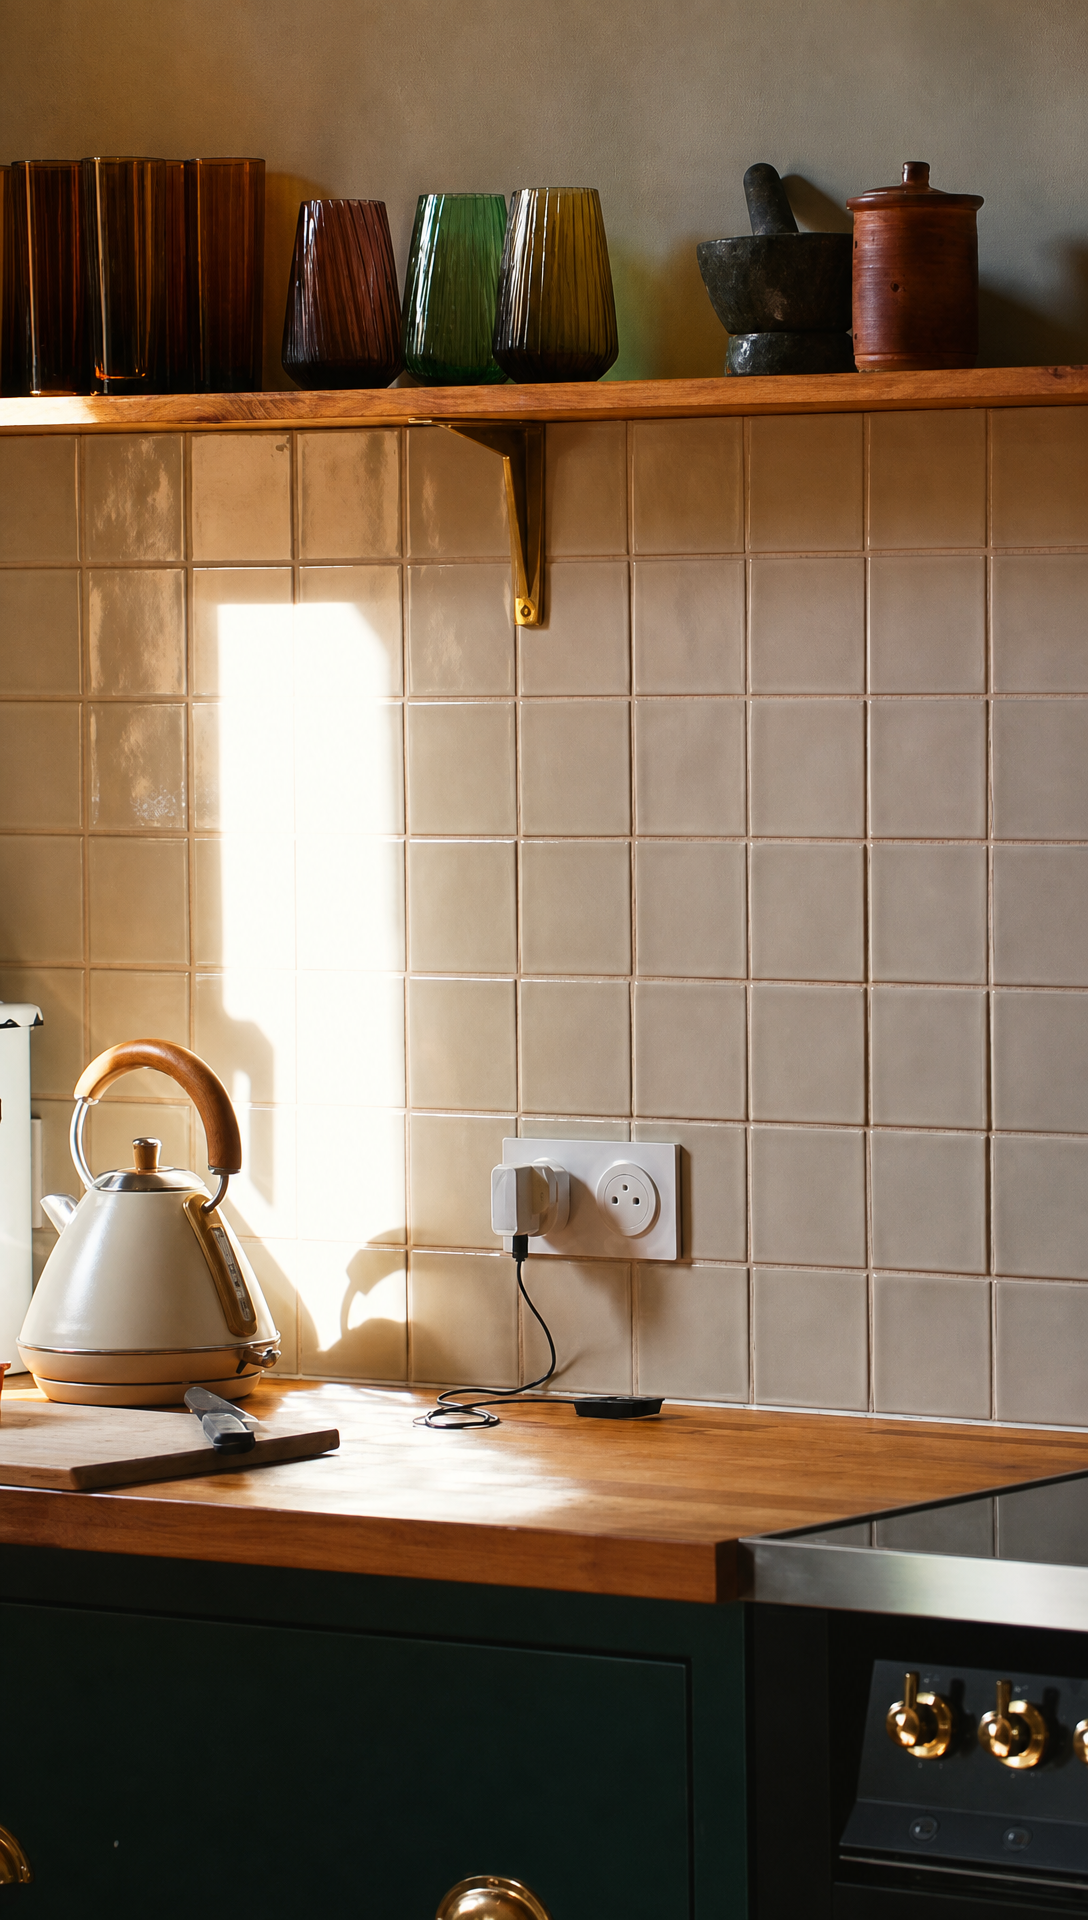 It did not start like this. There was a wall across the middle of the space, and the original kitchen was a tiny galley on the other side of it with serious water damage, because a tree had come through the roof. Everything came out and we started from scratch, making one long kitchen that opens straight into the dining room. We cook a lot, so opening it up mattered more than anything else in here. 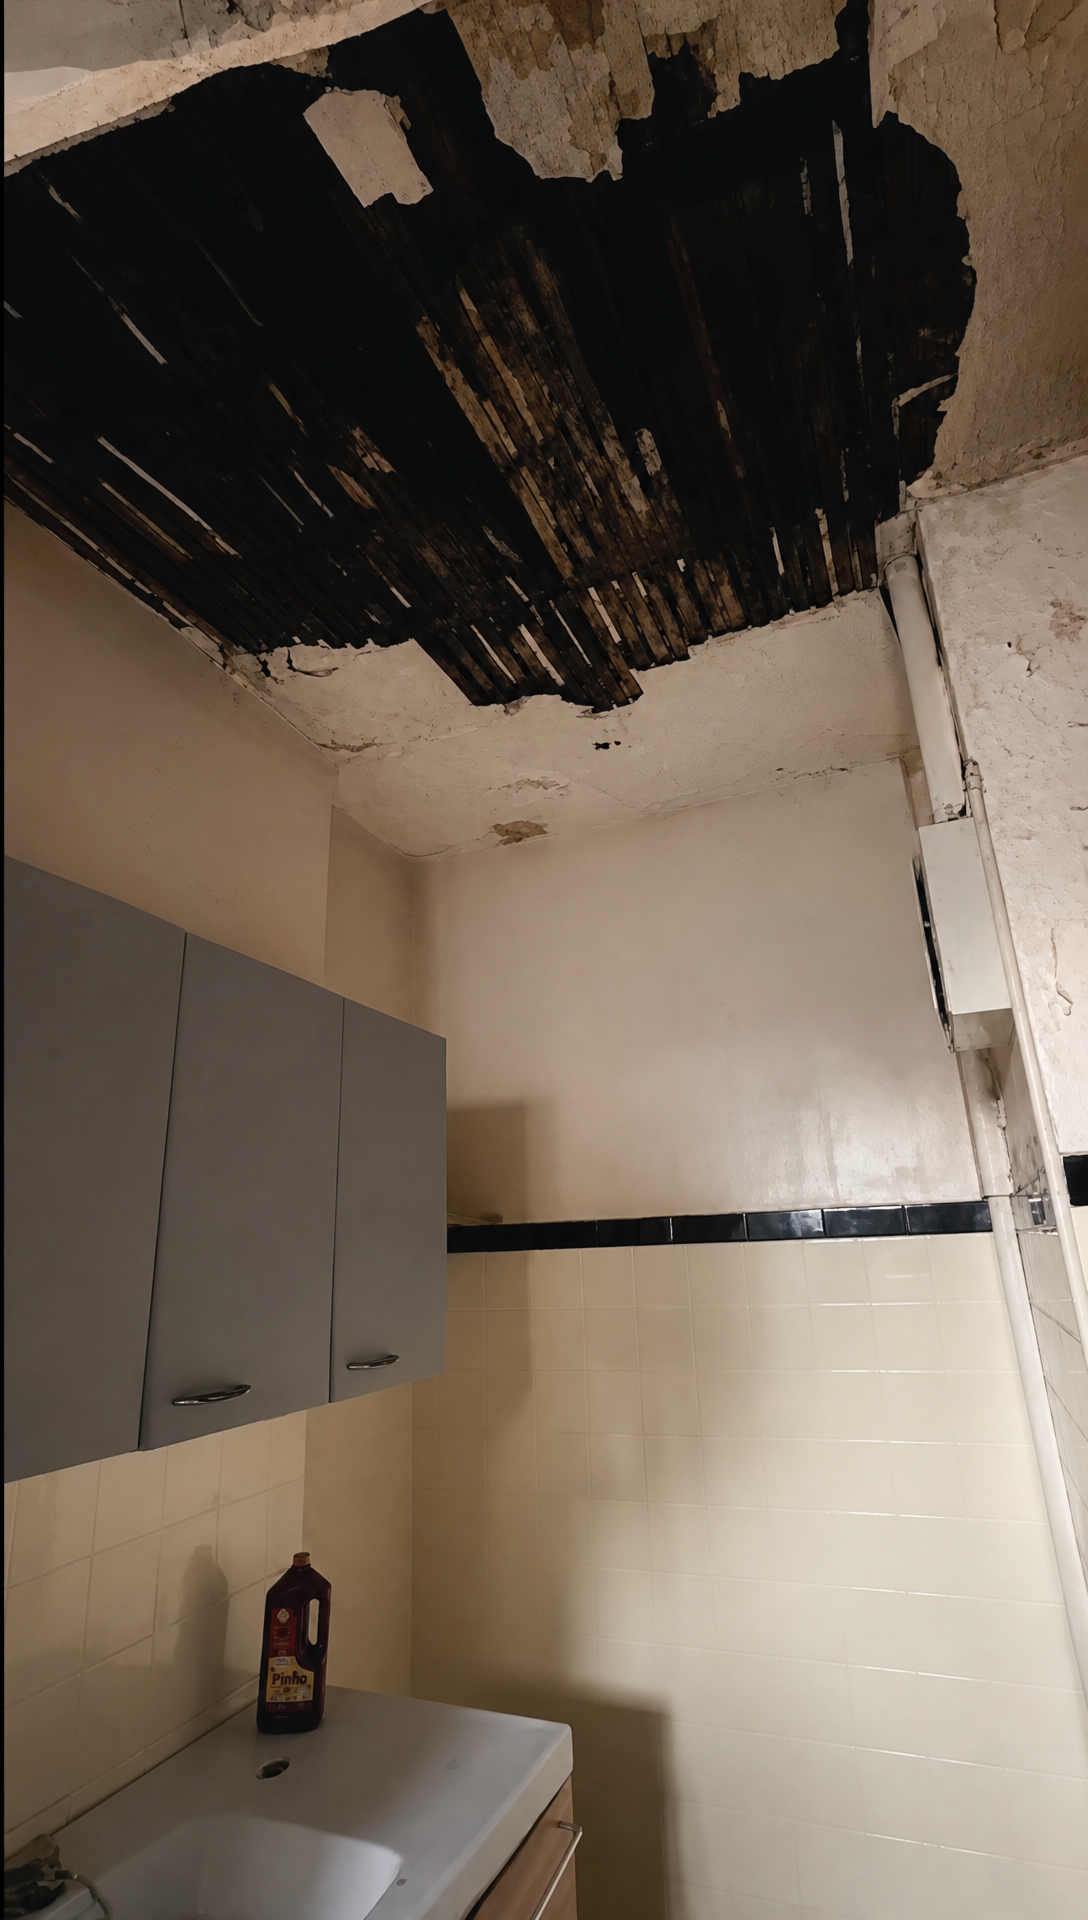 We wanted a traditional shaker kitchen, and finding anyone who makes one in France turned out to be very, very tricky. So we made the slightly bizarre decision to build it ourselves. It was my first ever woodworking project, which was probably a dumb idea, because it took far longer than expected. Carcasses, face frames, the lot, in plywood and oak. It was a labour of love and it paid off. We have a kitchen we adore, it cost less than any of the suppliers we looked at, and that let us splurge on a few things: the Lofra range cooker from Italy that anchors the whole room, the crackle tiles behind it, and the fittings for the long shelf above. 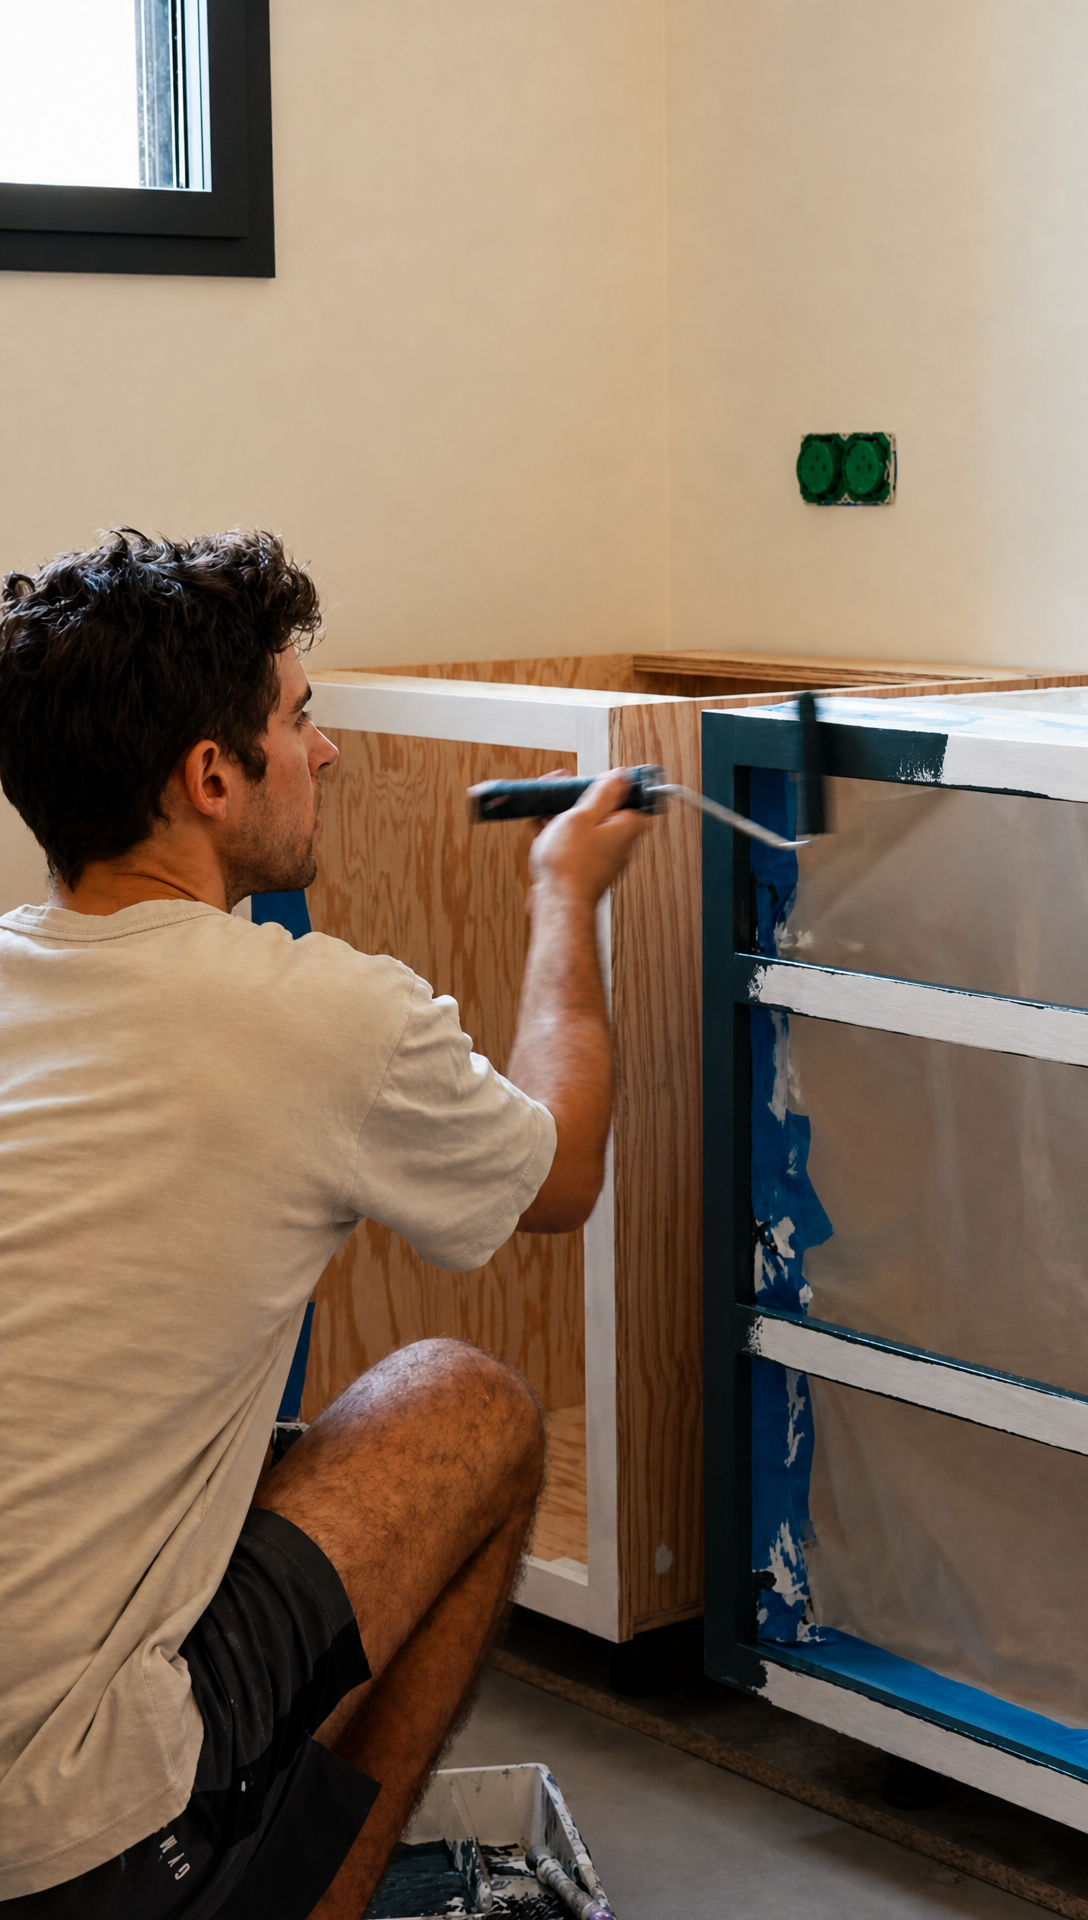 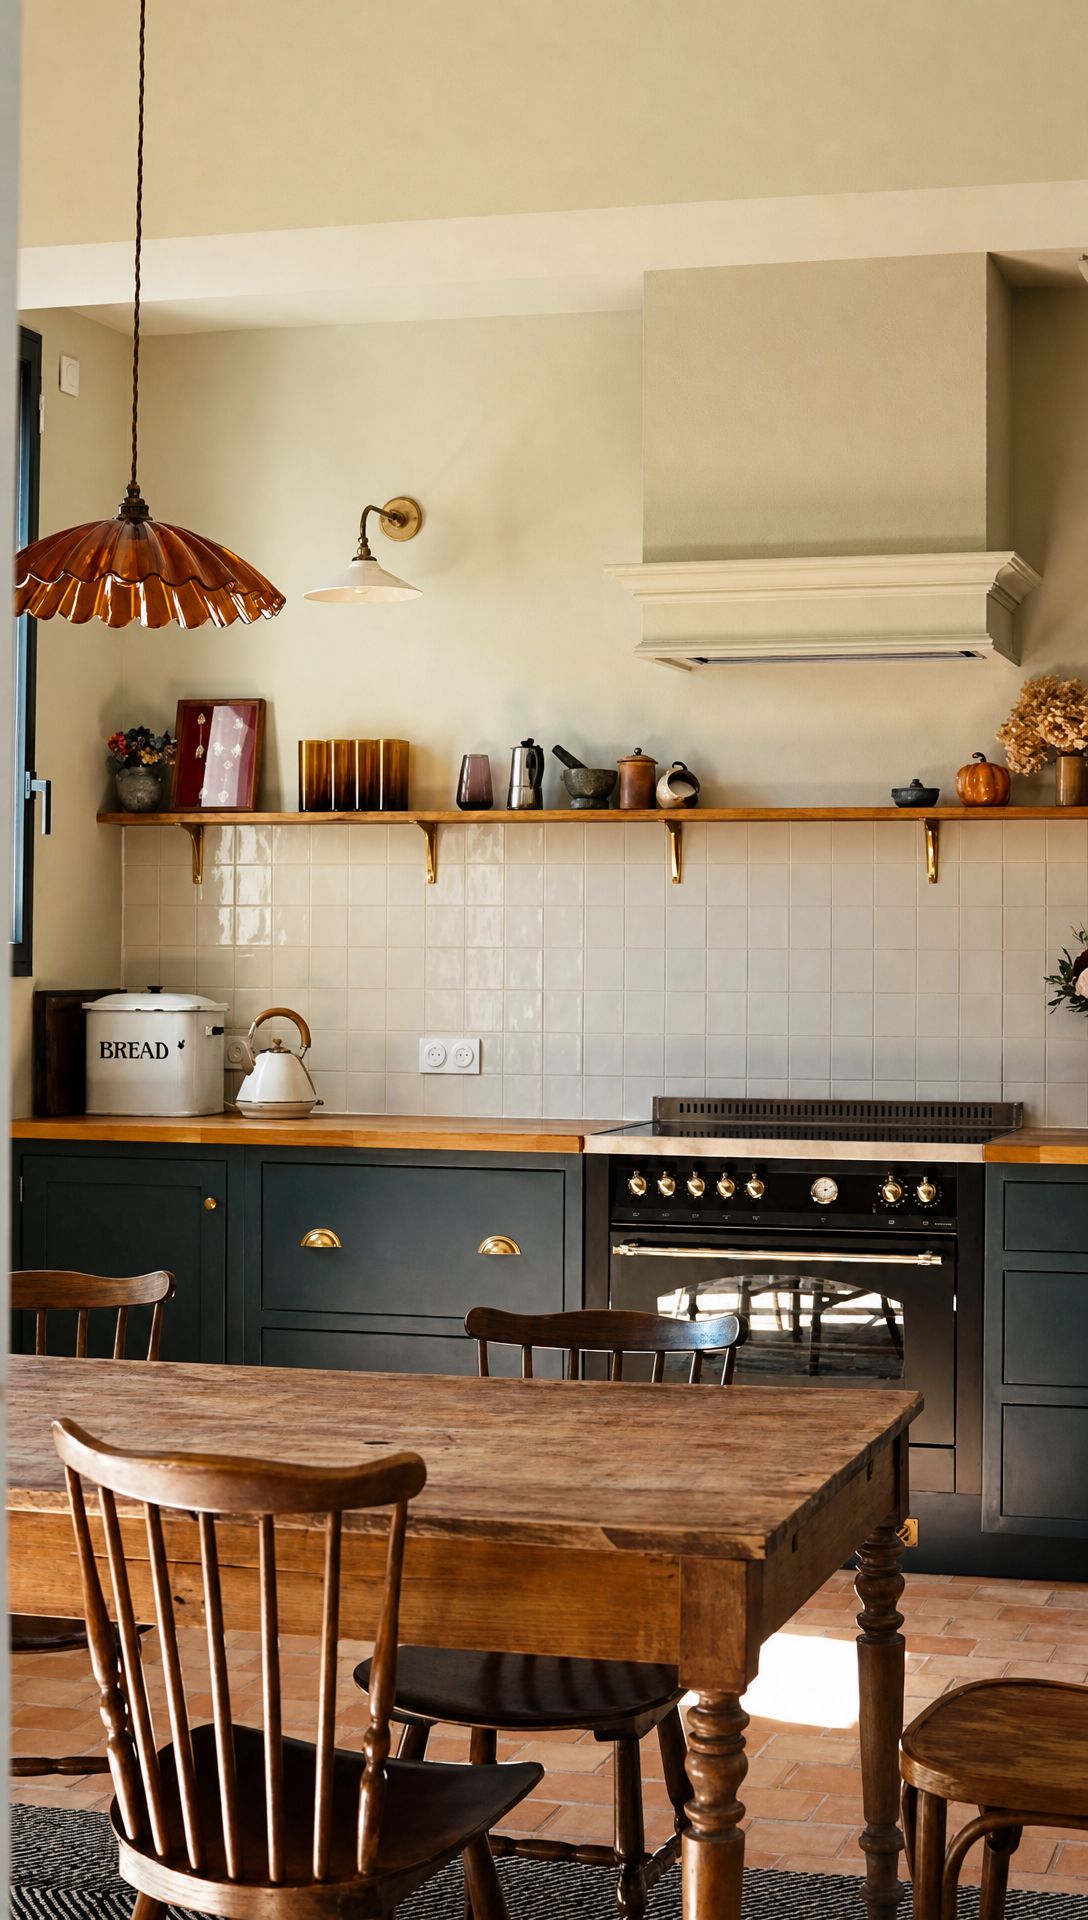 If you've been following along recently you'll have seen the range hood cover we added. It ties in with the wall colour, which is Eddy by Farrow & Ball. It's a green that feels warm rather than cool, and it makes the room feel calm. The cabinets are Hague Blue, also Farrow & Ball, which feels luxurious without turning the room into a cave. The floor is terracotta, to go with the traditional feel of the kitchen. The rest of the room is furnished with antiques we dug out of the brocantes around Bordeaux. The piece we adore is the teak dresser opposite the kitchen. It's enormous, it warms up the whole room, and it holds a ton of our stuff, some of it on show and some of it hidden in the drawers where it belongs. Old furniture against a slightly modern kitchen is the blend we're after through the whole house, and in here it has worked. 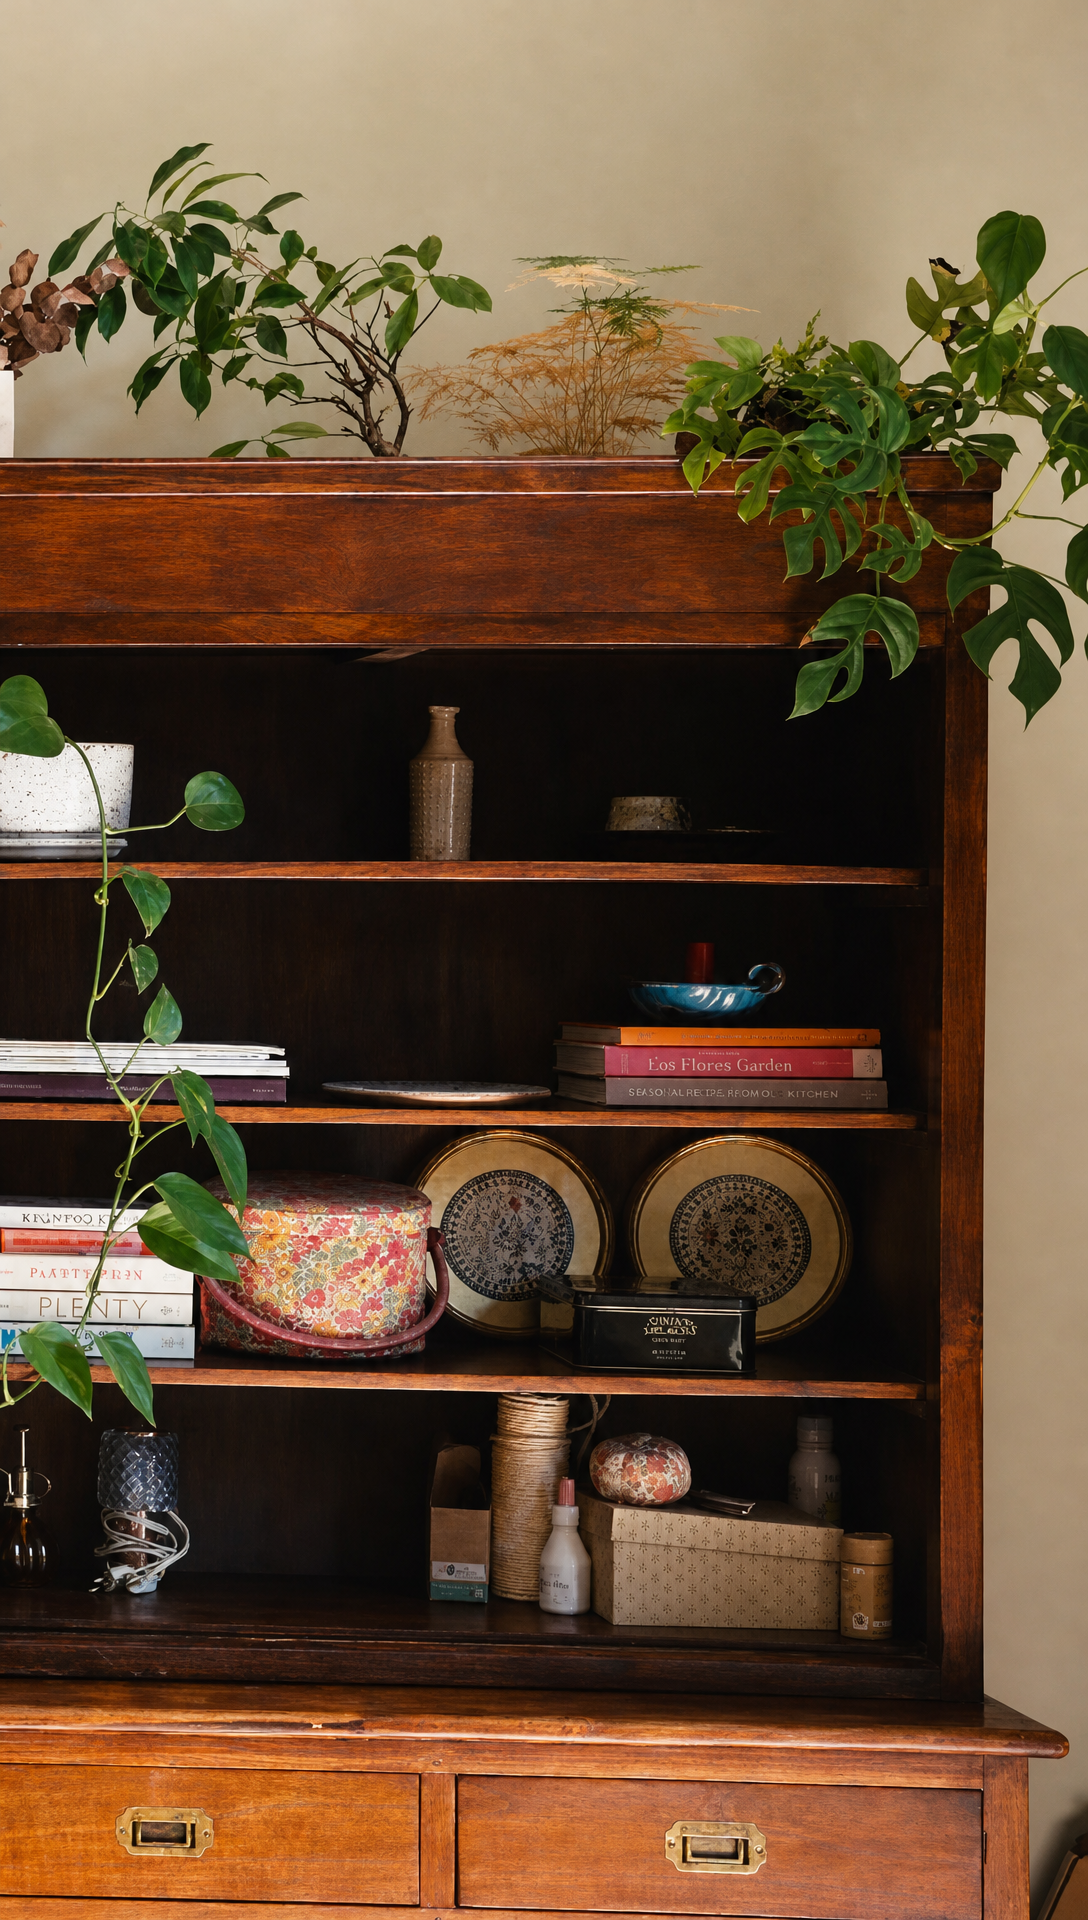 The Living RoomStep through from the dining room and you're in one of Romy's favourite rooms. It's also probably the most divisive room on the channel, because of the wallpaper. The idea was a cosy nook for the evenings, which is mainly when we use it. The paper is William Morris's Vine, which we thought was funny for a house in Bordeaux, what with all the grapes. Vines on the walls in wine country, what's not to like. 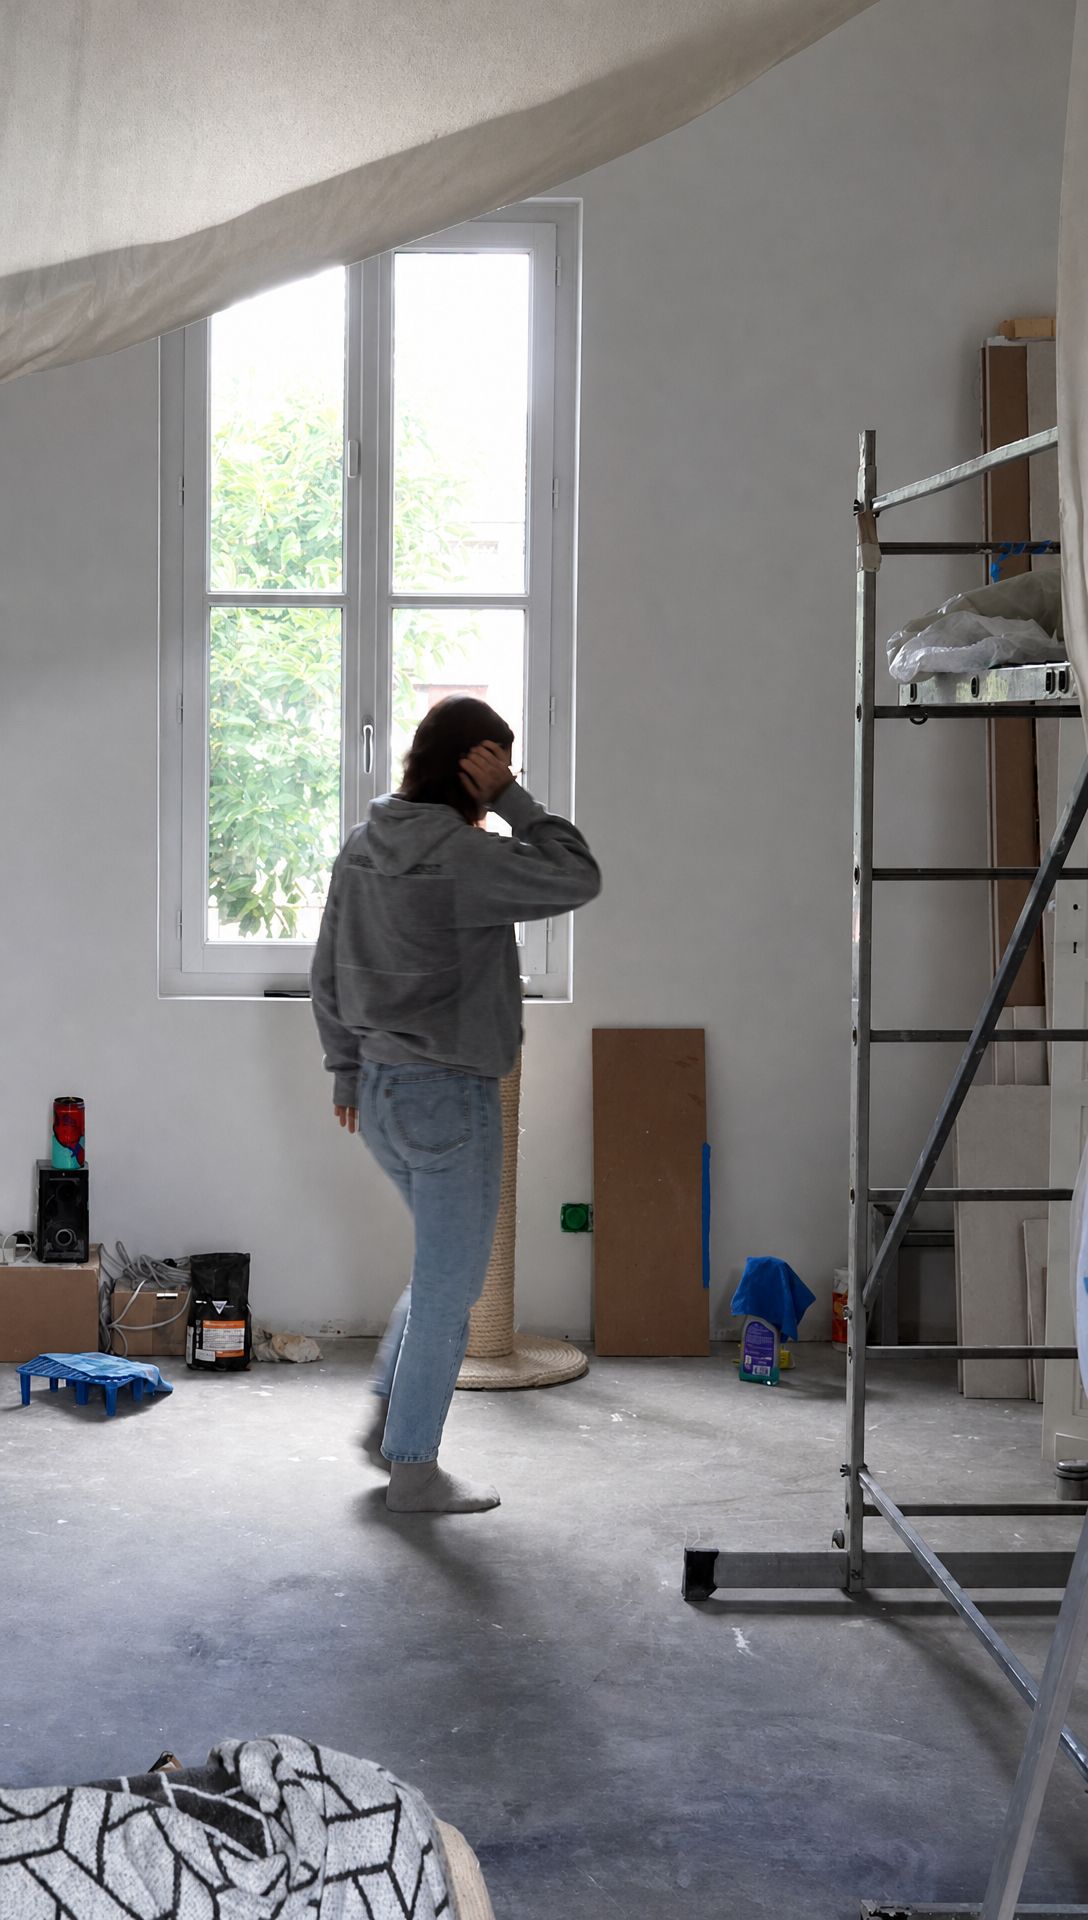 The first job in here was the floor. The house probably had wooden floors throughout once, but a lot of them had gone under concrete. We put down oak, and reused some of the terracotta from the kitchen around the fireplace. The decision that structured the whole room was the bookcases. We wanted a big one on either side of the fireplace, for the books and for the symmetry. That was my second woodworking project, and it may have been harder than the kitchen. The walls are tall, so the bookcases are tall, which meant a lot of wood to cut and a lot of weight to get up and fixed to the wall. It worked out. We painted them the same white we use on all the woodwork and doors, to tie the rooms together and lighten the space. Romy's favourite pastime is rearranging the shelves. Dusting them is less fun. 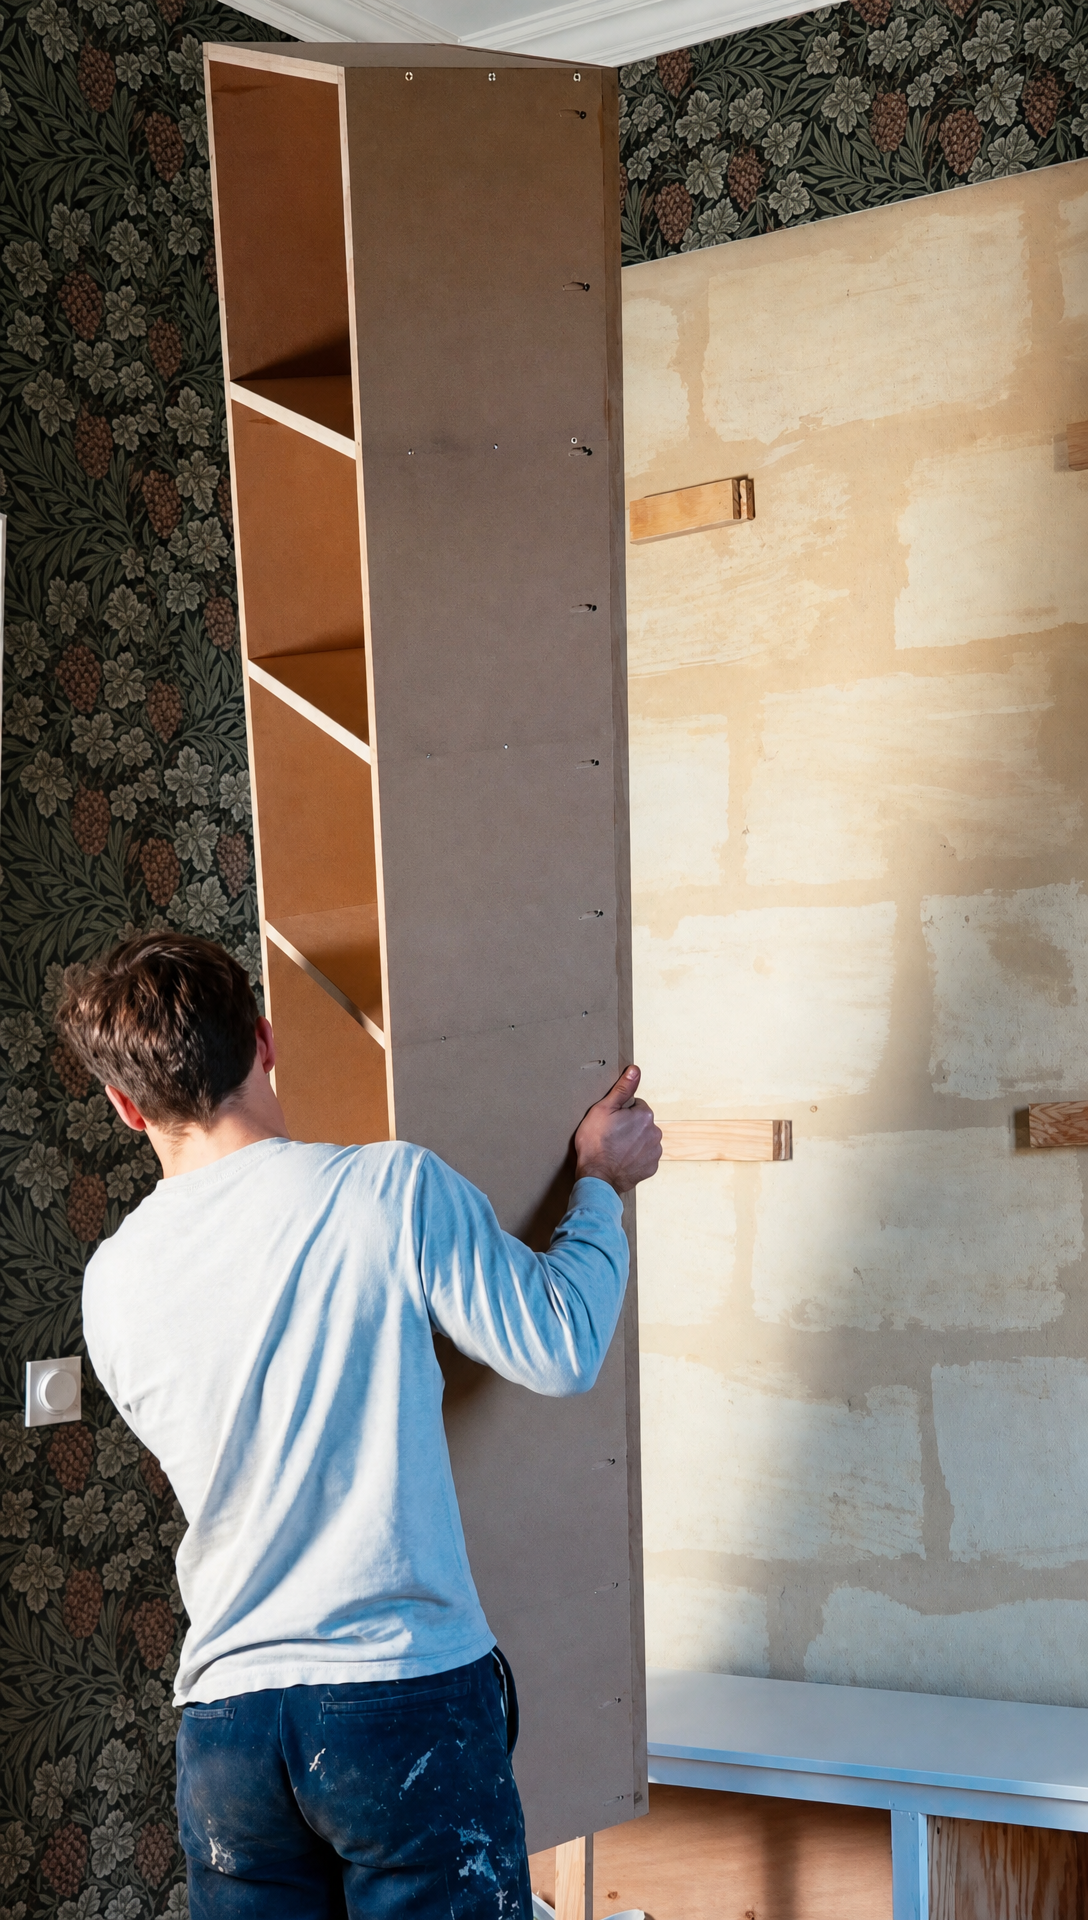 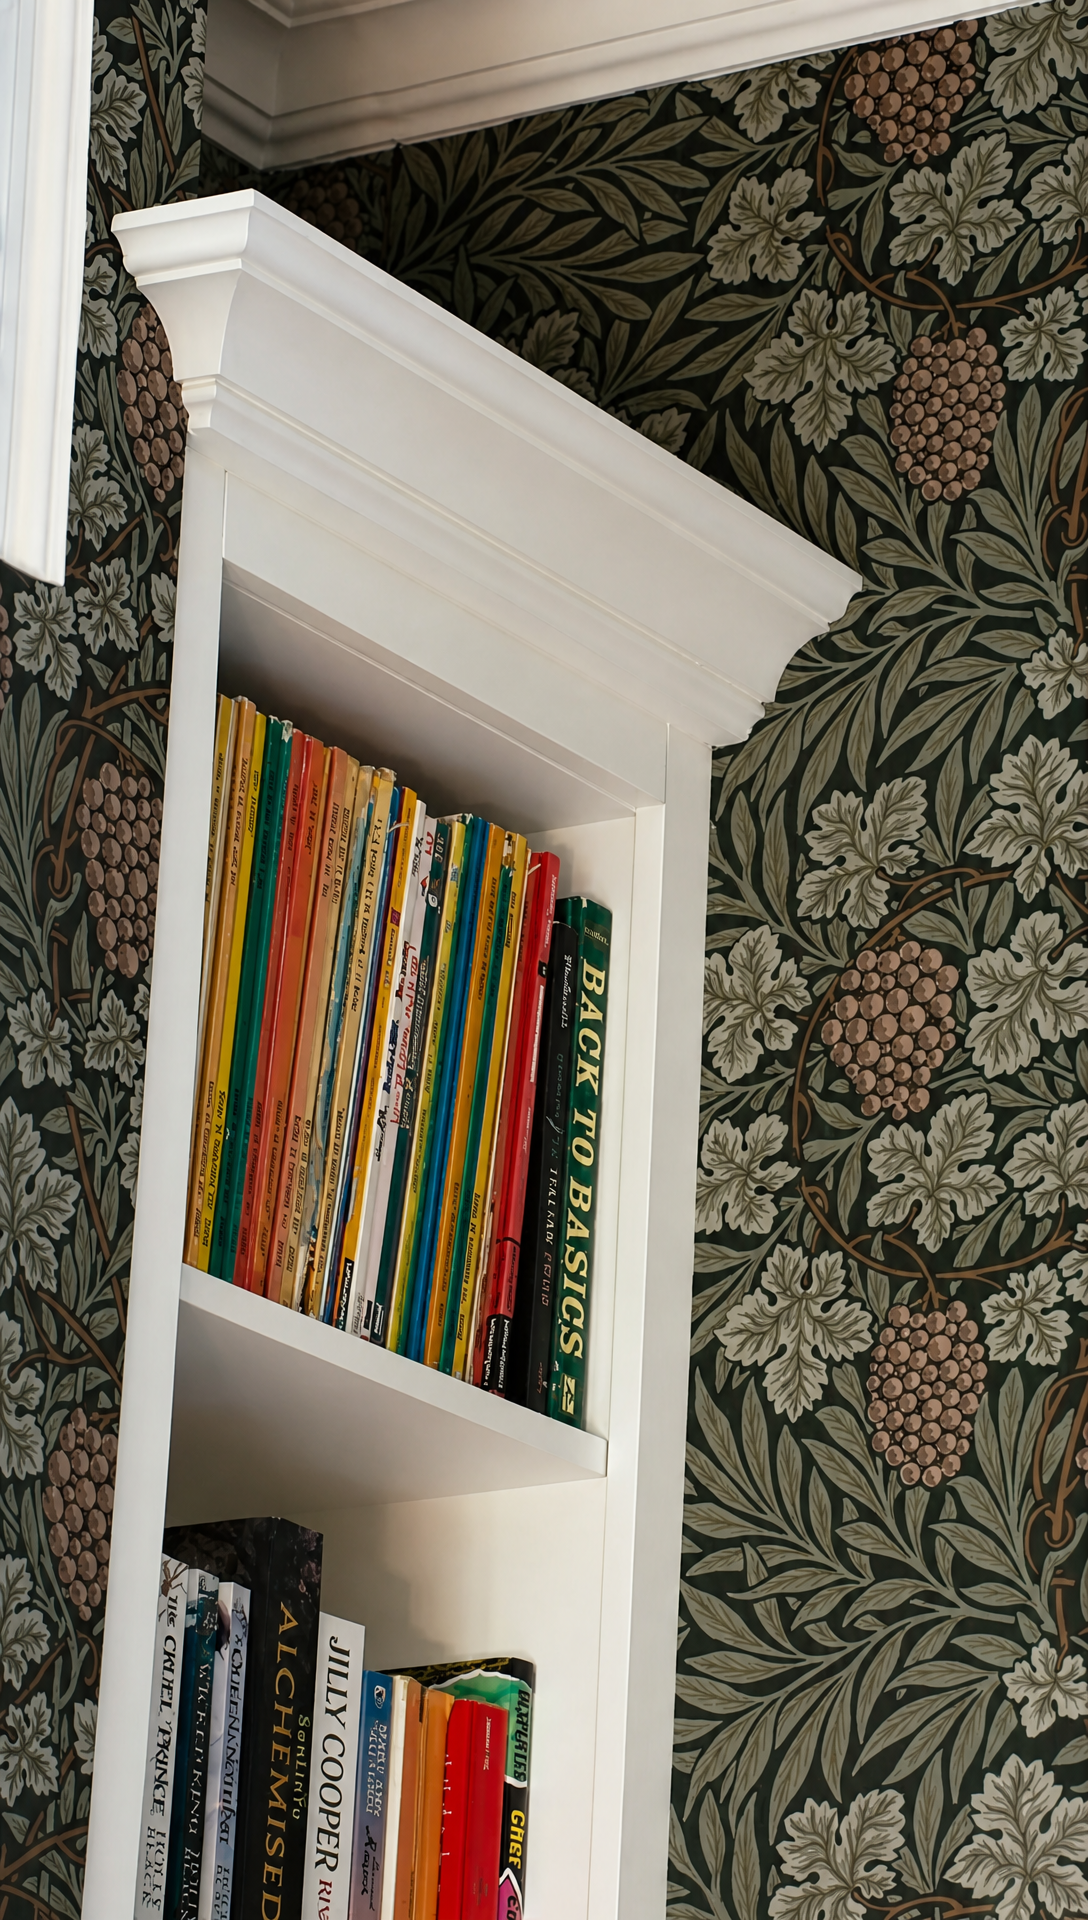 Something you might miss, because the wallpaper camouflages them, is the radiators. Nearly all of the radiators in the house are original, and they were in decent nick. They needed a good scrub and a lot of sanding, then we painted them black, and that touch of black runs from room to room. 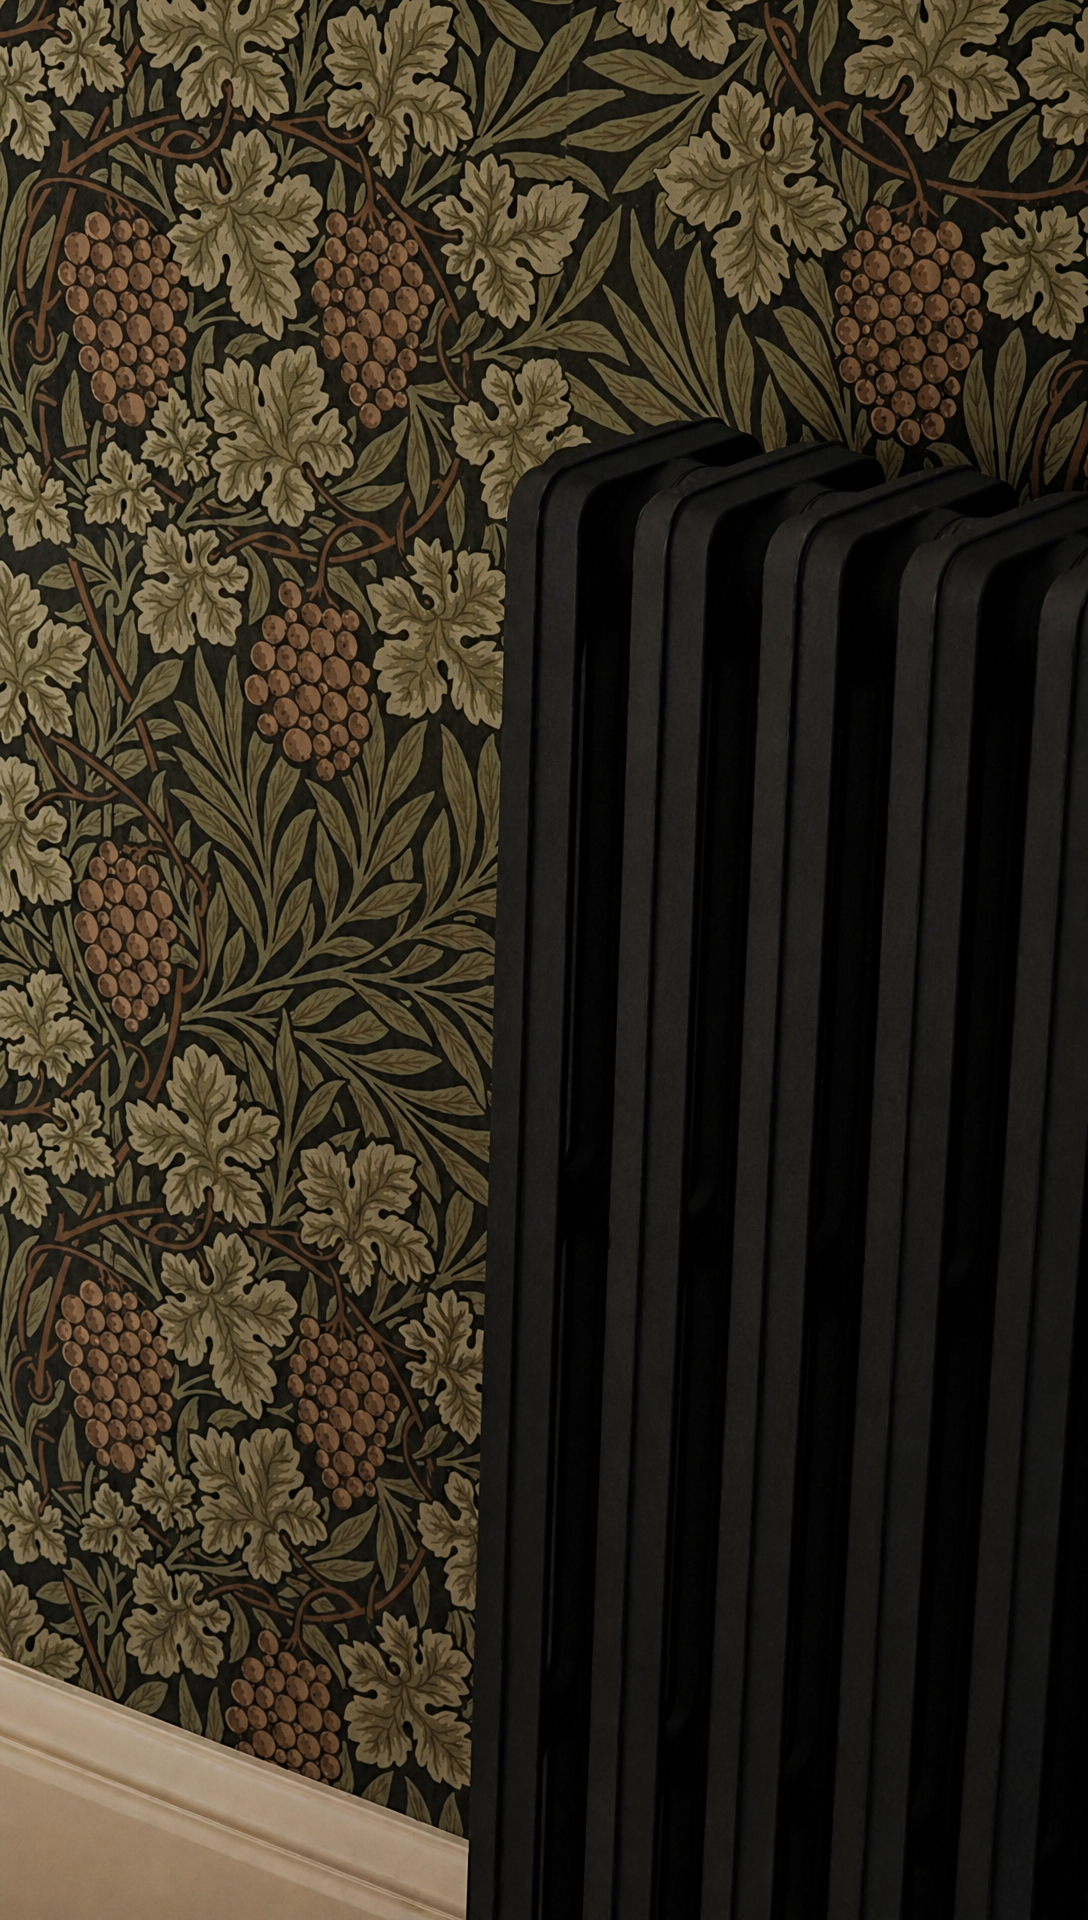 This was the first room we filmed from start to finish for YouTube. We'd already moved in by then, living in the half finished bedroom and the kitchen, and this room didn't even have a floor. Renovating while living in the house was a different pace entirely, but it gave us a lot of confidence about what we wanted the place to feel like. The bookcase also gave me the nerve to take on bigger things, for better or worse. The BathroomAnother room we're very happy with. The colour is Lichen by Farrow & Ball, and we colour drenched the lot, door included. Close the door, step into the shower, and it feels like a spa. A spa with our towels in it. 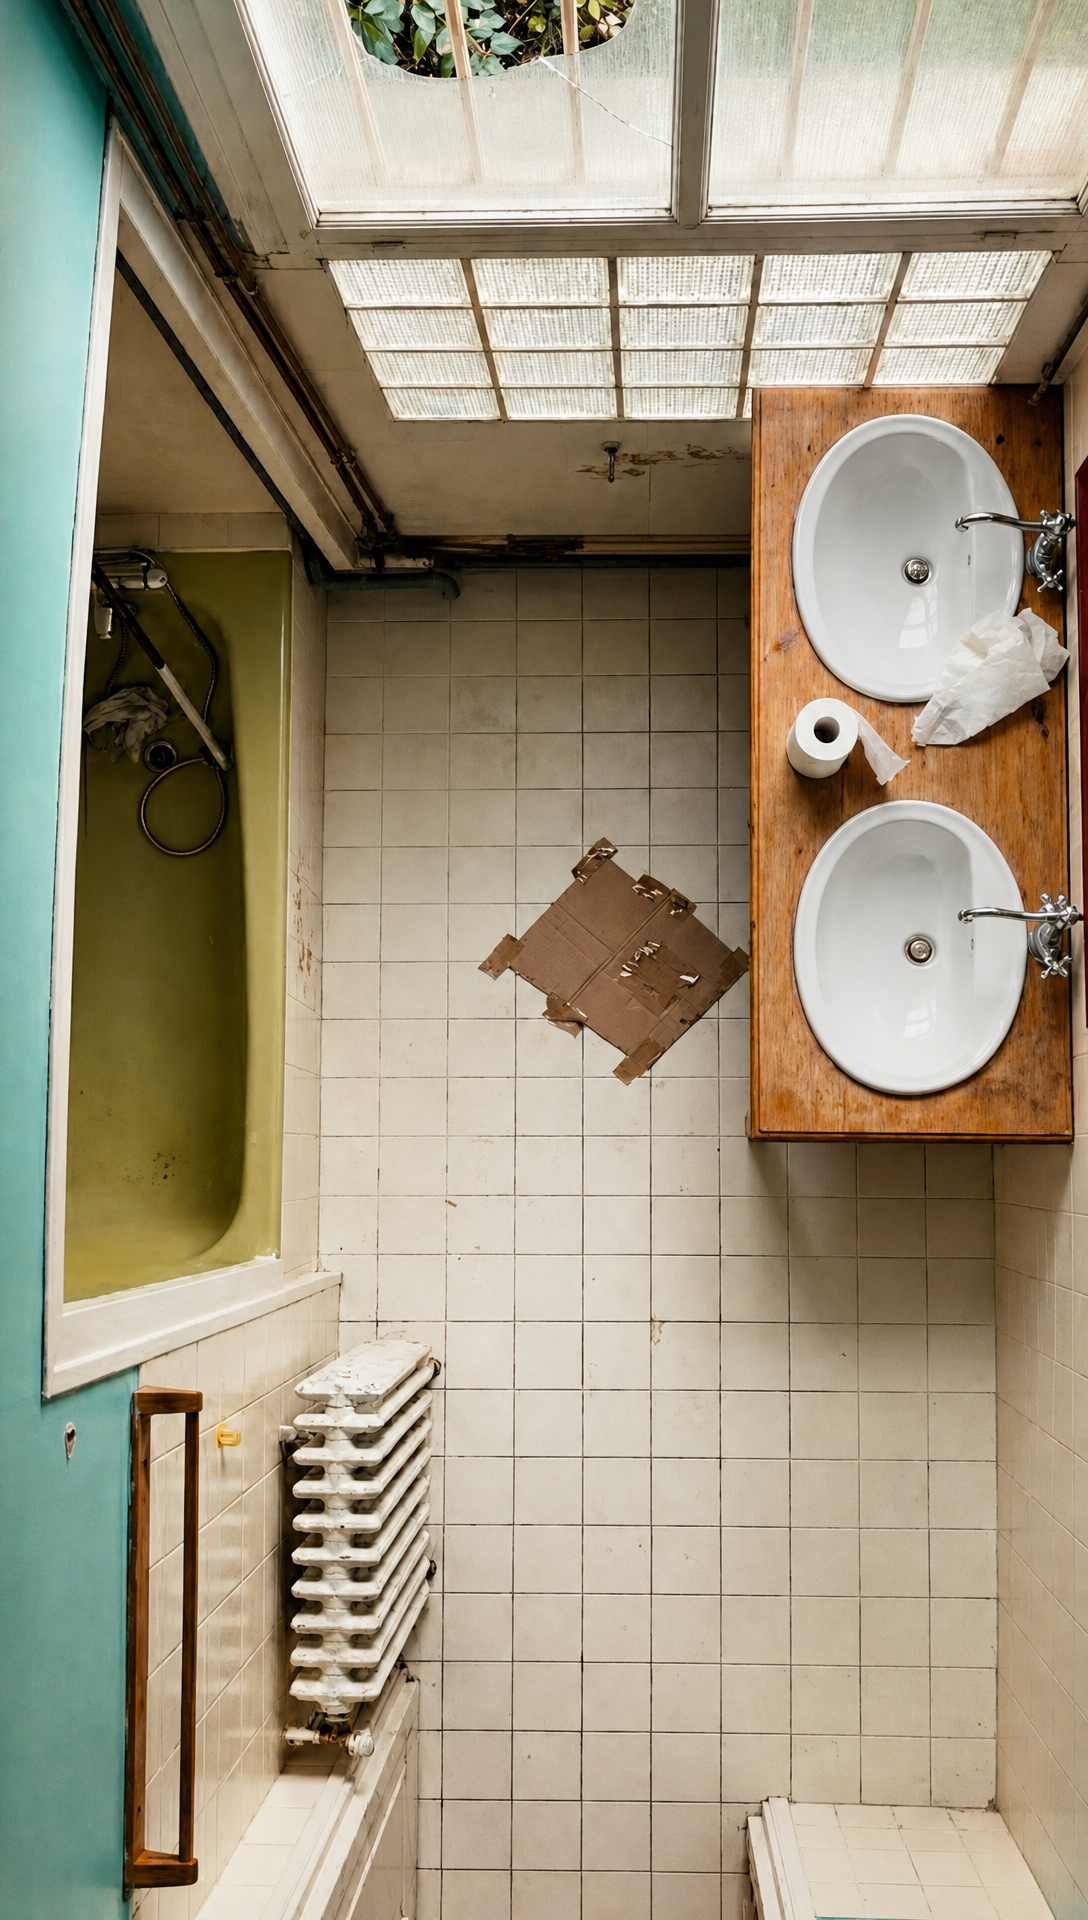 Originally a partition split the room into a bathroom and a toilet so small you couldn't close the door once you were in it. The wall came down, the bath that ran along the right hand wall came out, and in went a walk-in shower. To keep the light moving through the room we put in a half glass screen with panelling below it, the same panelling that runs around the rest of the bathroom. The shower is big enough for a proper shower without eating the rest of the room. 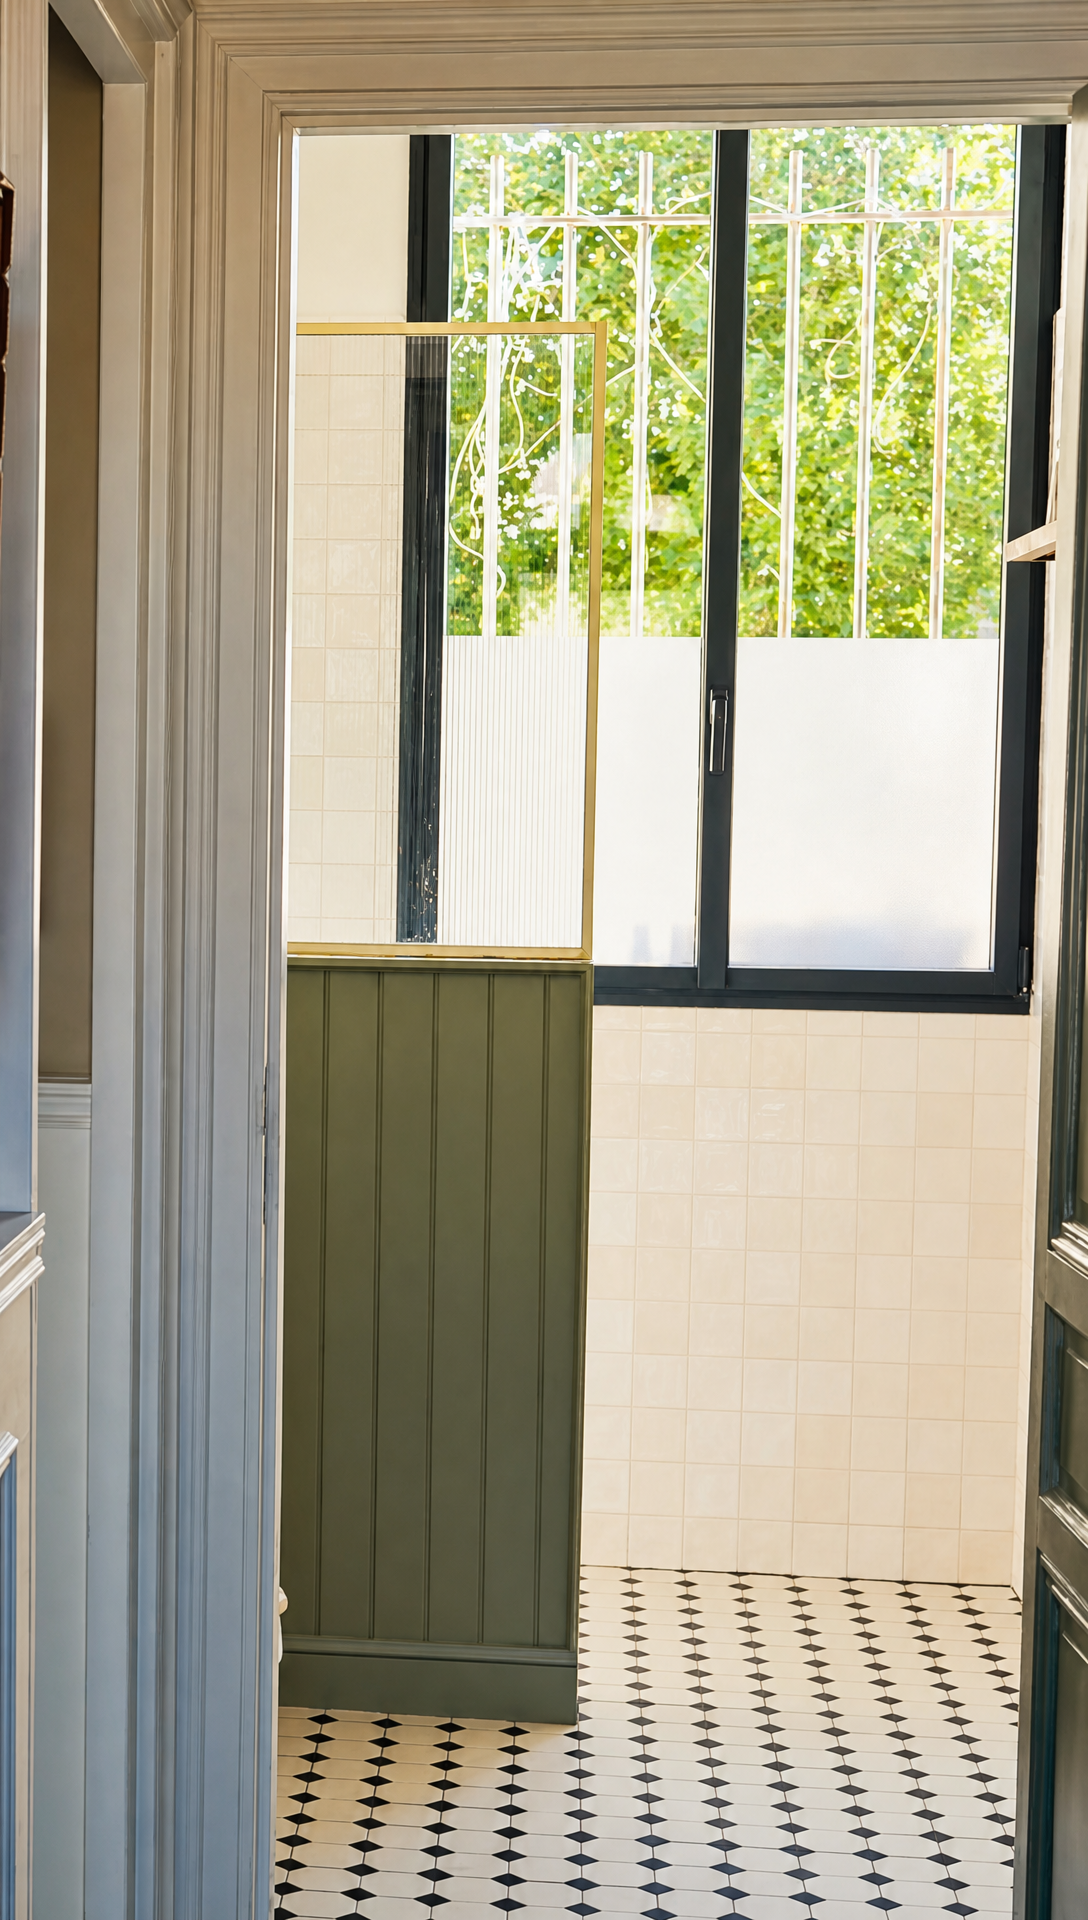 In the shower we used zellige tiles, which catch the light at slightly different angles, so you get different shadows and colours depending on where you stand. The lighter tiles against the lichen cladding also make the shower feel bigger than it is. 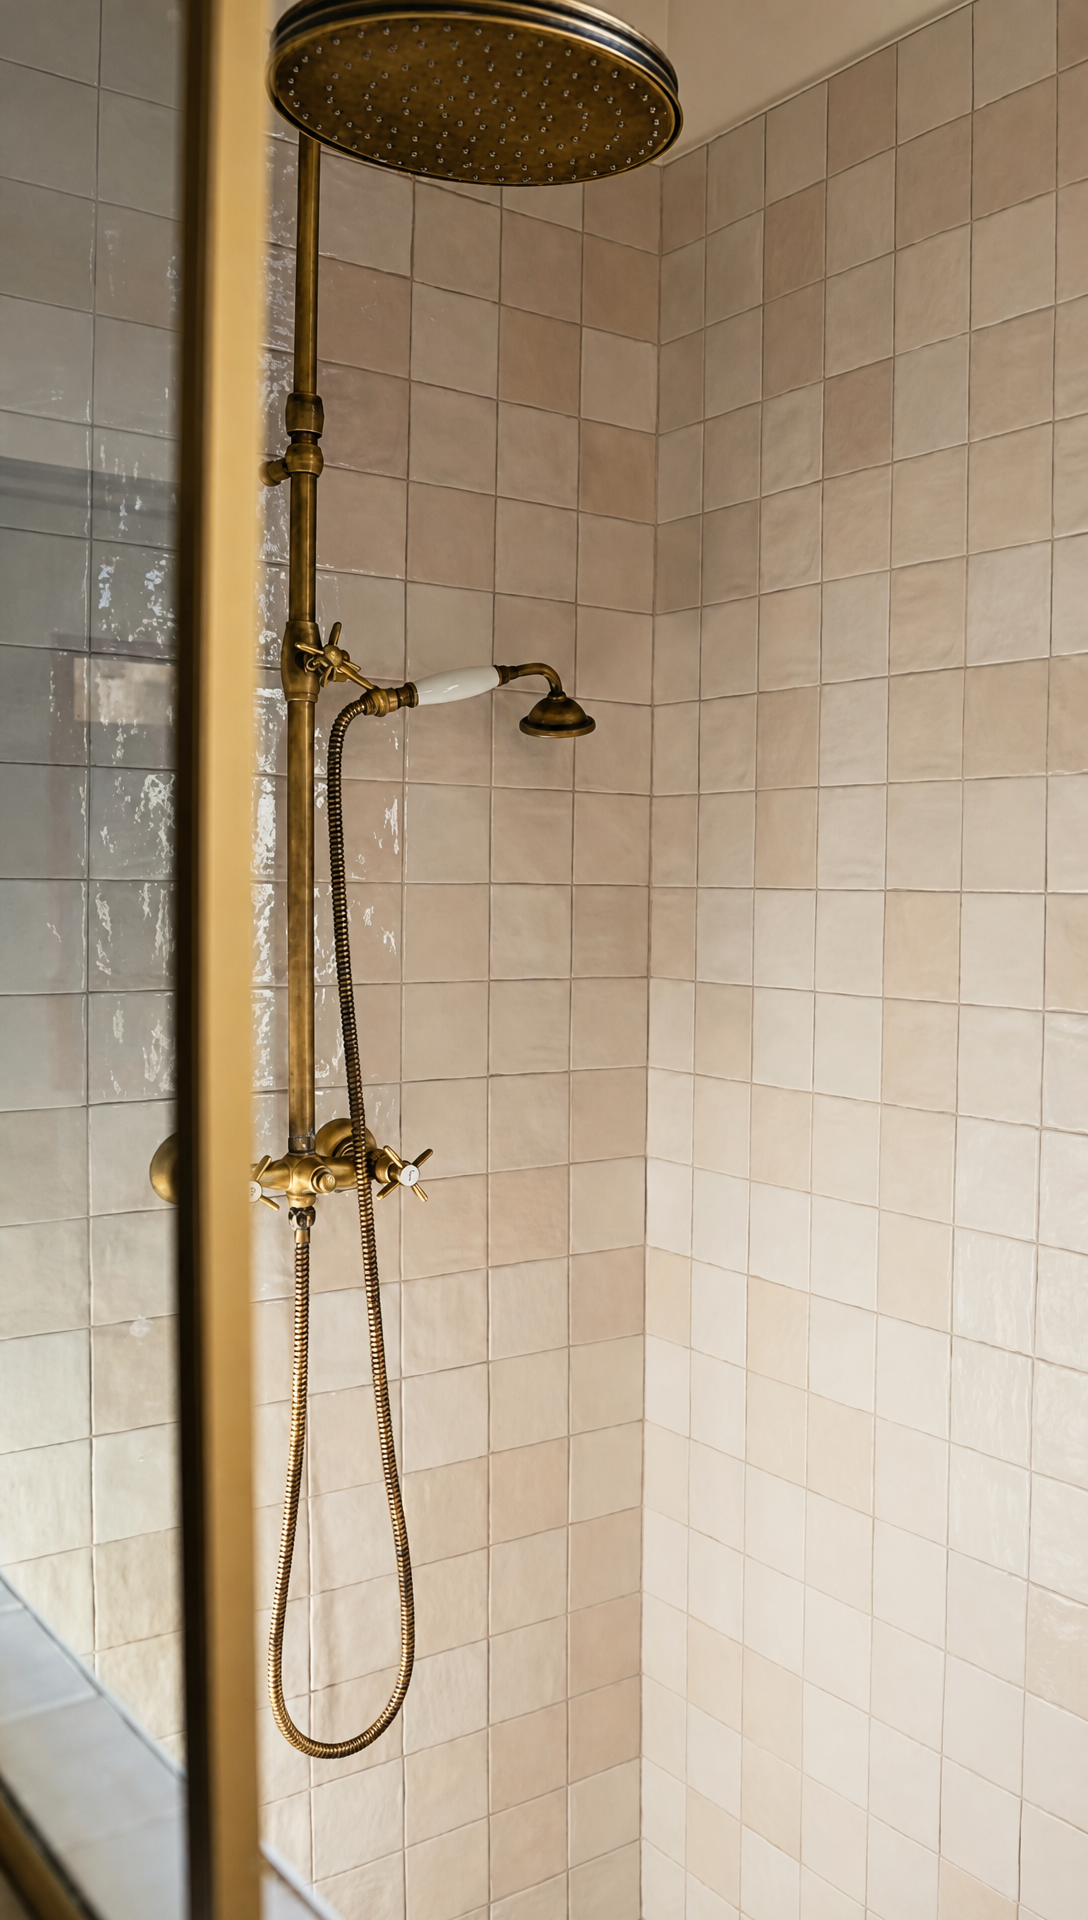 We wanted second hand pieces in here too, especially the vanity. We found an old one at a brocante and repurposed it with a granite top and a basin, with the taps in the wall to save space. All our storage goes underneath, and the dark wood looks lovely against the green. The towel rack is a reconditioned coat rack, and there's another rack over the toilet, all in the same dark tone, with a black and white floor to lift it all up. 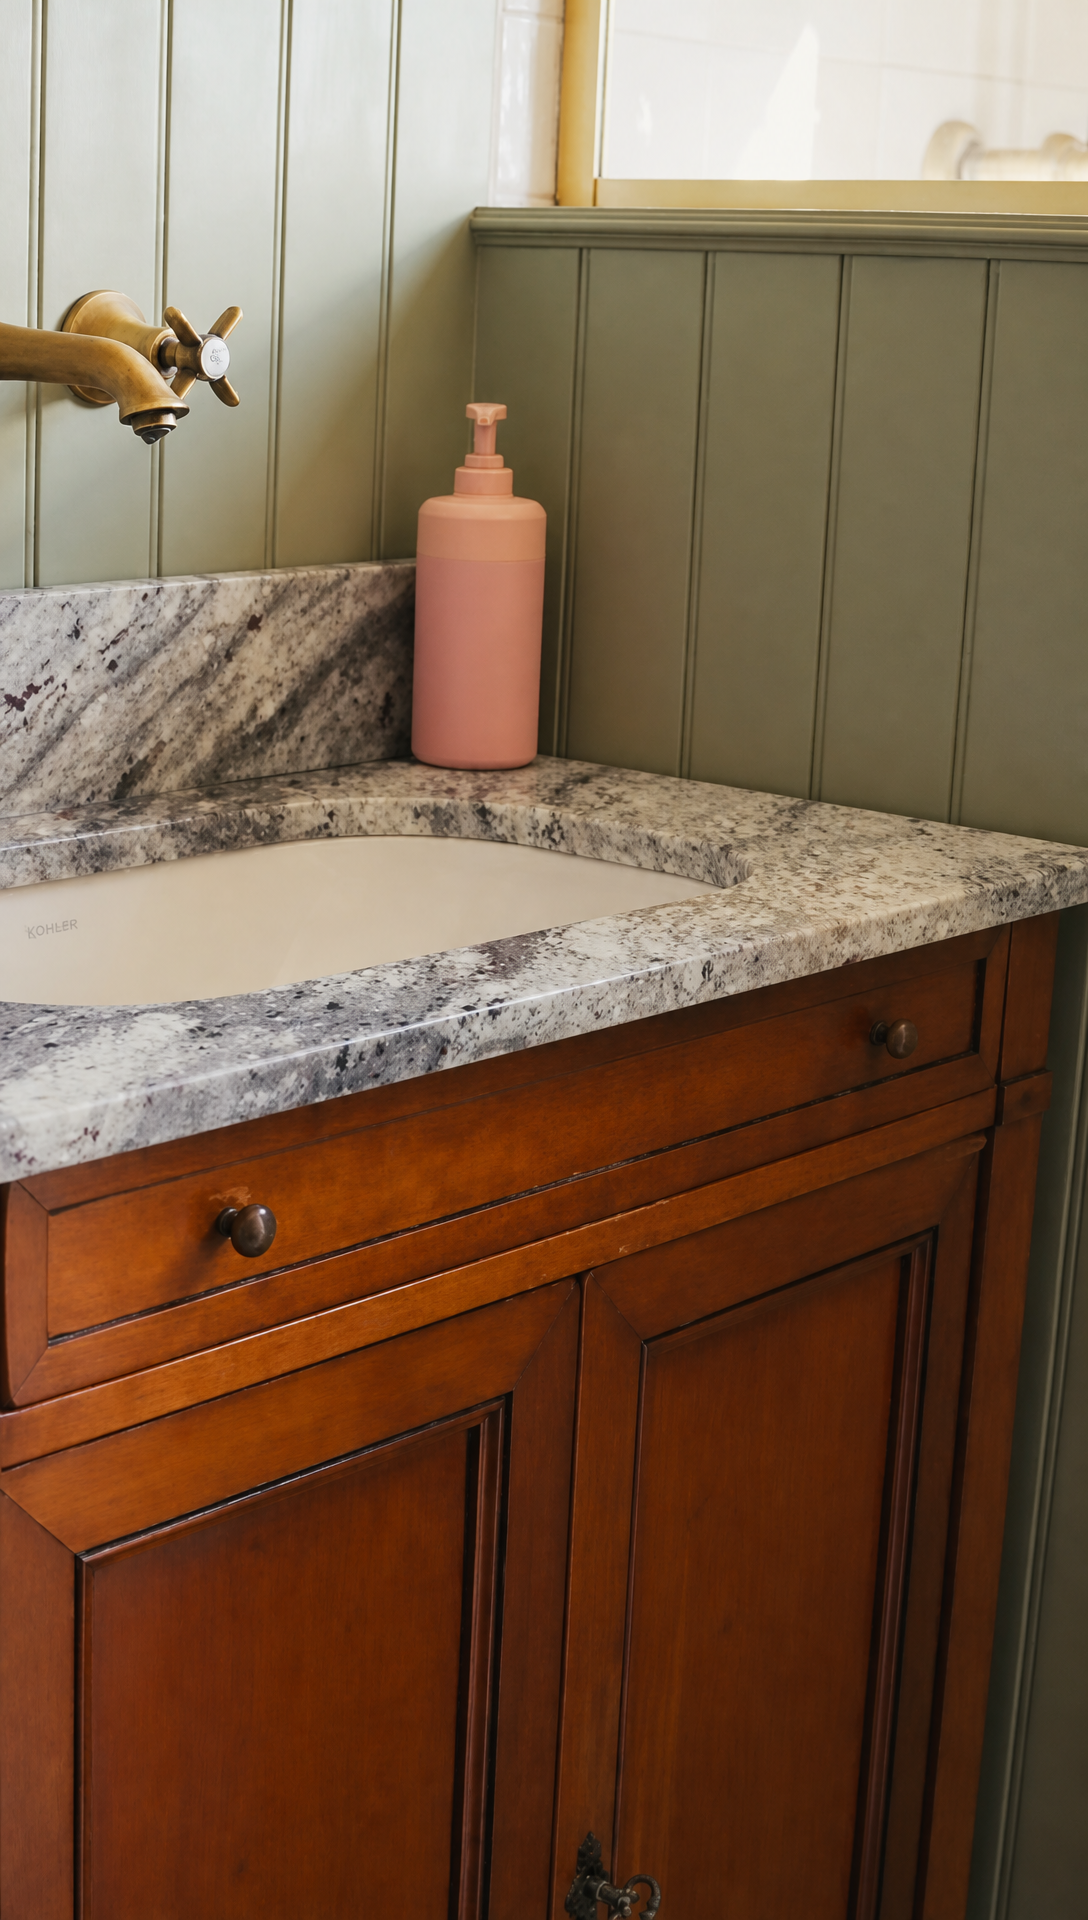 As always, there were problems. The tiles and the cladding were a nightmare to get in. Then, when the plumbers set the final position of the toilet waste, they put it where the toilet couldn't sit flush against the wall, so we had to build a shallow false wall to hide the gap. Nothing is ever perfect on these projects. The fix looks good, and the lesson is coming with us to the next bathroom. The BedroomAt the end of the hallway is our bedroom, or our current bedroom, since we have designs on the attic. This room needed a lot of work. It had the worst of the mould in the house, because a blocked gutter outside meant that whenever it rained it was raining straight onto the stone walls, which soaked it all up. There was also a strange walk-in closet bolted onto the outside, crumbling and full of asbestos. That went, and for a while there was a door in the wall opening onto thin air. Quite funny, in hindsight. 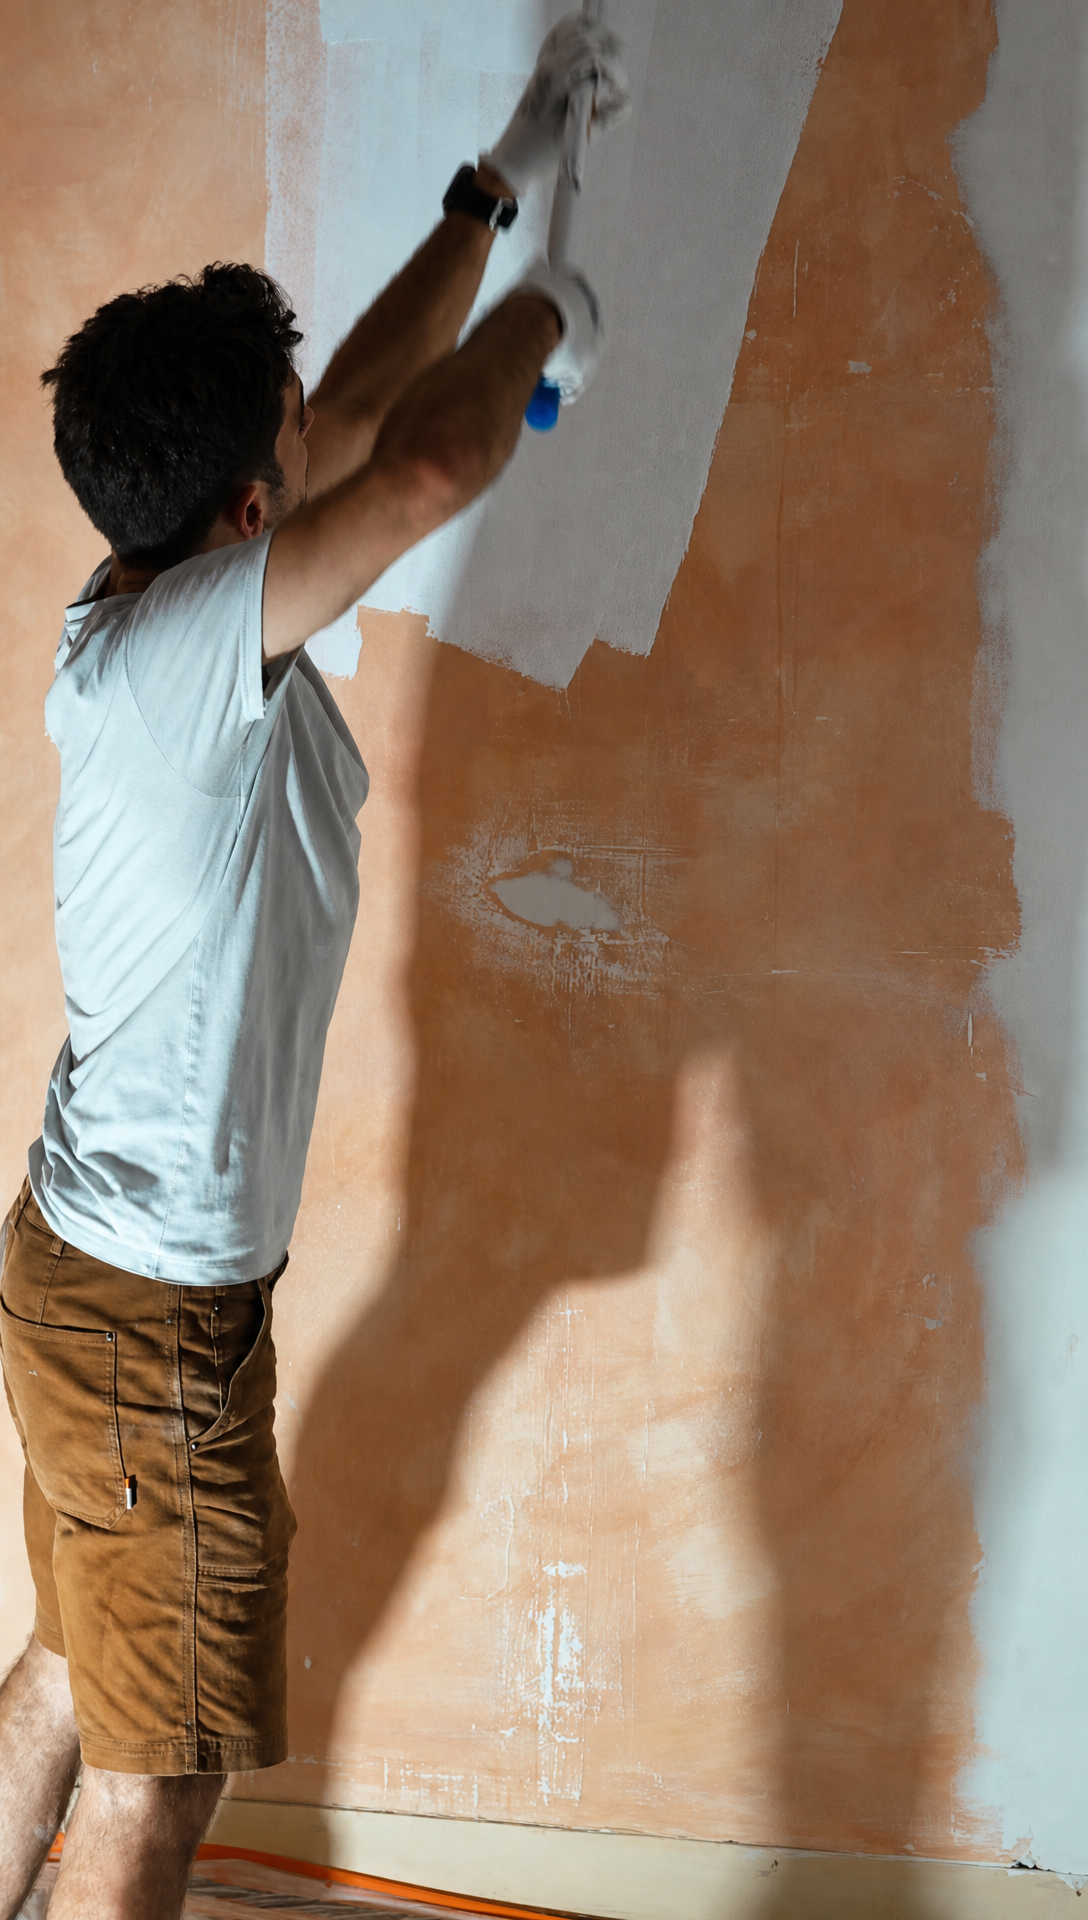 At the time we were living in a rented flat while the bulk of the work went on, and the goal was to get one clean room so we could move in and stop paying rent. So we painted it white and sanded the floors. The original floorboards survived in here and in the office, so we sanded and oiled them, and they look lovely. We wish we had them everywhere, but it's life. Last year we'd had enough of living in a half done room and decided to finish it properly. The design problem is that the room is small with very tall ceilings. It looks big on camera, but the bed takes up most of the floor, and we wanted to be able to walk around it without turning sideways. We struggled for ages over where the storage could go, and ended up with the unit behind the bed: two wardrobes, one each, with an integrated headboard between them. Somehow it makes the room feel bigger. Don't ask me why. It was my third woodworking project, and again possibly harder than the one before. It took about three months. Never again, until the next one. 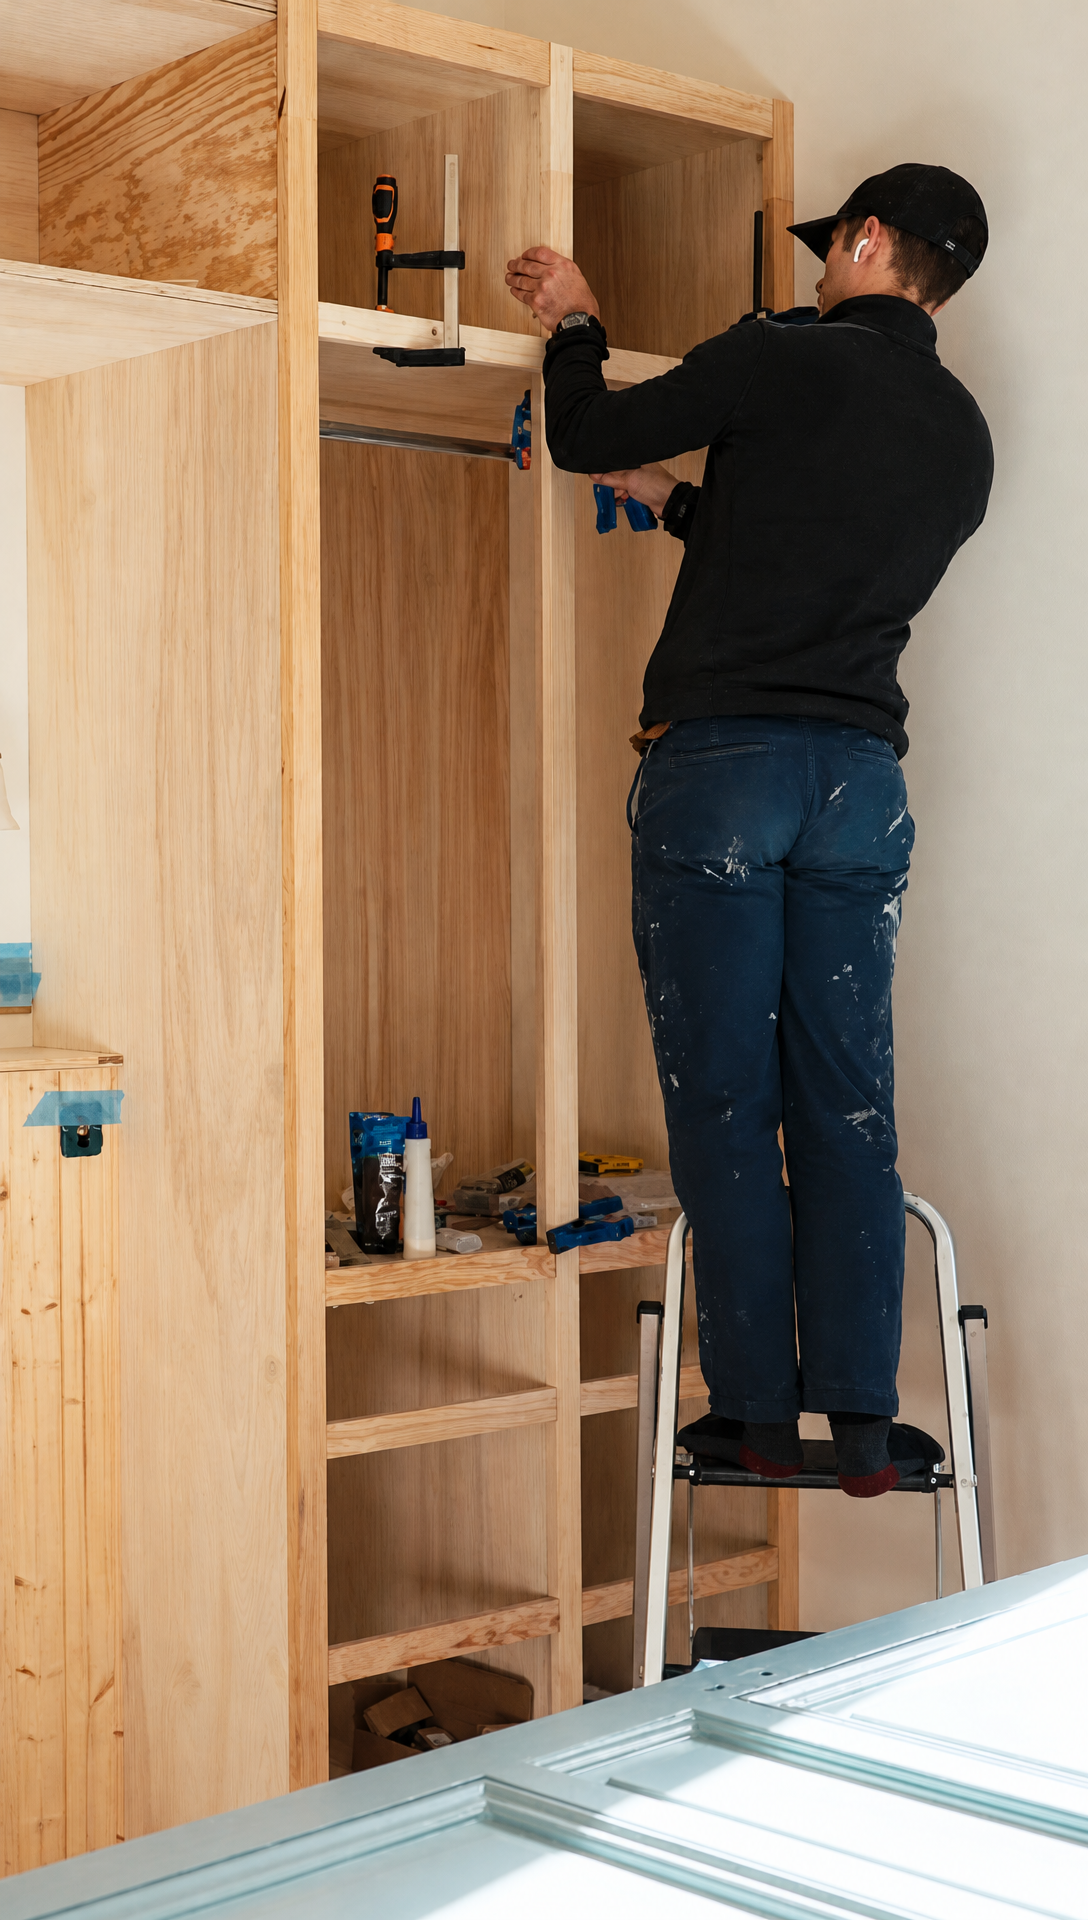 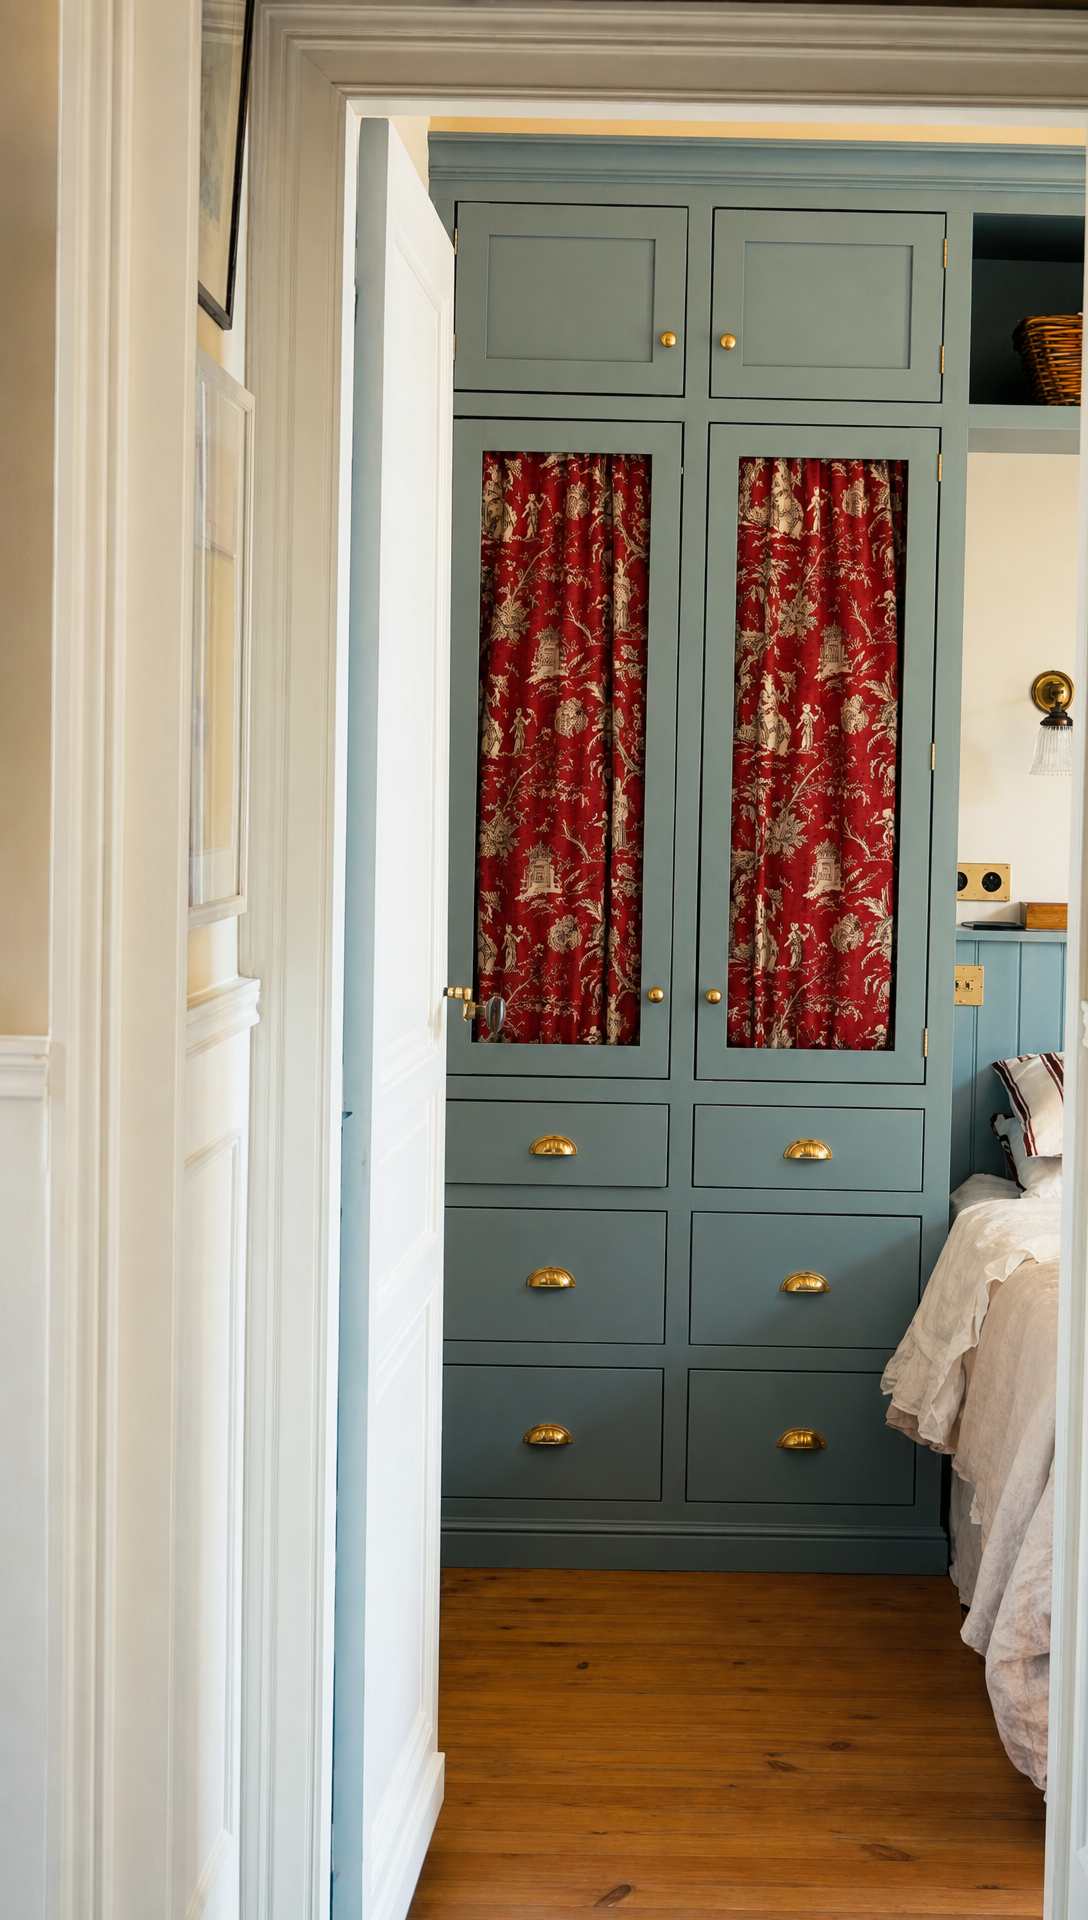 We hesitated for a long time over the colours. We wanted something a bit more colourful, so the unit is a soft blue, and the walls are Dimity by Farrow & Ball, a beige with a touch of pink in some light, which is very soothing in a bedroom. This was also the first room where we spent time on the details. The plastic light switches became brass ones, and we'll slowly do the same with the switches and sockets through the rest of the house. The wall lights, fluted glass and brass, came from a second hand shop. Romy regrets only buying two. They'd be useful upstairs, and of course they're no longer available. 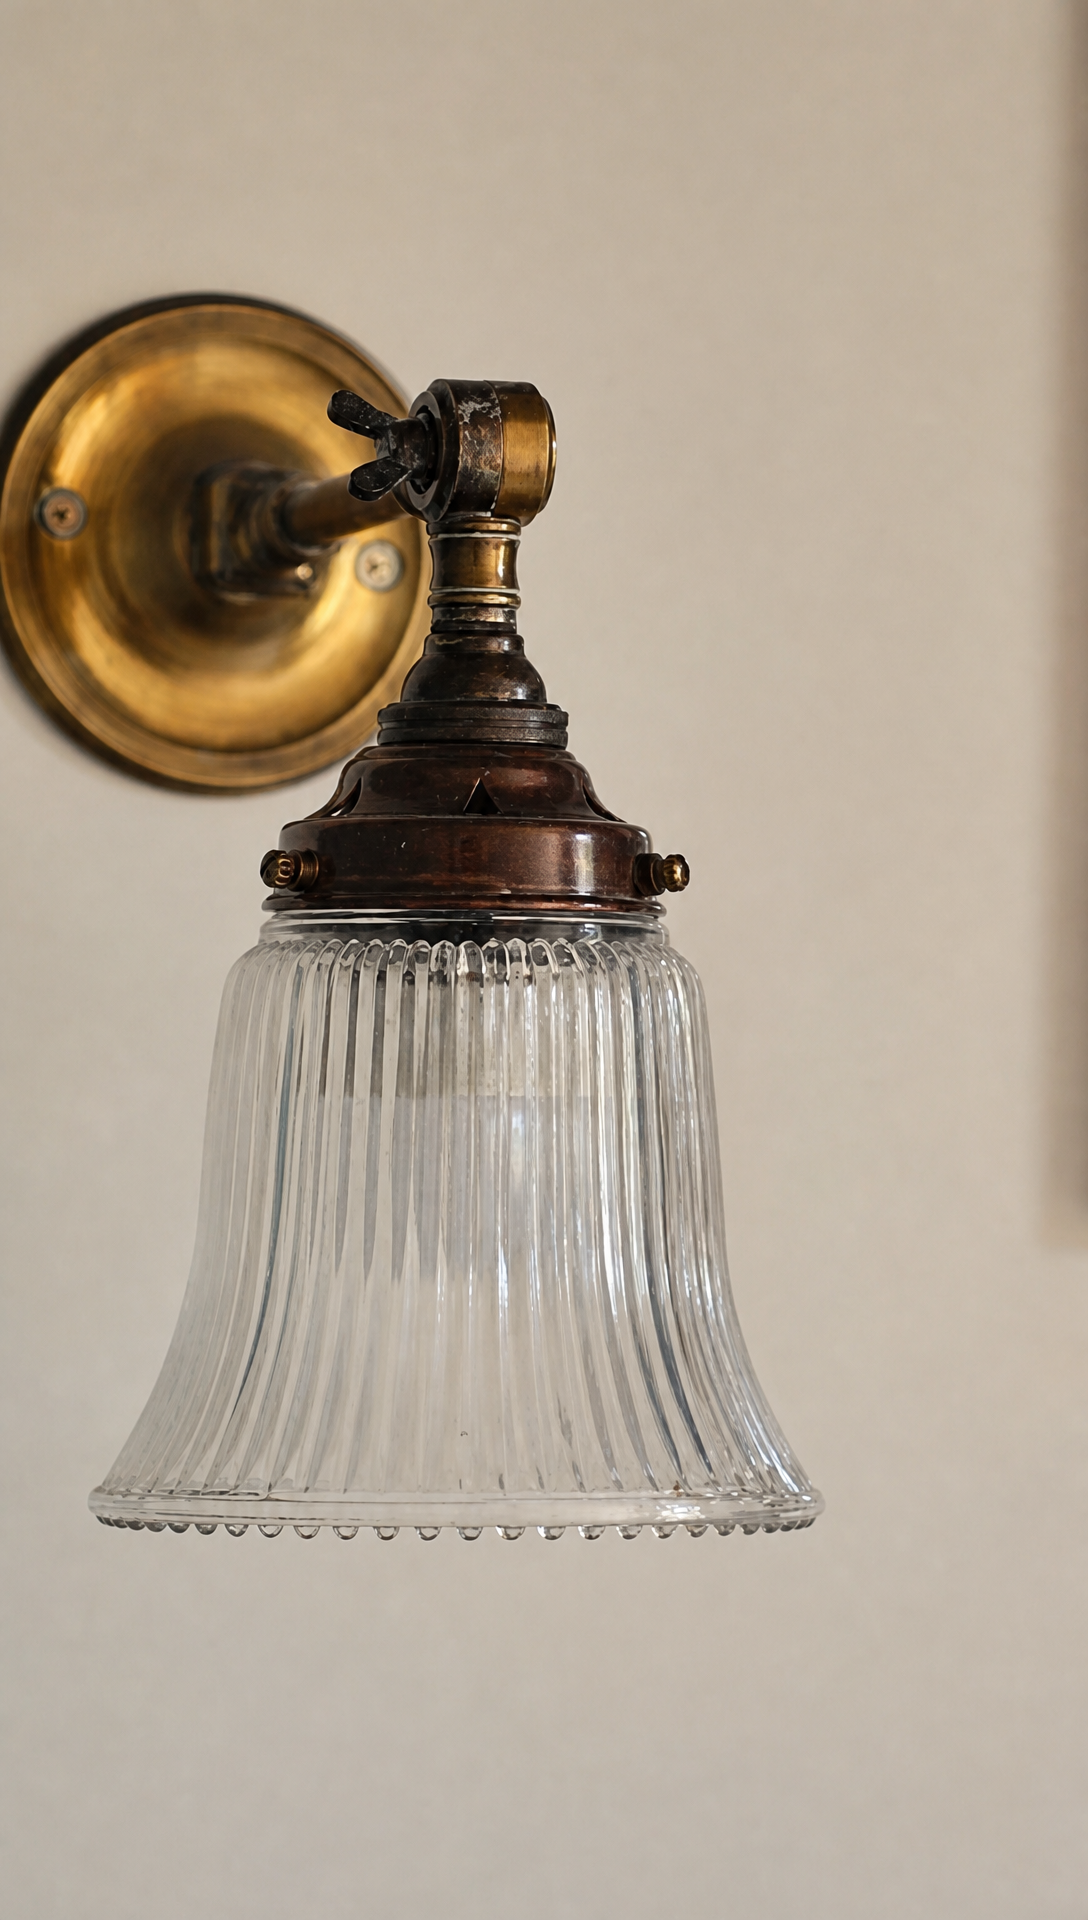 The Office, Or Where The Junk LivesIf you've ever watched a home tour and wondered how on earth anyone keeps a place that tidy, our secret is this room. The office is the first room on the left as you come in, and right now it stores everything. It's the staging area for the attic and every other job on the go, so it's full of plasterboard, tools and things we've forgotten we own. 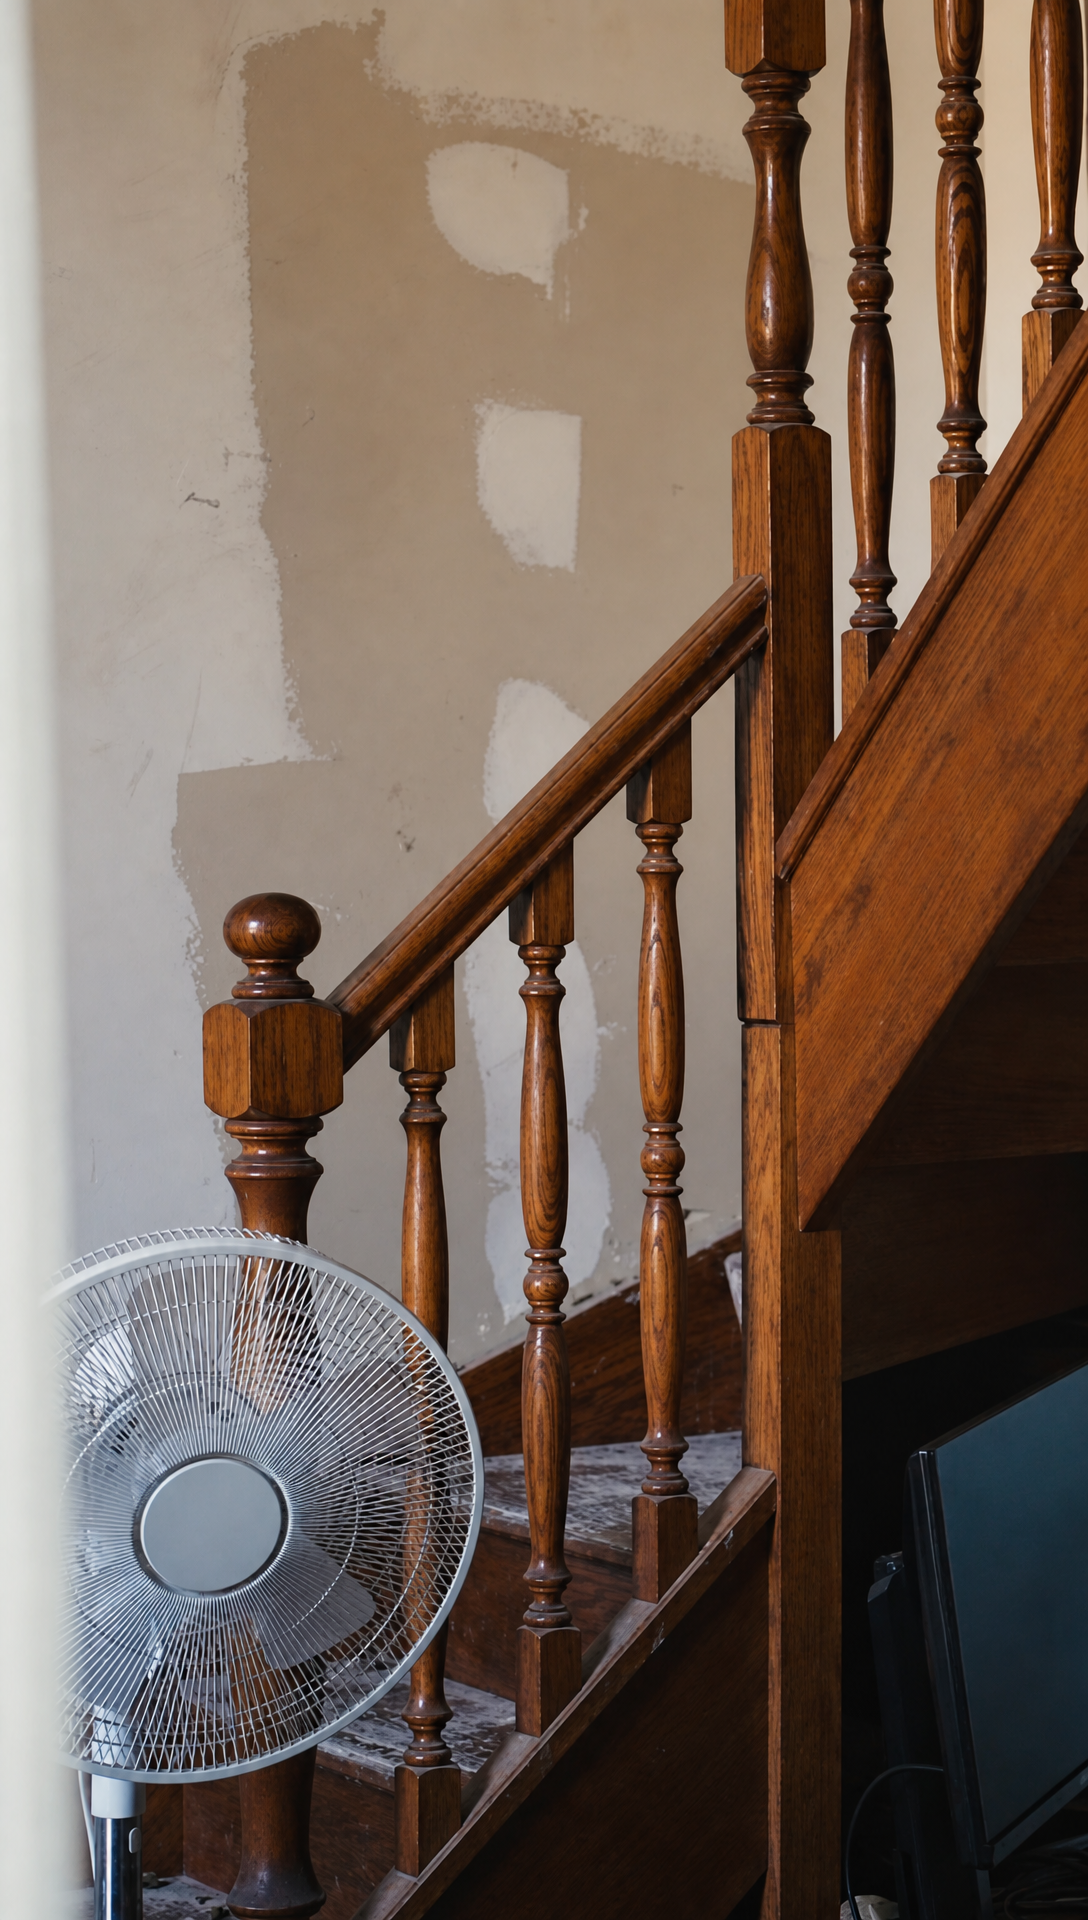 It has hardly changed since we bought the house. New windows, insulation and plaster on the outside walls, and some reinforcement of the staircase so it's structurally sound. Otherwise it's as it was, with protection down over the parquet so we don't wreck it carrying plasterboard through. The plan is two built-in desks with cupboards above them, so we have somewhere organised to work day to day, and built-in storage running all the way up the stairwell for coats, shoes and everything else that comes off at the front door. 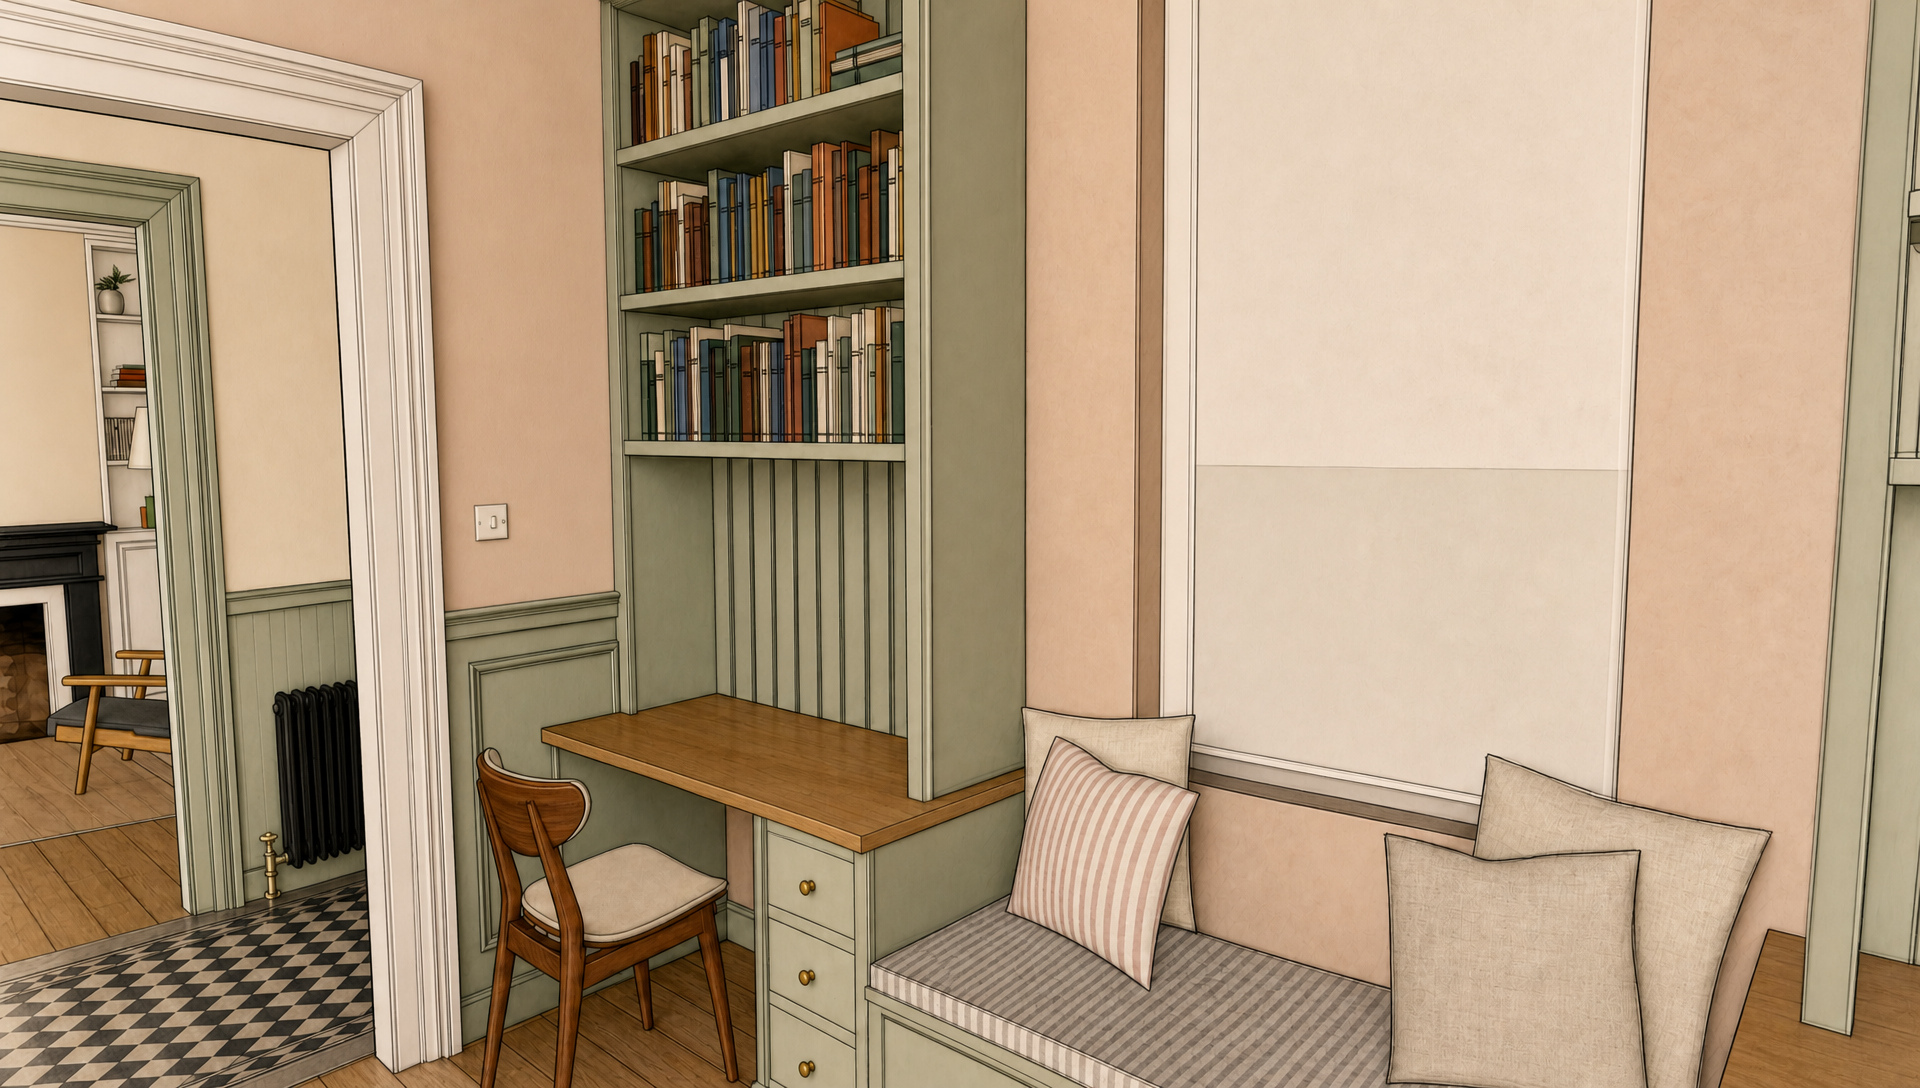 It's still very much in design, as long time viewers will know only too well. The colour is the sticking point. We started with darker schemes, an aubergine or a deep red, then swung towards lighter ones, and we're still not sure. The idea is to colour drench the stairs, the under-stair cupboards and the office built-ins in one colour, so whatever we pick will be a big decision. If you have thoughts on the designs we've shown, the comments are open, and it's always useful to hear what you think. This is the room we'll tackle after the attic, for the simple reason that everything for the attic passes through here, and anything we finished first would get destroyed. Upstairs, Very Much In ProgressThe attic is where most of this year has gone. It doesn't look like much progress, and that's the frustrating bit, because getting it to this point took an inordinate amount of time. There are beams everywhere and the roof slopes, so nothing up here is square. We ripped out all the old insulation, which wasn't fit for purpose, re-insulated, put up plasterboard cut around every strange shape, built the internal walls and plastered. Everything took about twenty times longer than it would in a normal square room downstairs. We're happy with how it's looking, though. 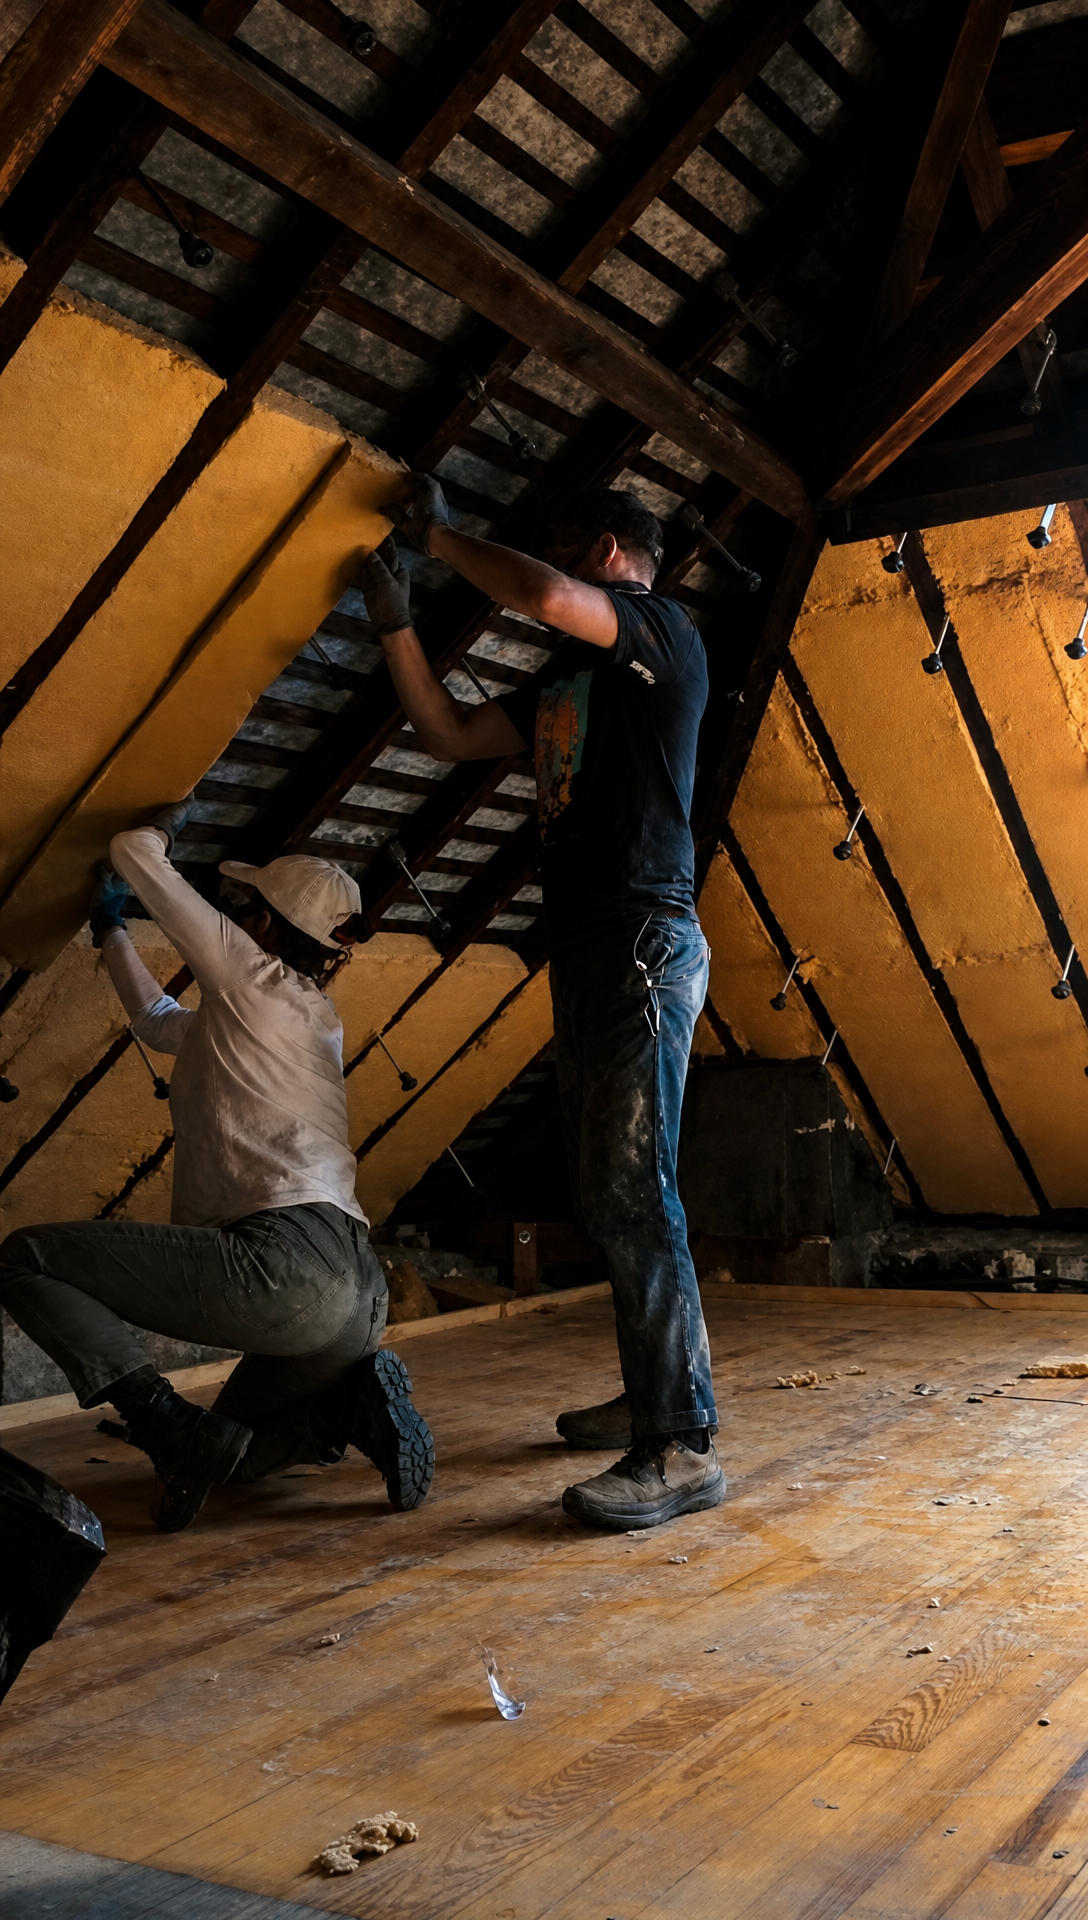 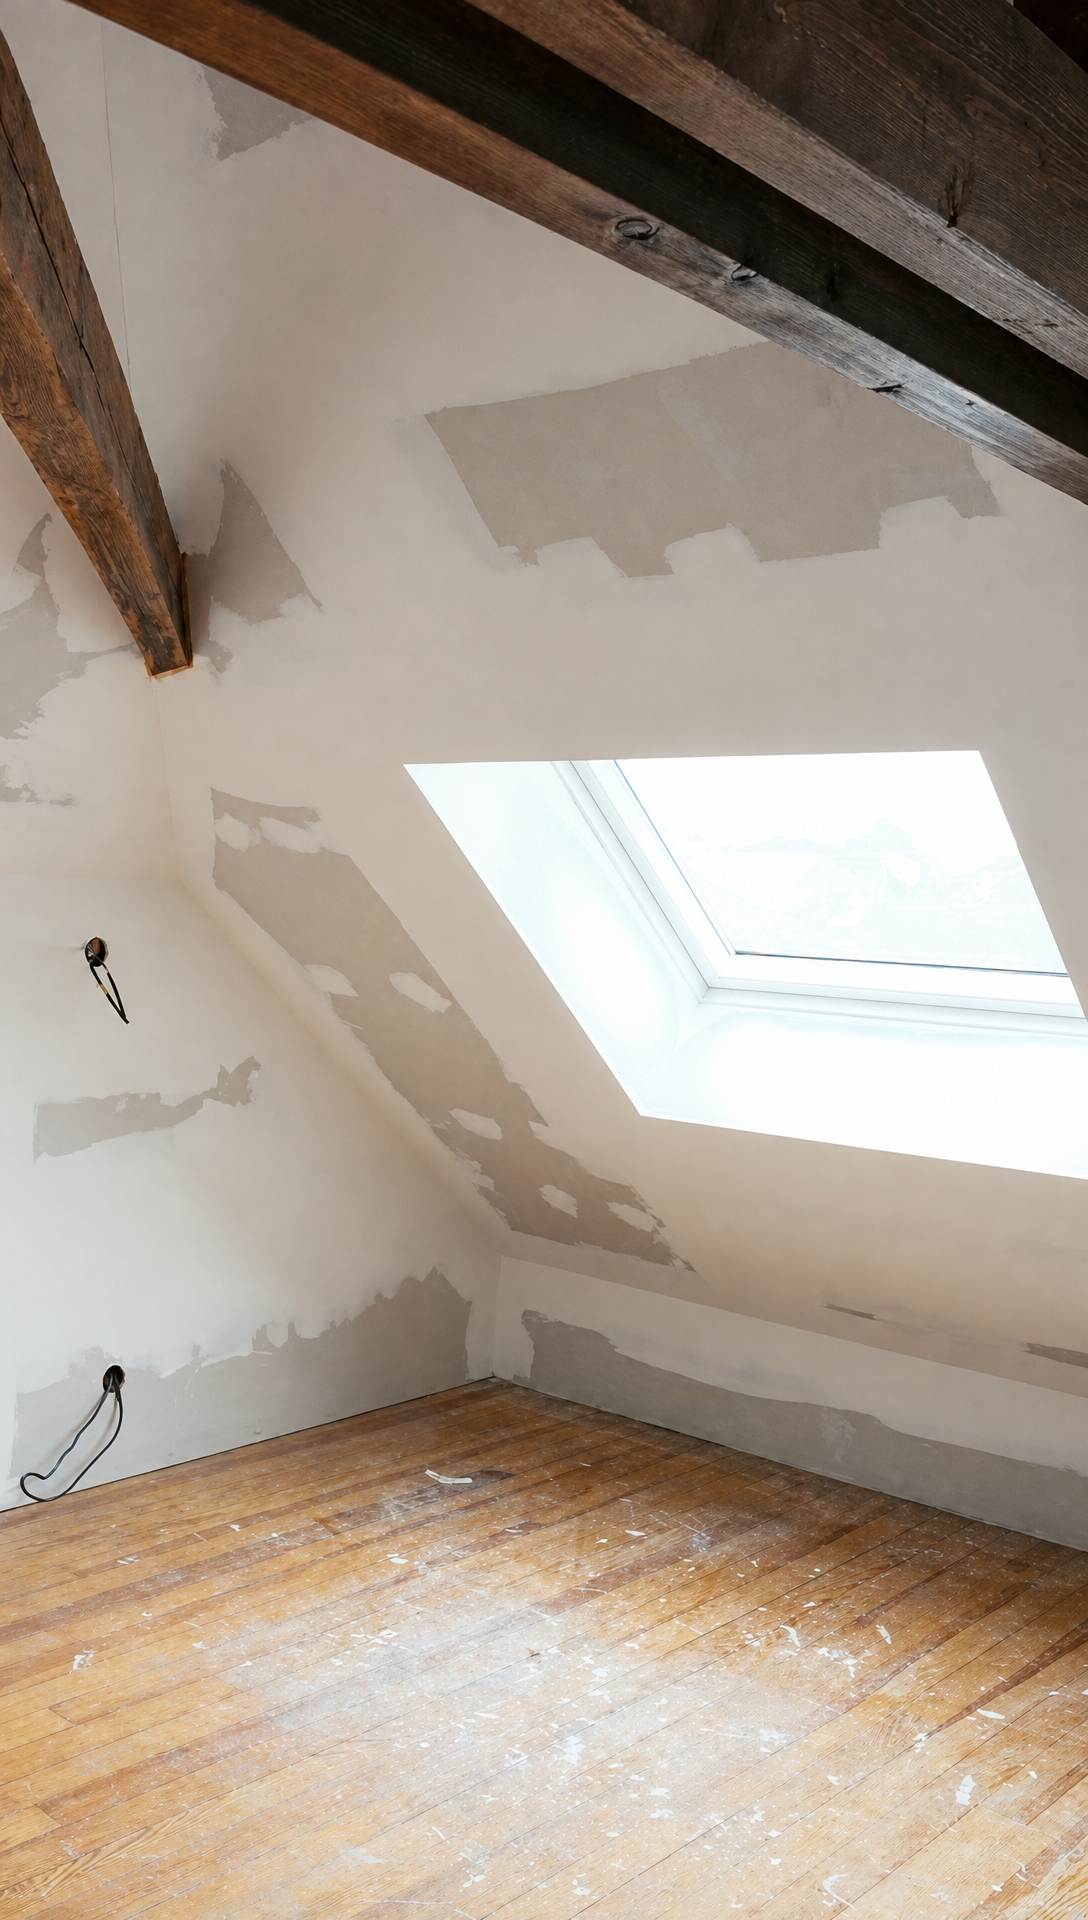 There's a dedicated attic video coming next, because a lot has happened up here. The plan is two bedrooms and a bathroom. The main bedroom, where I'm standing in the video, will be ours: a long room with built-in cupboards all the way round, keeping the pine floor, which needs sanding and oiling after a year of plaster dust. The second bedroom is less defined, but it will probably be an office and craft room for Romy, maybe with a lighter floral or striped wallpaper. The bathroom will be long and thin, a vanity on one side and a bath on the other, with the window letting in plenty of light and panelling all round in a lighter scheme. 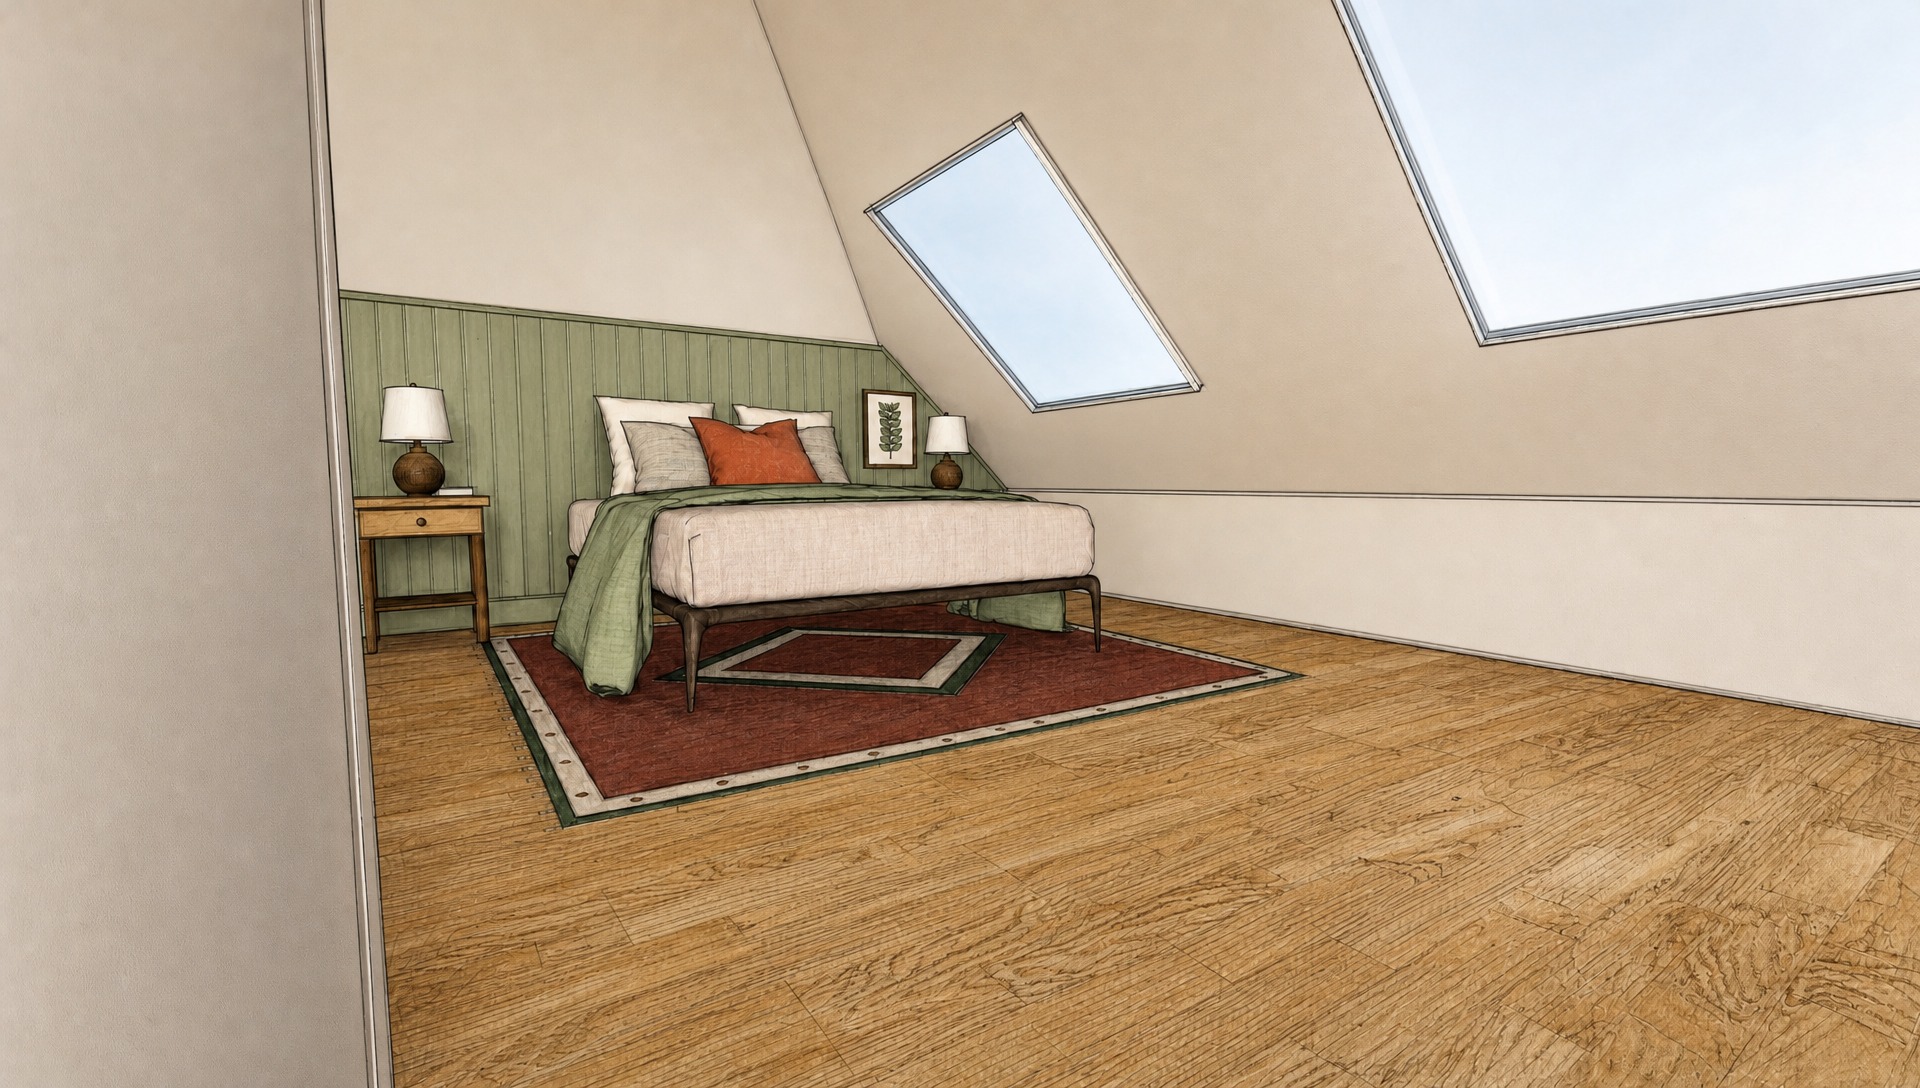 The whole feel up here is cosiness. The ceilings are low, so we're leaning into it. With the roof windows looking out over the rooftops it feels tucked away, and we want to keep it that way. The Front GardenWe're lucky to have two gardens. The front one is the one you see from the street, and it faces north. When we got the house it had been left semi-abandoned, with trees growing wherever they fancied. The previous owners cleared most of it, and what was left was a beautiful crape myrtle and a lovely old magnolia, so Romy anchored the whole design around those two trees, with a section on either side. 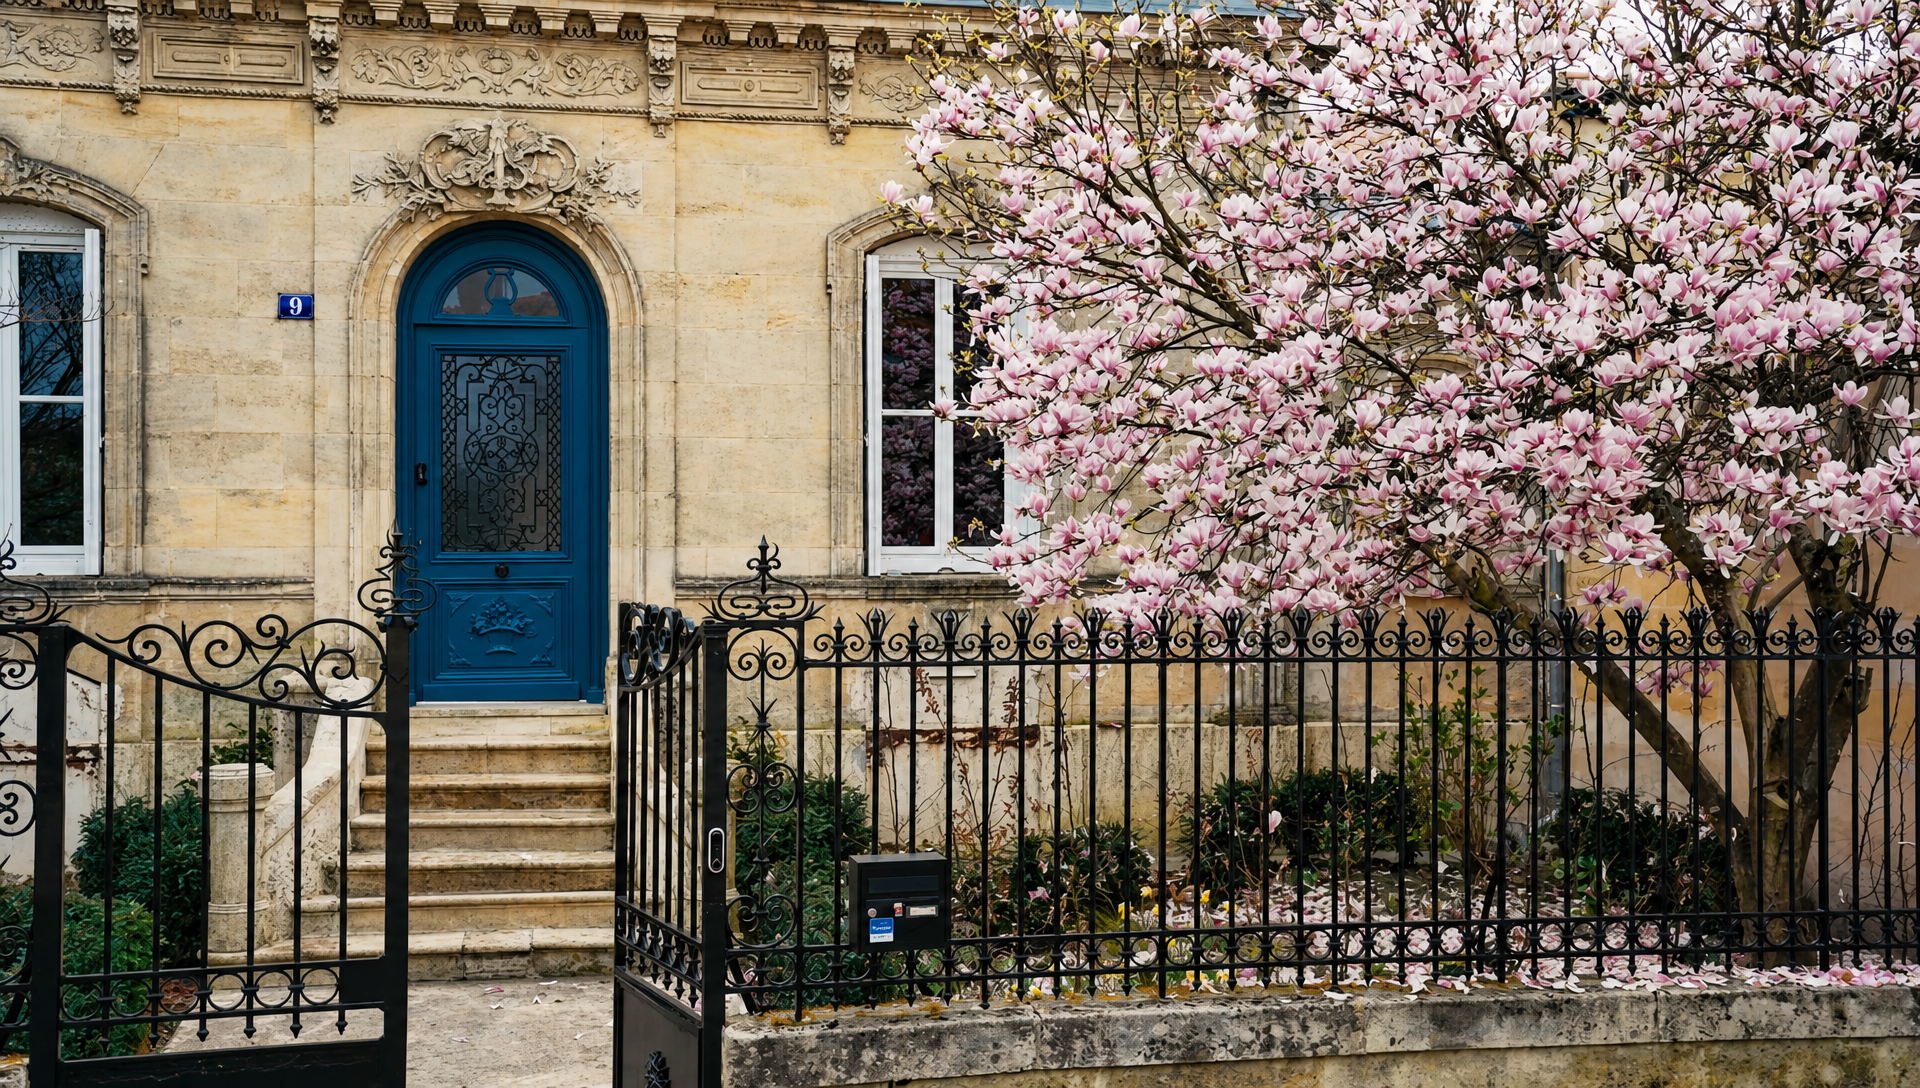 Inside the fence there's a hornbeam hedge for privacy, which after two years is still fairly small (hedges don't care how impatient you are), and new hedging around the two sections to give them structure. The idea is a contrast between the clipped hedges and a bushy, herbaceous border in the middle, with something in flower all year. Romy is still working on it, to be honest. This is only the second season of planting, because the first year the garden was a tip, and it gets better every summer. This autumn she's adding more structure, evergreen shrubs to hold some interest through winter, and a lot more bulbs. The tulips and alliums were stunning this spring and the plan is to go bigger. 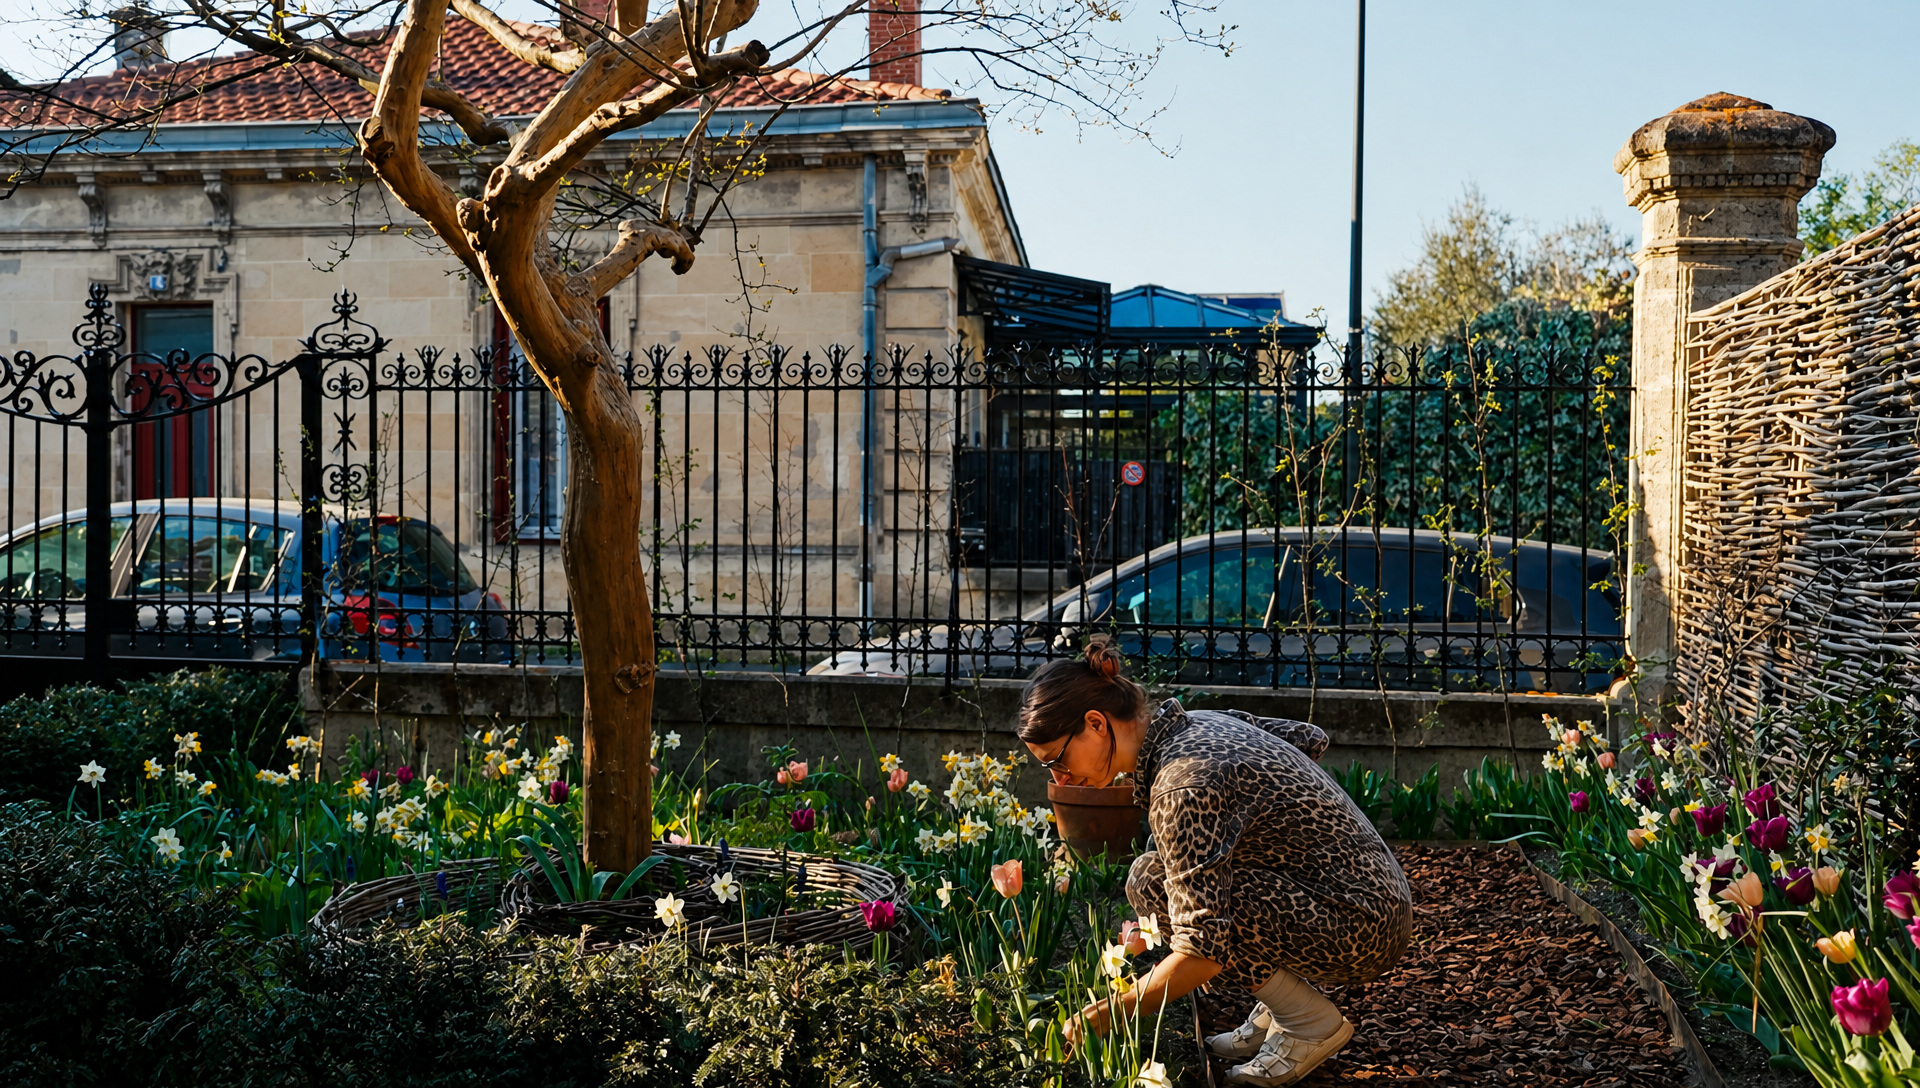 On the side of the garden there was a short, ugly wall. I built a woven hazel fence along it, which Romy has covered in climbers, and behind it I left enough room for planters, so the neighbours who use the passage get something nice to look at too. We don't see much of it ourselves, but they seem to like it. 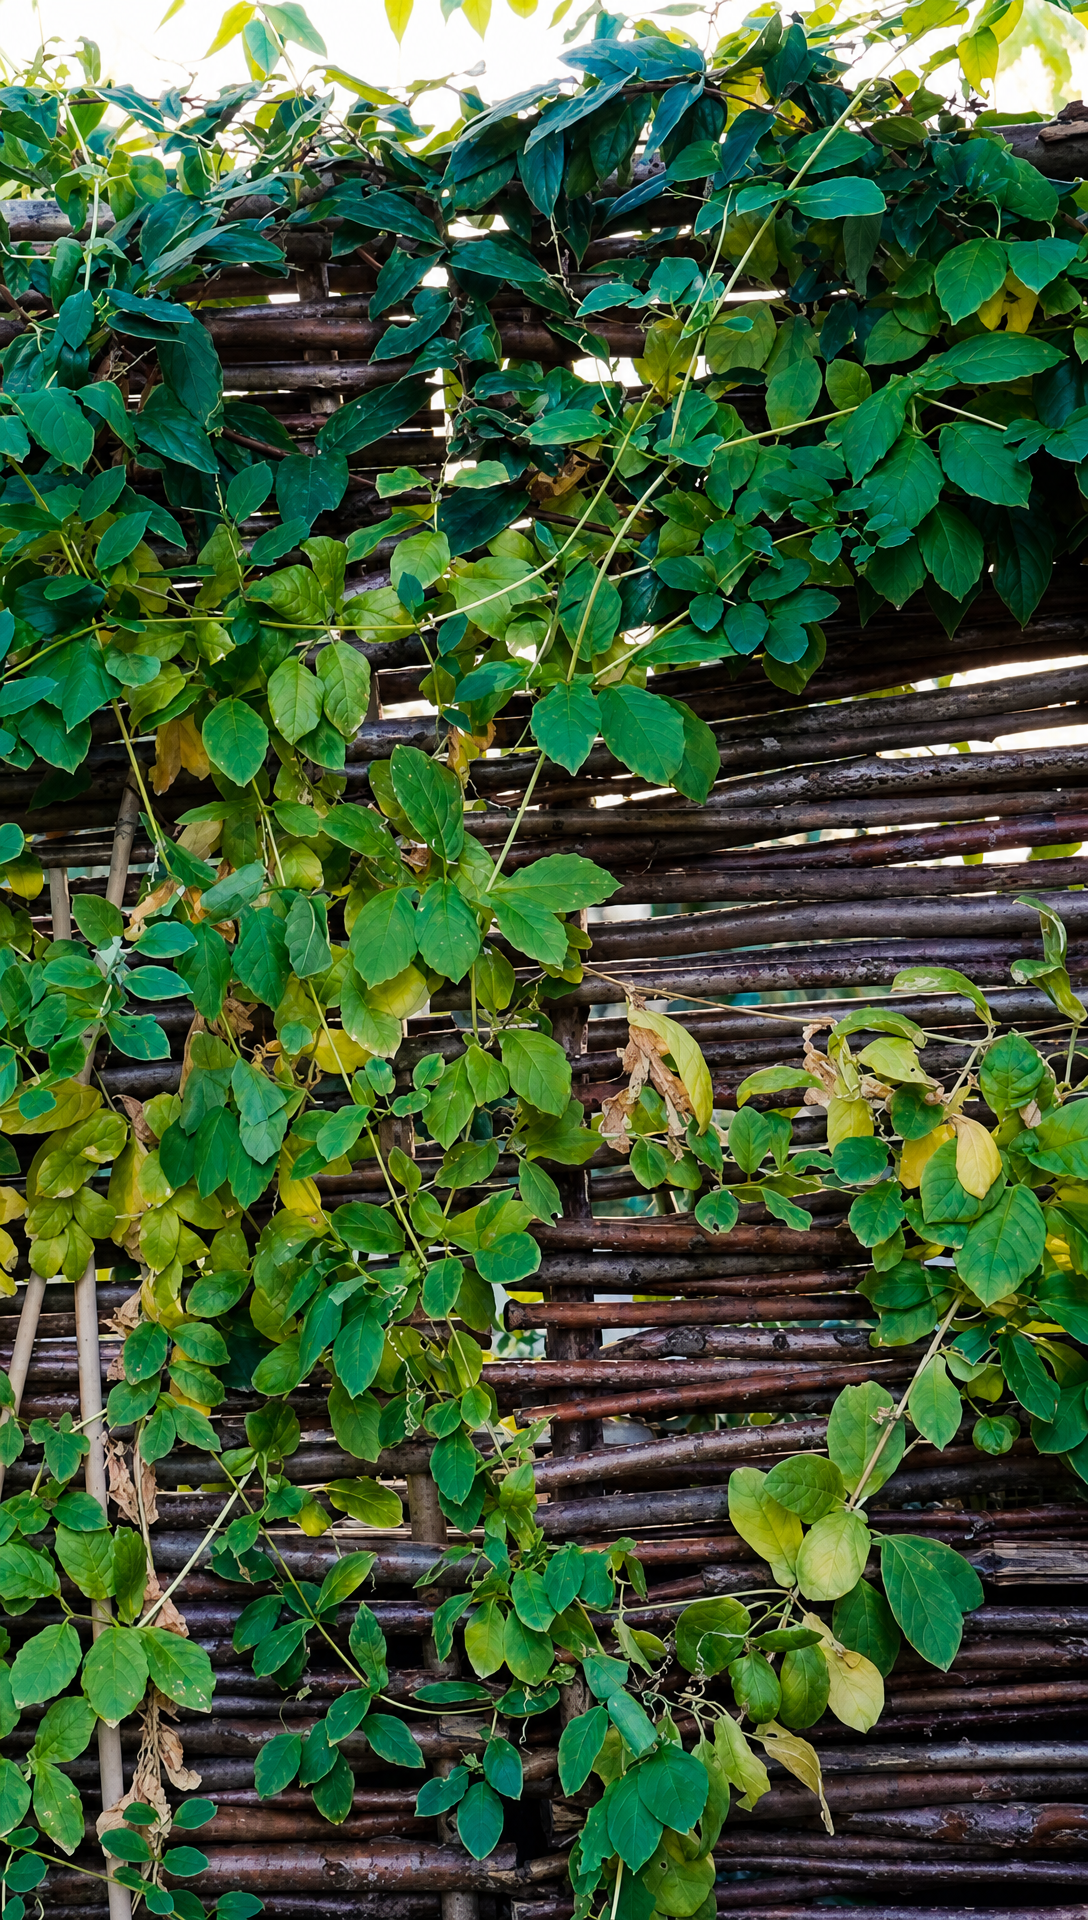 The Back GardenThe back garden is the private one, with the terrace and the raised beds where we grow vegetables and the things we eat day to day. It has changed enormously. This was the part of the property that needed the most physical labour. It was fairly empty, but there were several huge tree stumps that took months to get out, digging at them a bit at a time whenever we had the energy. 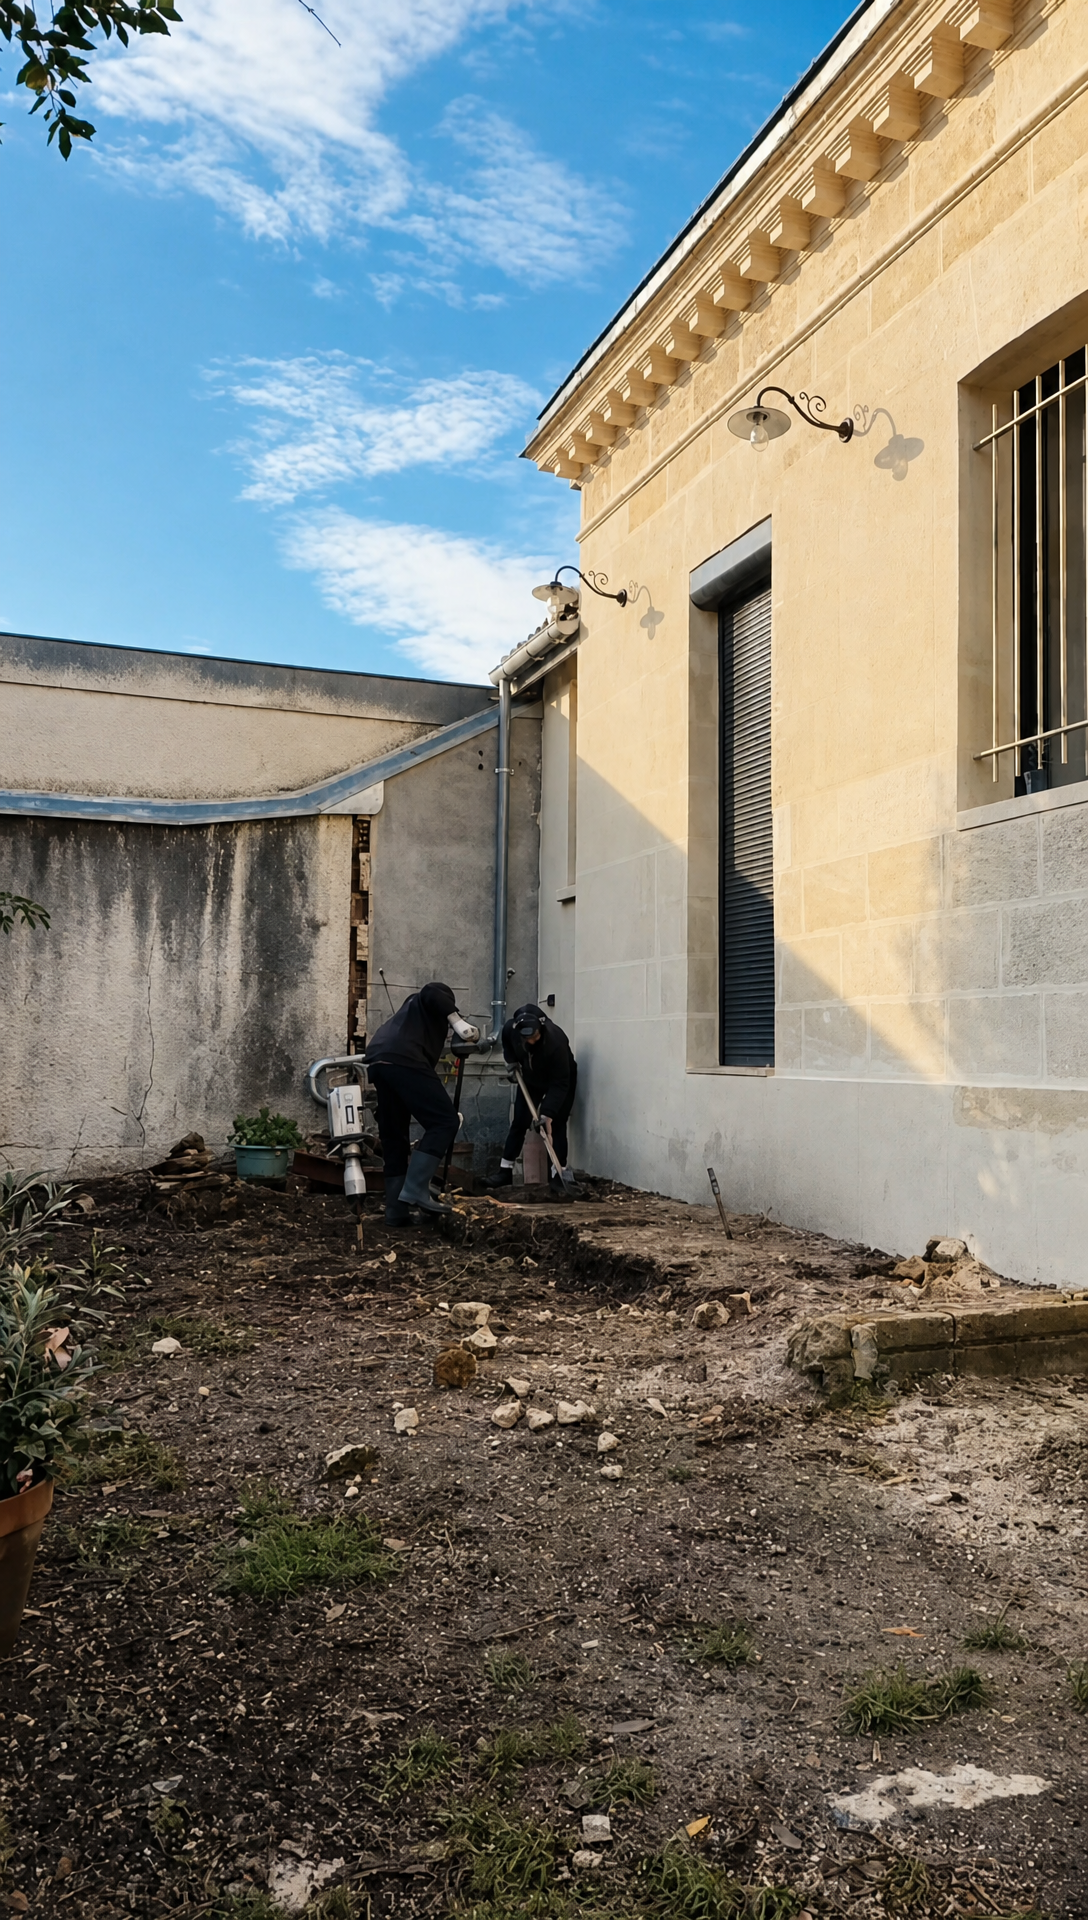 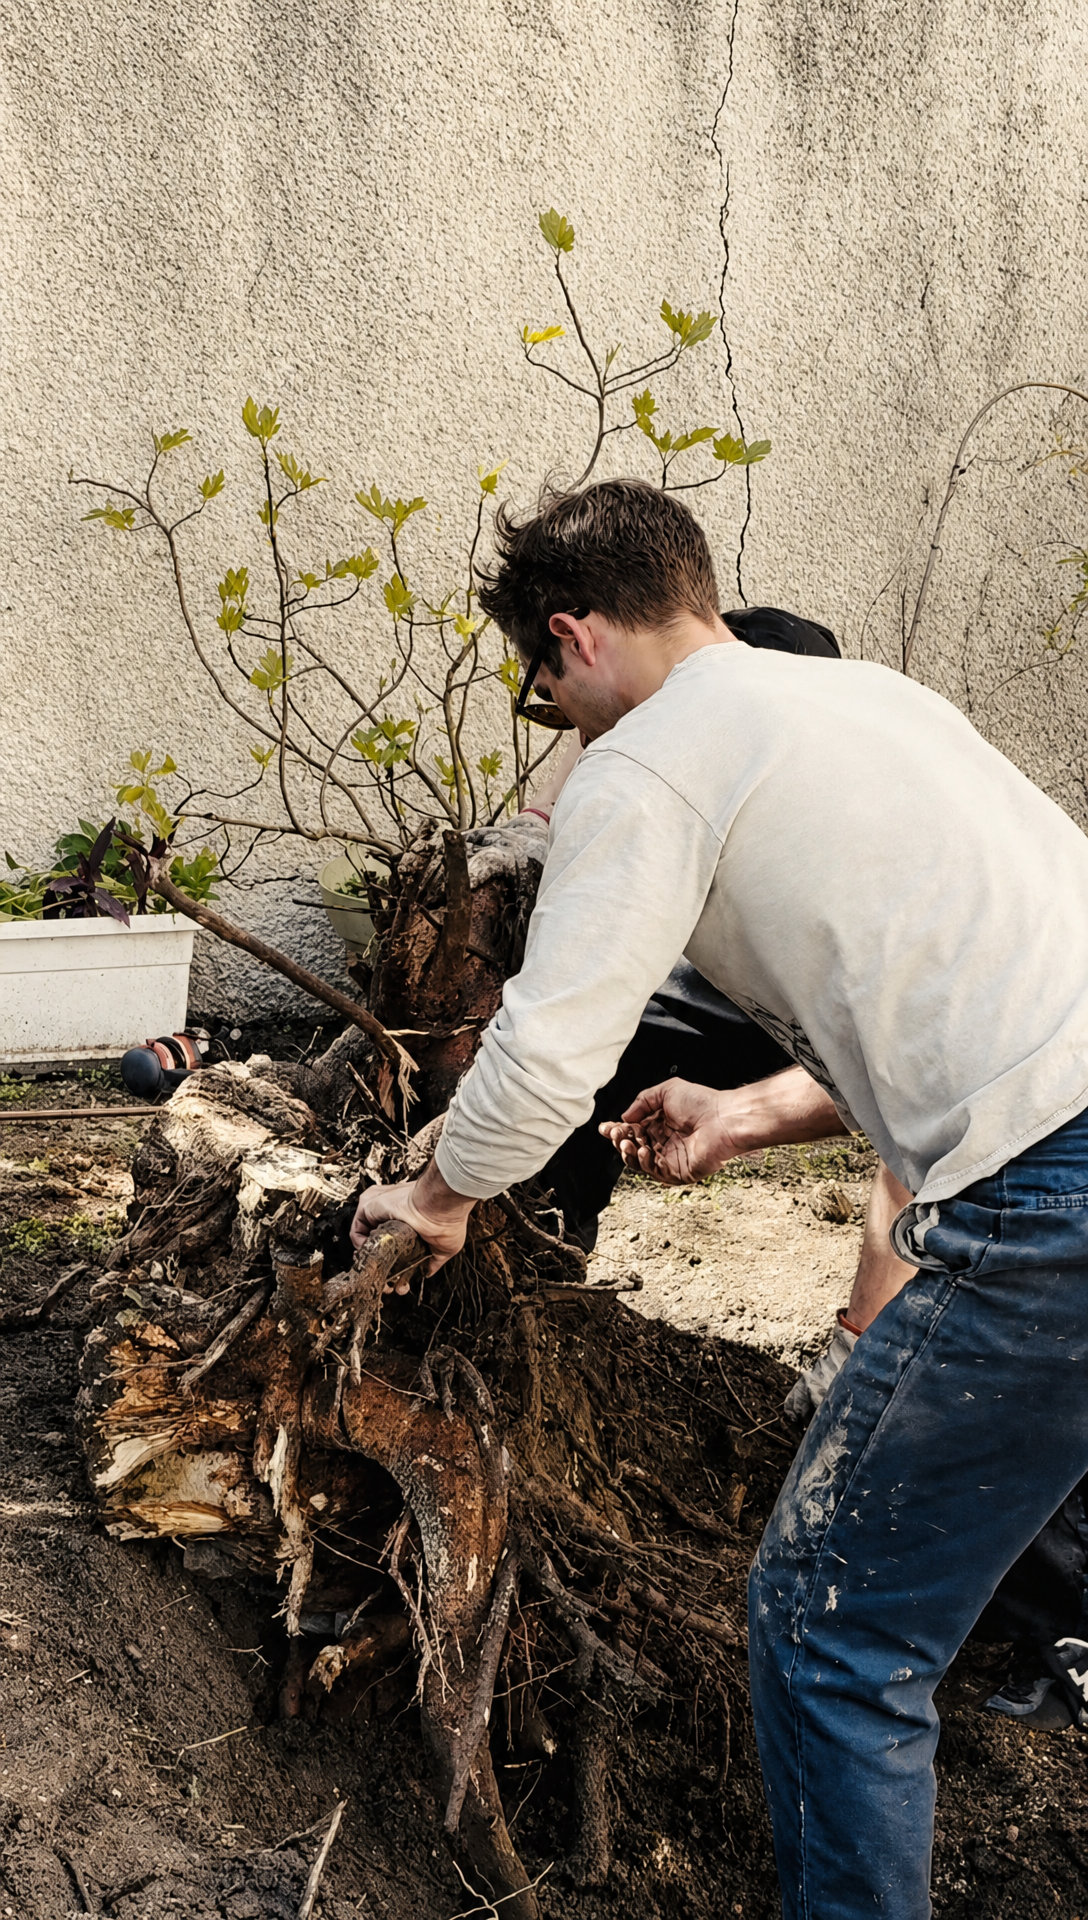 The raised beds happened partly because Romy wanted to grow flowers and vegetables, and partly because we had far too much soil at the front. I spent a few weekends levelling the front garden and carrying the soil, which was good soil at least, round to the back to fill the beds. My back has forgiven me. Mostly. The terrace was hard work too, and worth it. The blue furniture set took me a while to come round to, but with the warm wood cladding behind it and the pale travertine underfoot the colours work. 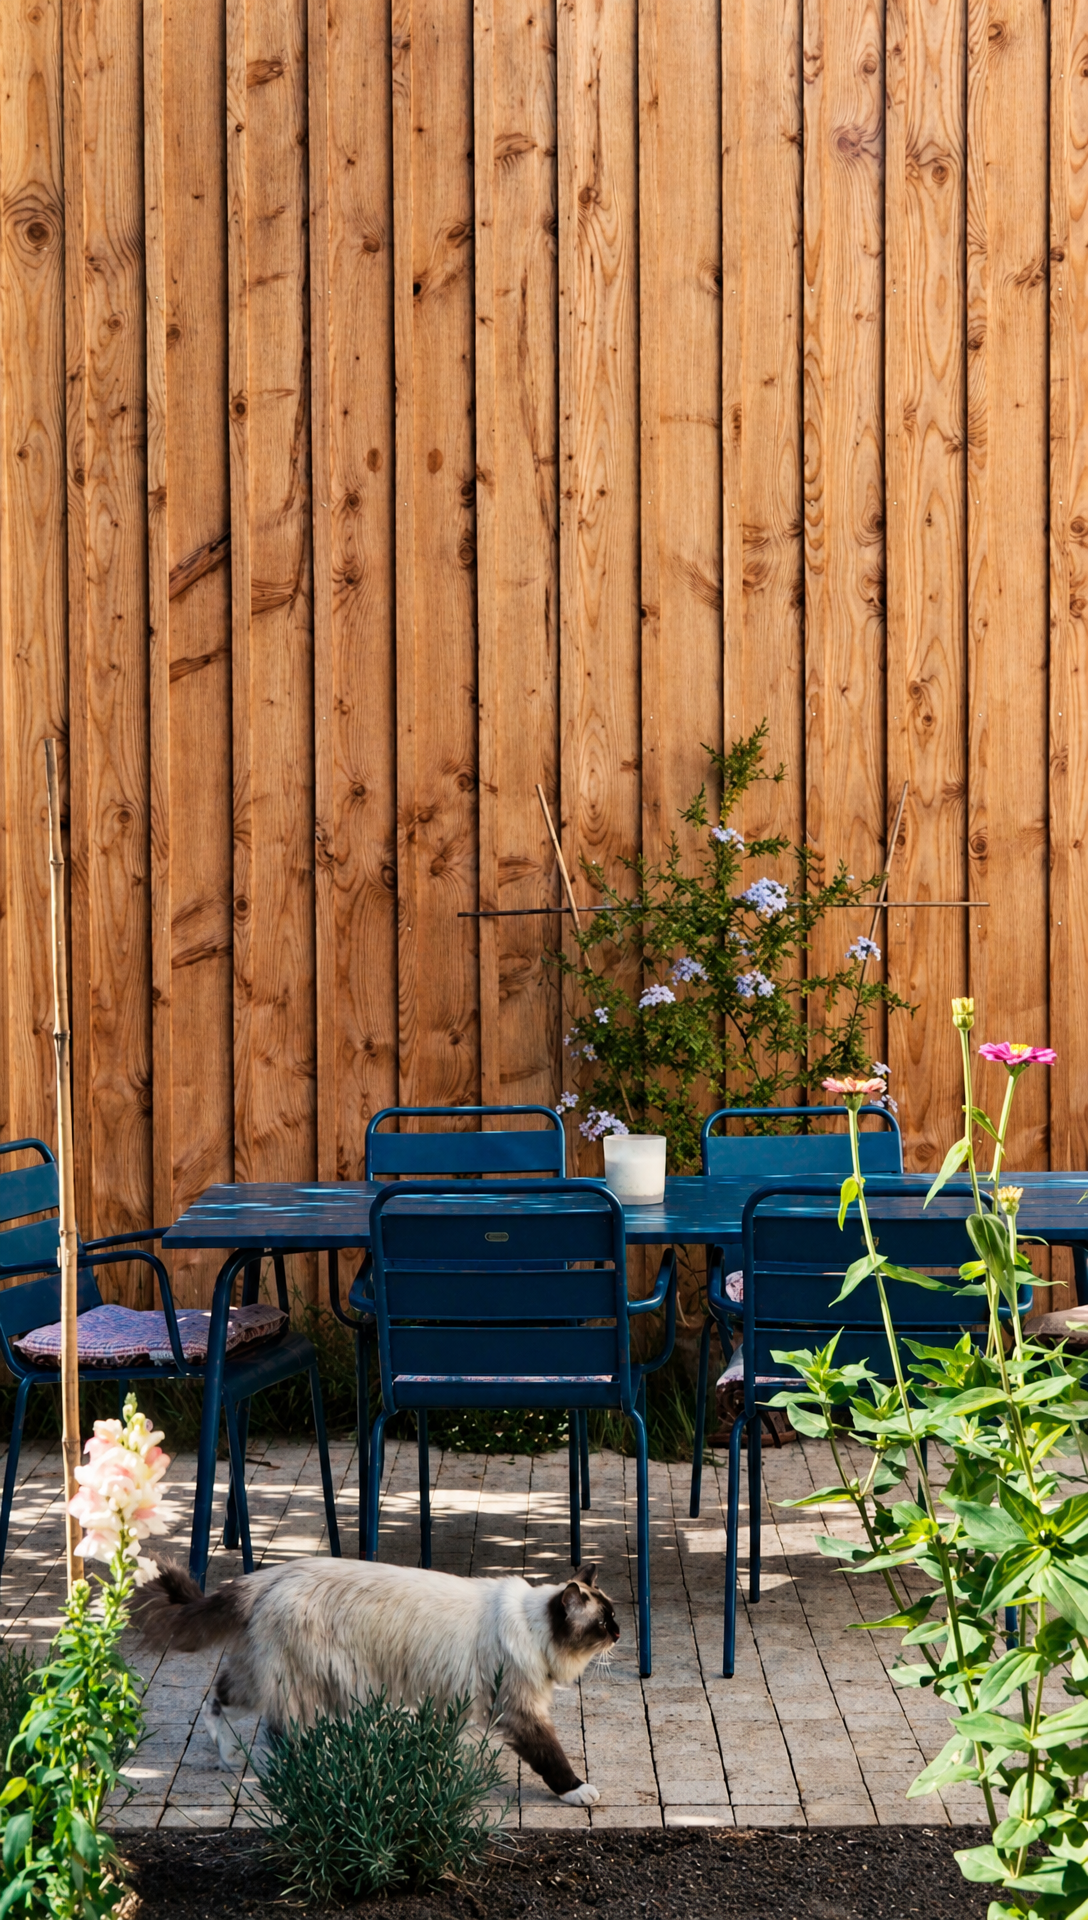 At the far end are the two projects from this spring. The greenhouse is built from the old front windows we replaced, and I made it for Romy. It's tiny, about the size of a wardrobe, and she uses it mainly in early spring. In summer the door stays open, because it gets to about 60 degrees in there. Then there's the old gate, recently painted a very light green, with a trumpet vine climbing up it. 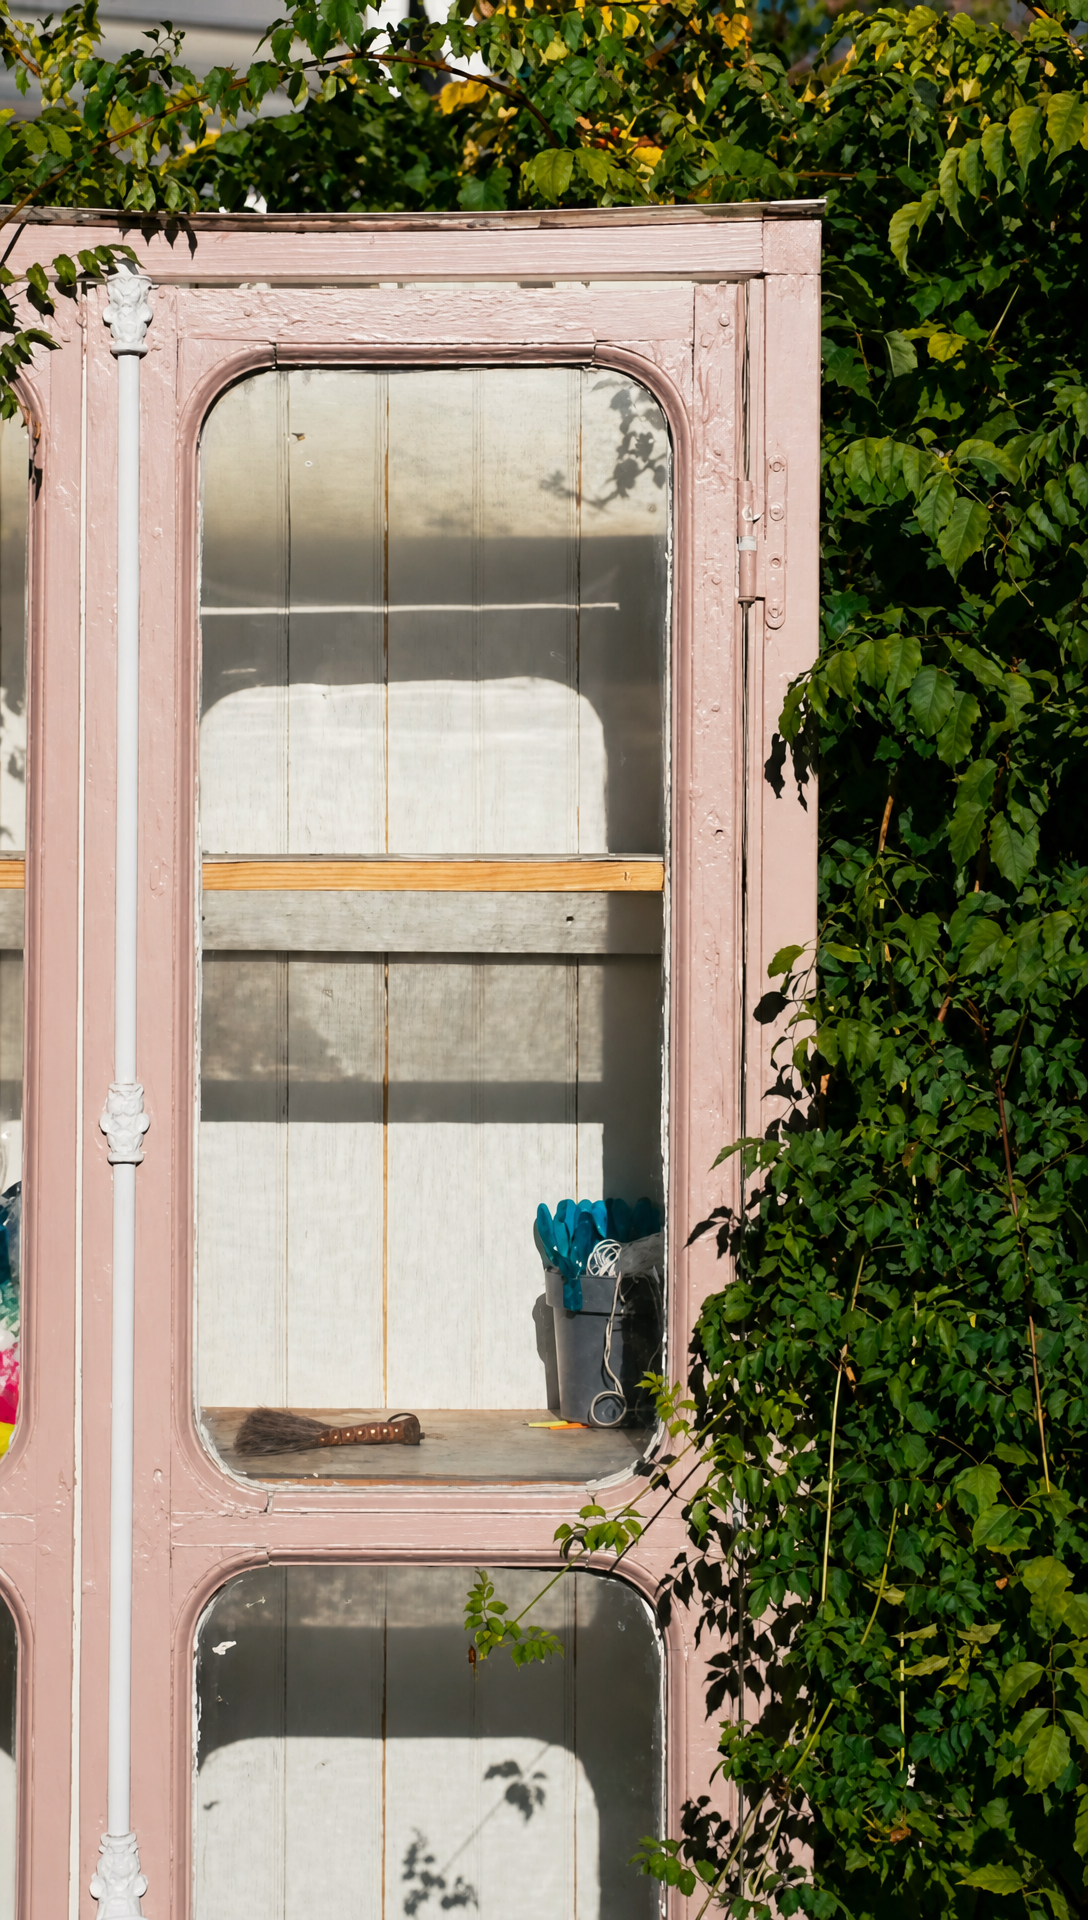 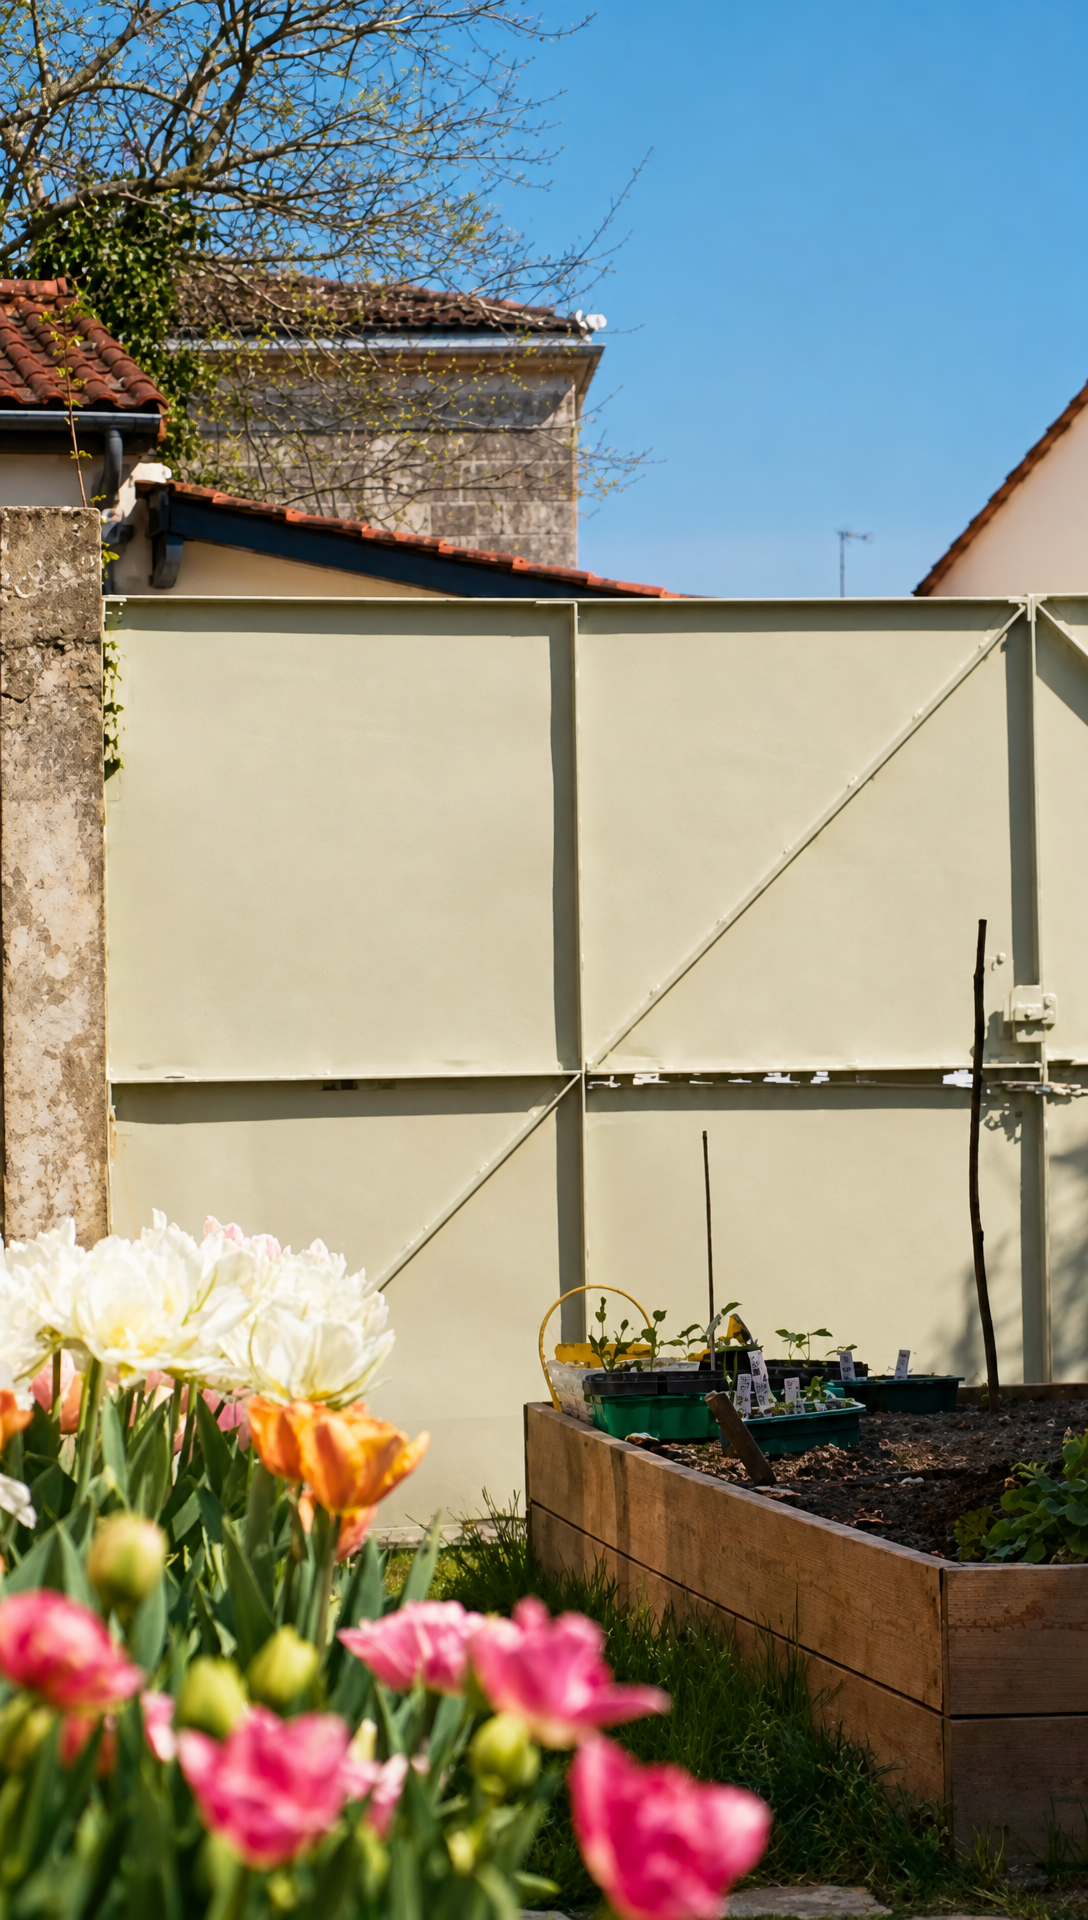 From the back garden you get the best view of the house, especially in the long evening light. It wasn't always like this. Outbuildings had been tacked onto the back of the house and had eaten into the sandstone, so we brought in stonemasons to restore the facade, and they did a brilliant job. 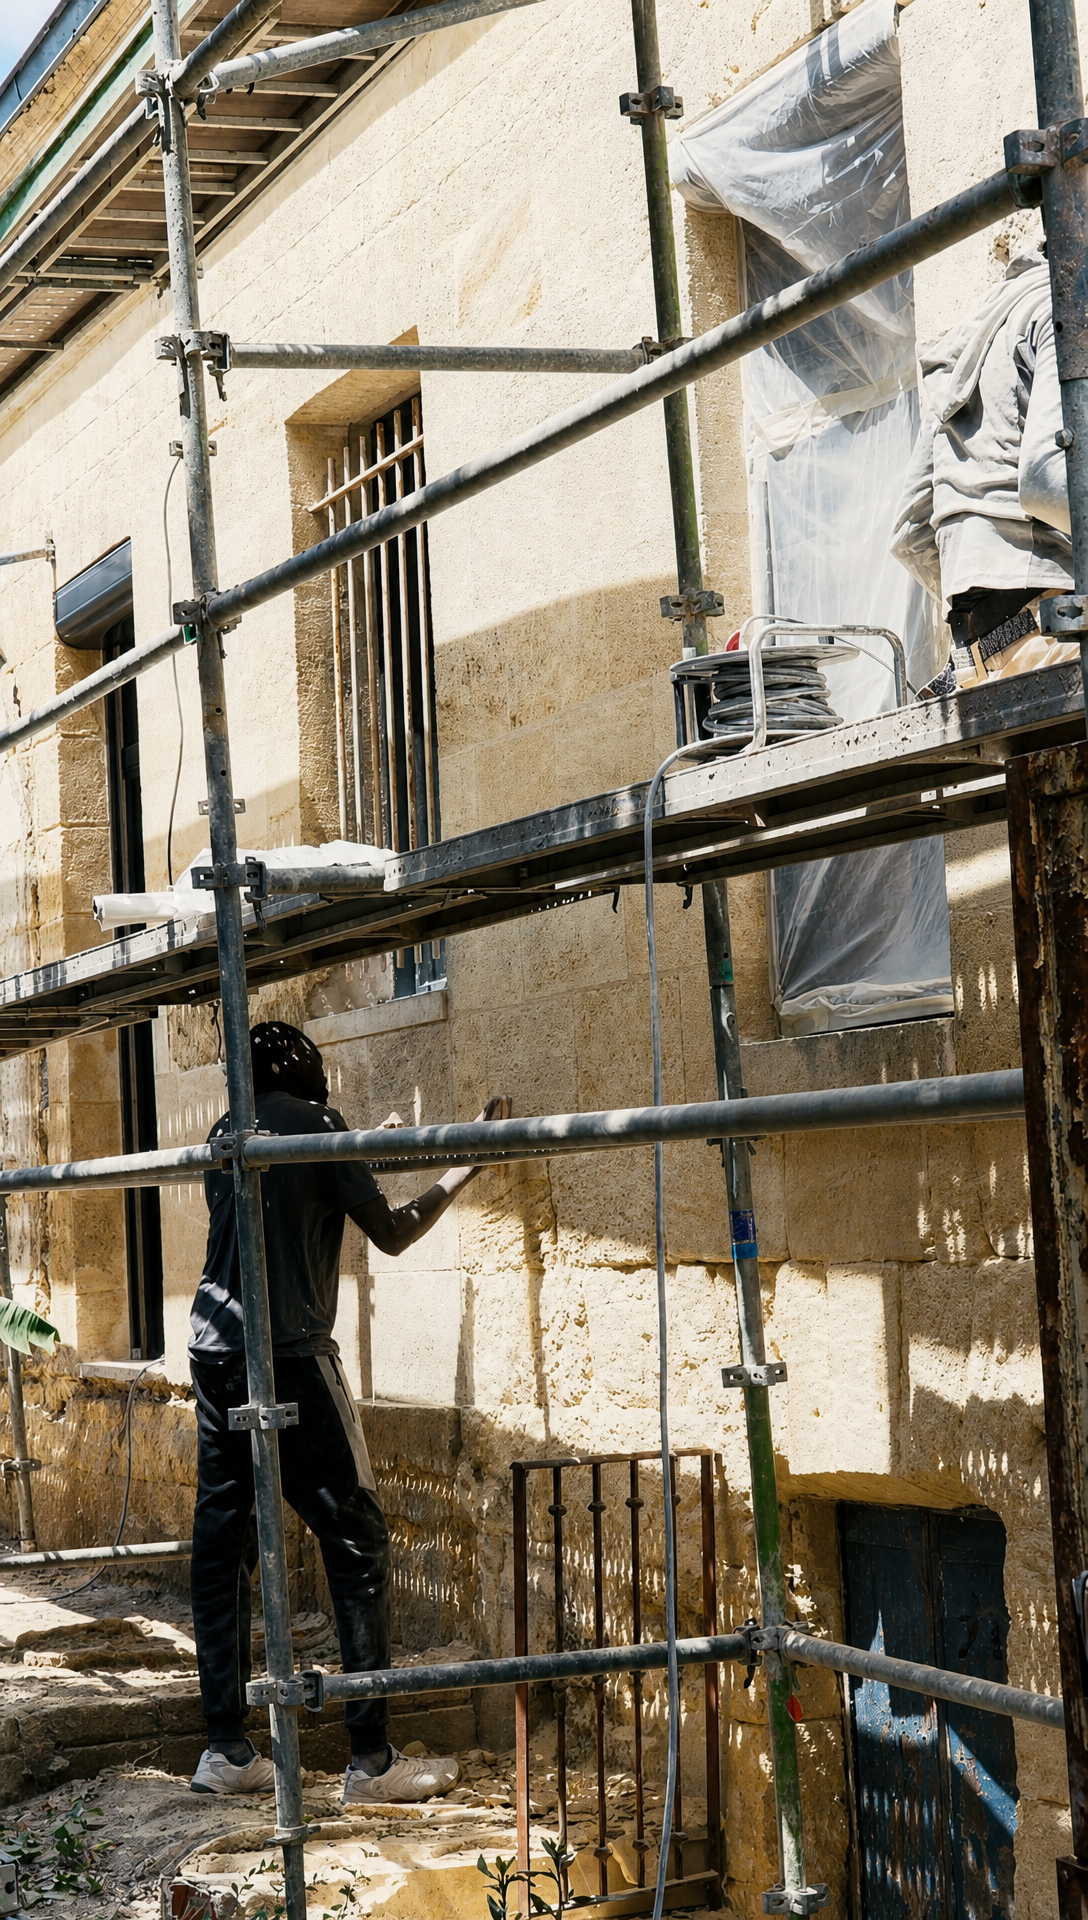 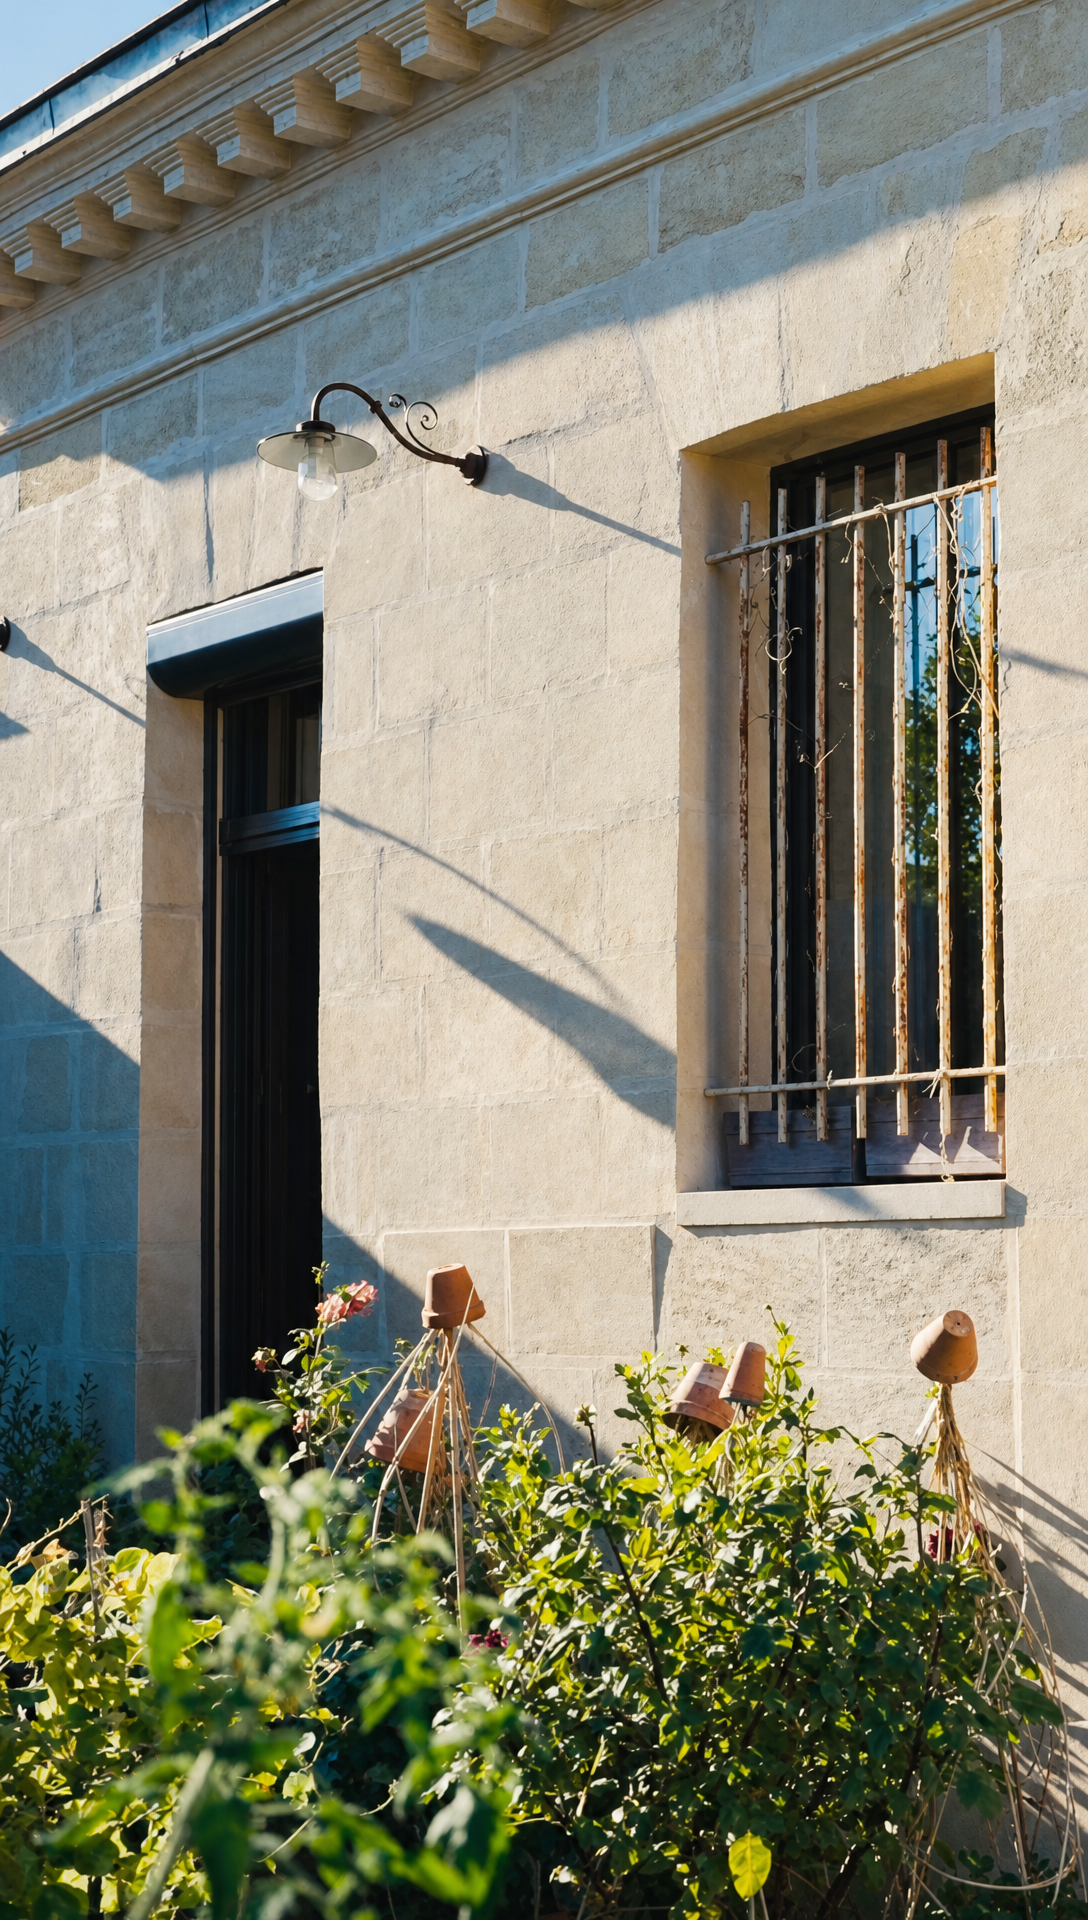 Almost three years in, it's surreal to see it all in one go. These tours are useful for us as much as anyone, because day to day it feels like nothing moves, and then you look back and the house really has changed. It also helps us work out what matters most for what comes next. The full tour is in the video at the top of the page, and the attic update is the next episode. If you've enjoyed following along, a subscribe helps us keep going, and tell us in the comments which colour you'd choose for the office and the stairs. We need all the help we can get. |
Restoring la Chartreuse
Follow along as we renovate a 200 year old townhouse in the French South West.
Our French Attic Finally Gets Its Walls Watch the video on YouTube The attic has been missing from the last couple of episodes. Work up there never stopped. I couldn't find a good way to blend it in with the range hood and the pantry drawings, so we saved it up to show you in one go. This is that episode, and it is mostly plasterboard: around beams, over a staircase, and on top of a mistake I made with the insulation. First, A Thank You Before we go upstairs, a quick word on last time. I told...
Our French Kitchen Is Finally Finished Watch the video on YouTube Last episode ended with a plywood box above the stove and a set of mouldings that hadn't turned up. They have now. It took a while, because France shuts down in August and nothing moves until September, but the mouldings are here, the hood is finished and painted, and for the first time since we moved in the kitchen is complete. Give or take a few sockets. There's a lot else in this one. The pantry design is settled after...
A Custom Range Hood For Our French Kitchen Watch the video on YouTube Last episode we handed you two design decisions for the kitchen, and you did not hold back. The comments poured in, and we read every single one of them. Thoughtful ideas, strong opinions, warnings from people who have lived with pantries far longer than we have. Thank you. This episode is what happened when we took it all on board: a reworked pantry design, a verdict on the hood colour, and the start of the build. You...