Follow along as we renovate a 200 year old townhouse in the French South West.
A Custom Range Hood For Our French Kitchen
A Custom Range Hood For Our French Kitchen Last episode we handed you two design decisions for the kitchen, and you did not hold back. The comments poured in, and we read every single one of them. Thoughtful ideas, strong opinions, warnings from people who have lived with pantries far longer than we have. Thank you. This episode is what happened when we took it all on board: a reworked pantry design, a verdict on the hood colour, and the start of the build. You Redesigned Our PantryA quick recap for anyone joining late. The plan was a built-in surround for the fridge, then a long work surface running down the pantry with open shelving underneath, more open shelving above it, and a utility cupboard at the far end by the washing machine. 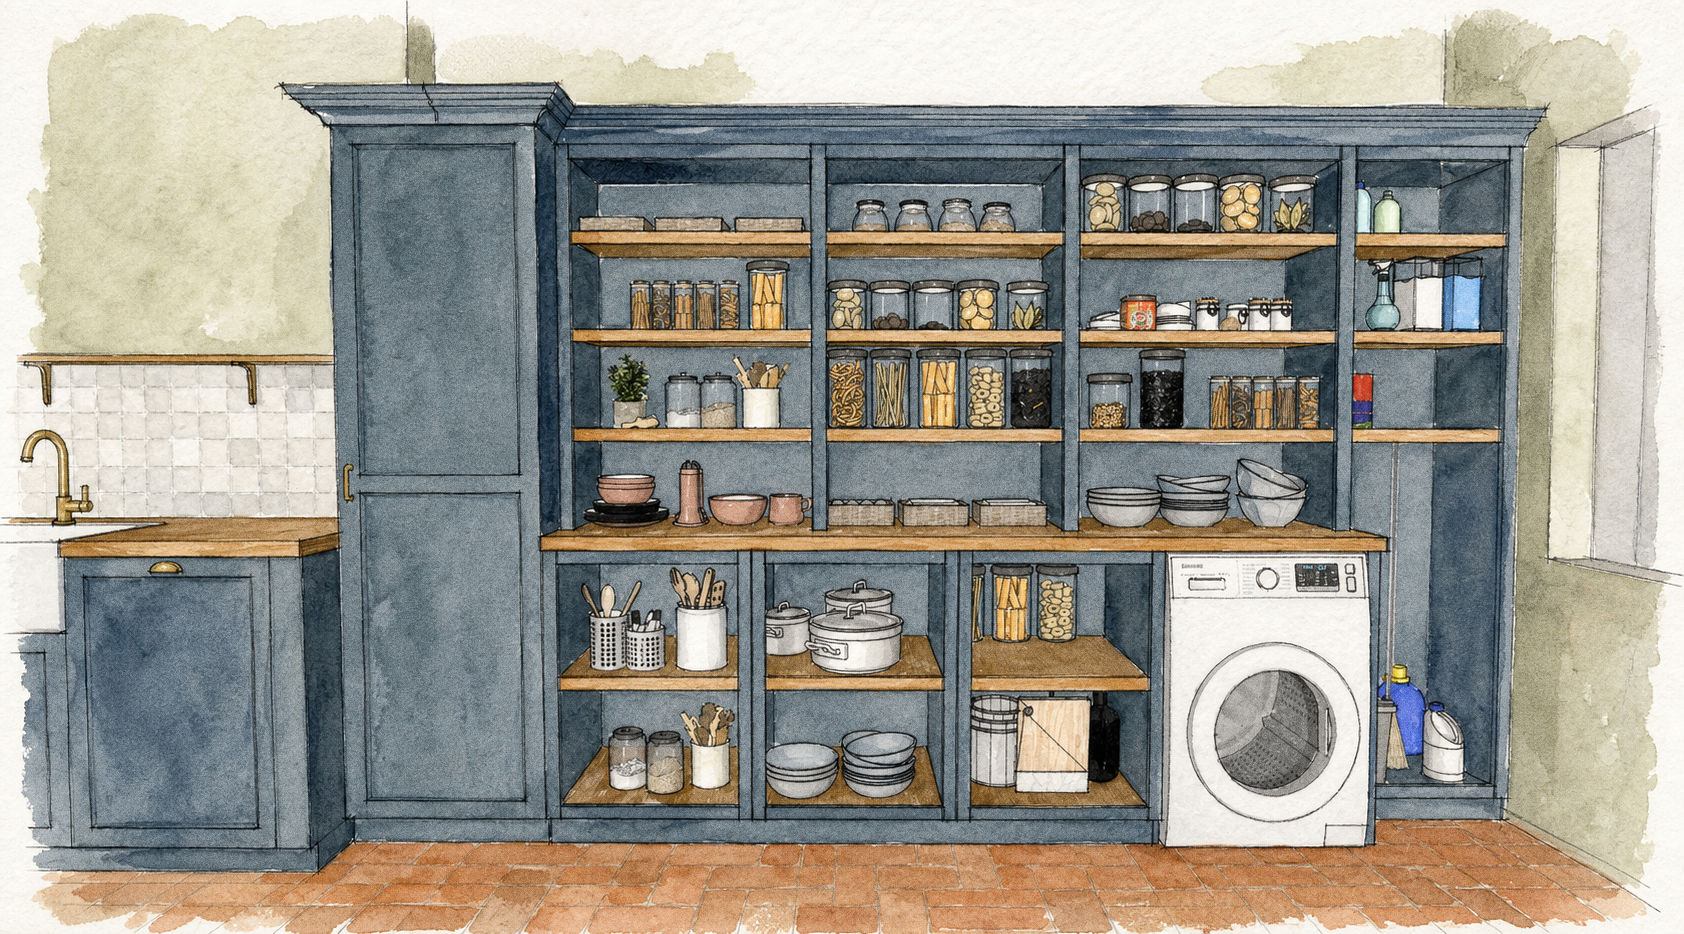 The first thing many of you flagged was the open storage under the counter. The word dust came up a lot. You suggested deep drawers instead, easy to pull out and easy to keep clean, and we agree with every word of it. Drawers it is. 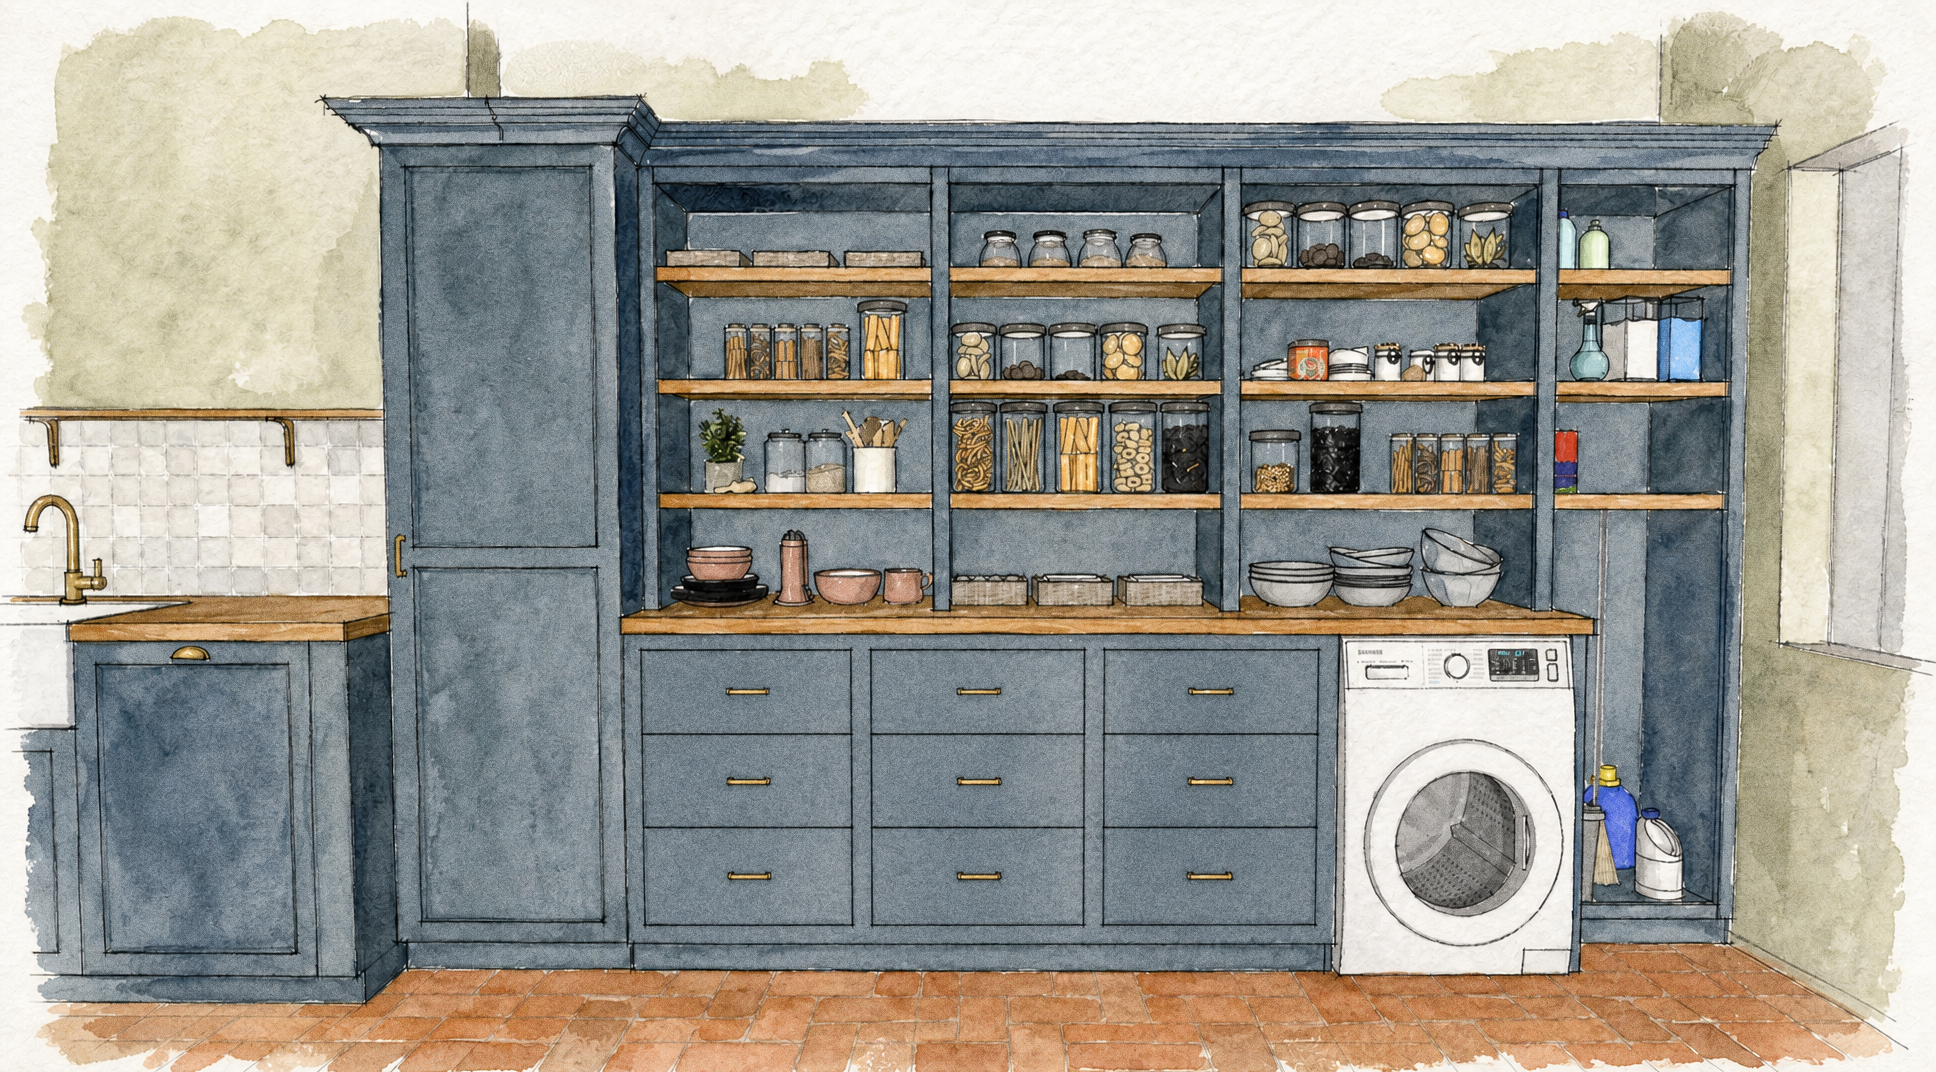 The second big suggestion was to take the shelving all the way to the ceiling for extra storage, maybe with a ladder to reach the top. We're split on this one. Romy is leaning towards the ceiling. I worry it could loom over you in a room this narrow, like standing under a wave about to break. We'd love your feedback on this version too. 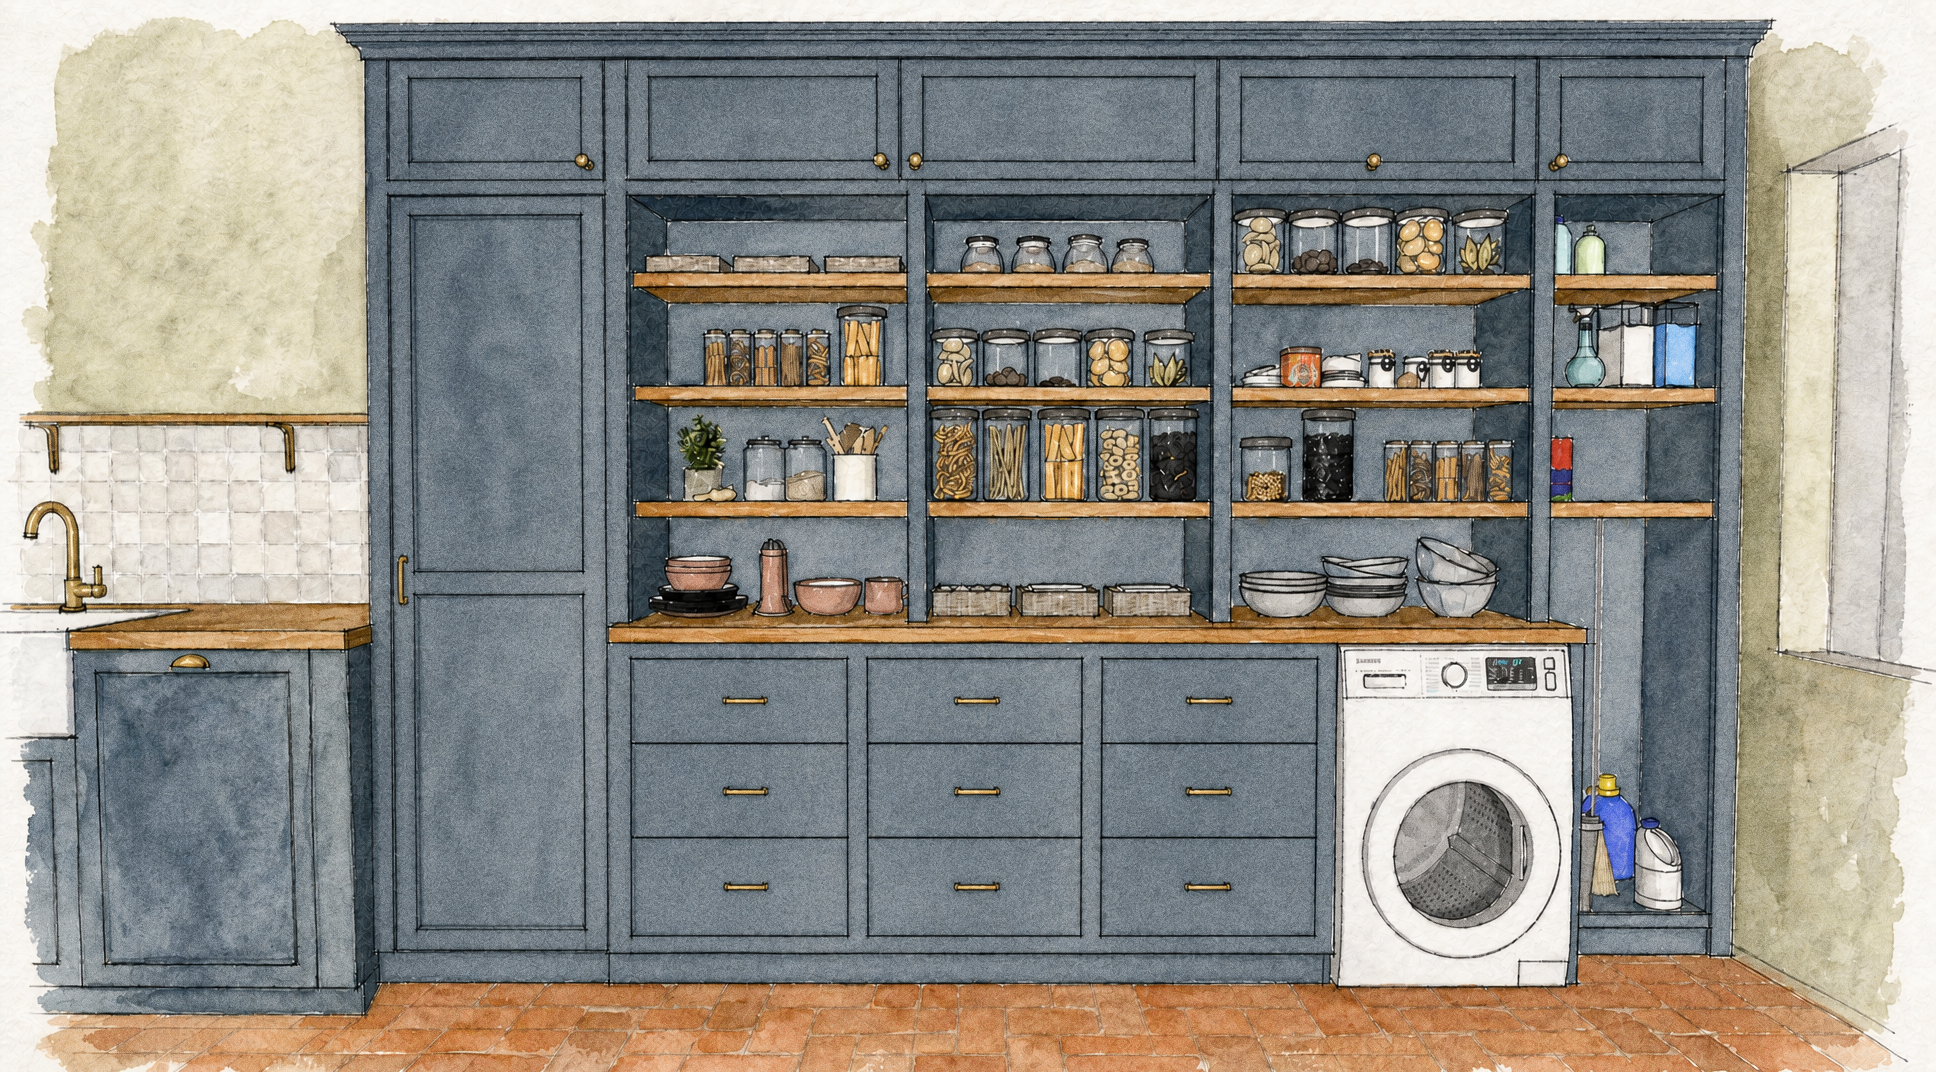 Then the utility cabinet at the end. A lot of you asked why it can't have a door, and believe me, I would love to give it one. The problem is the window I went over last time. It sits close to the left hand wall and quite low, and its handle pokes out into exactly the space a cupboard door would need to swing through. Several of you suggested a curtain instead, which we like in theory. I'm just unsure whether a curtain looks right on the larger cabinet. 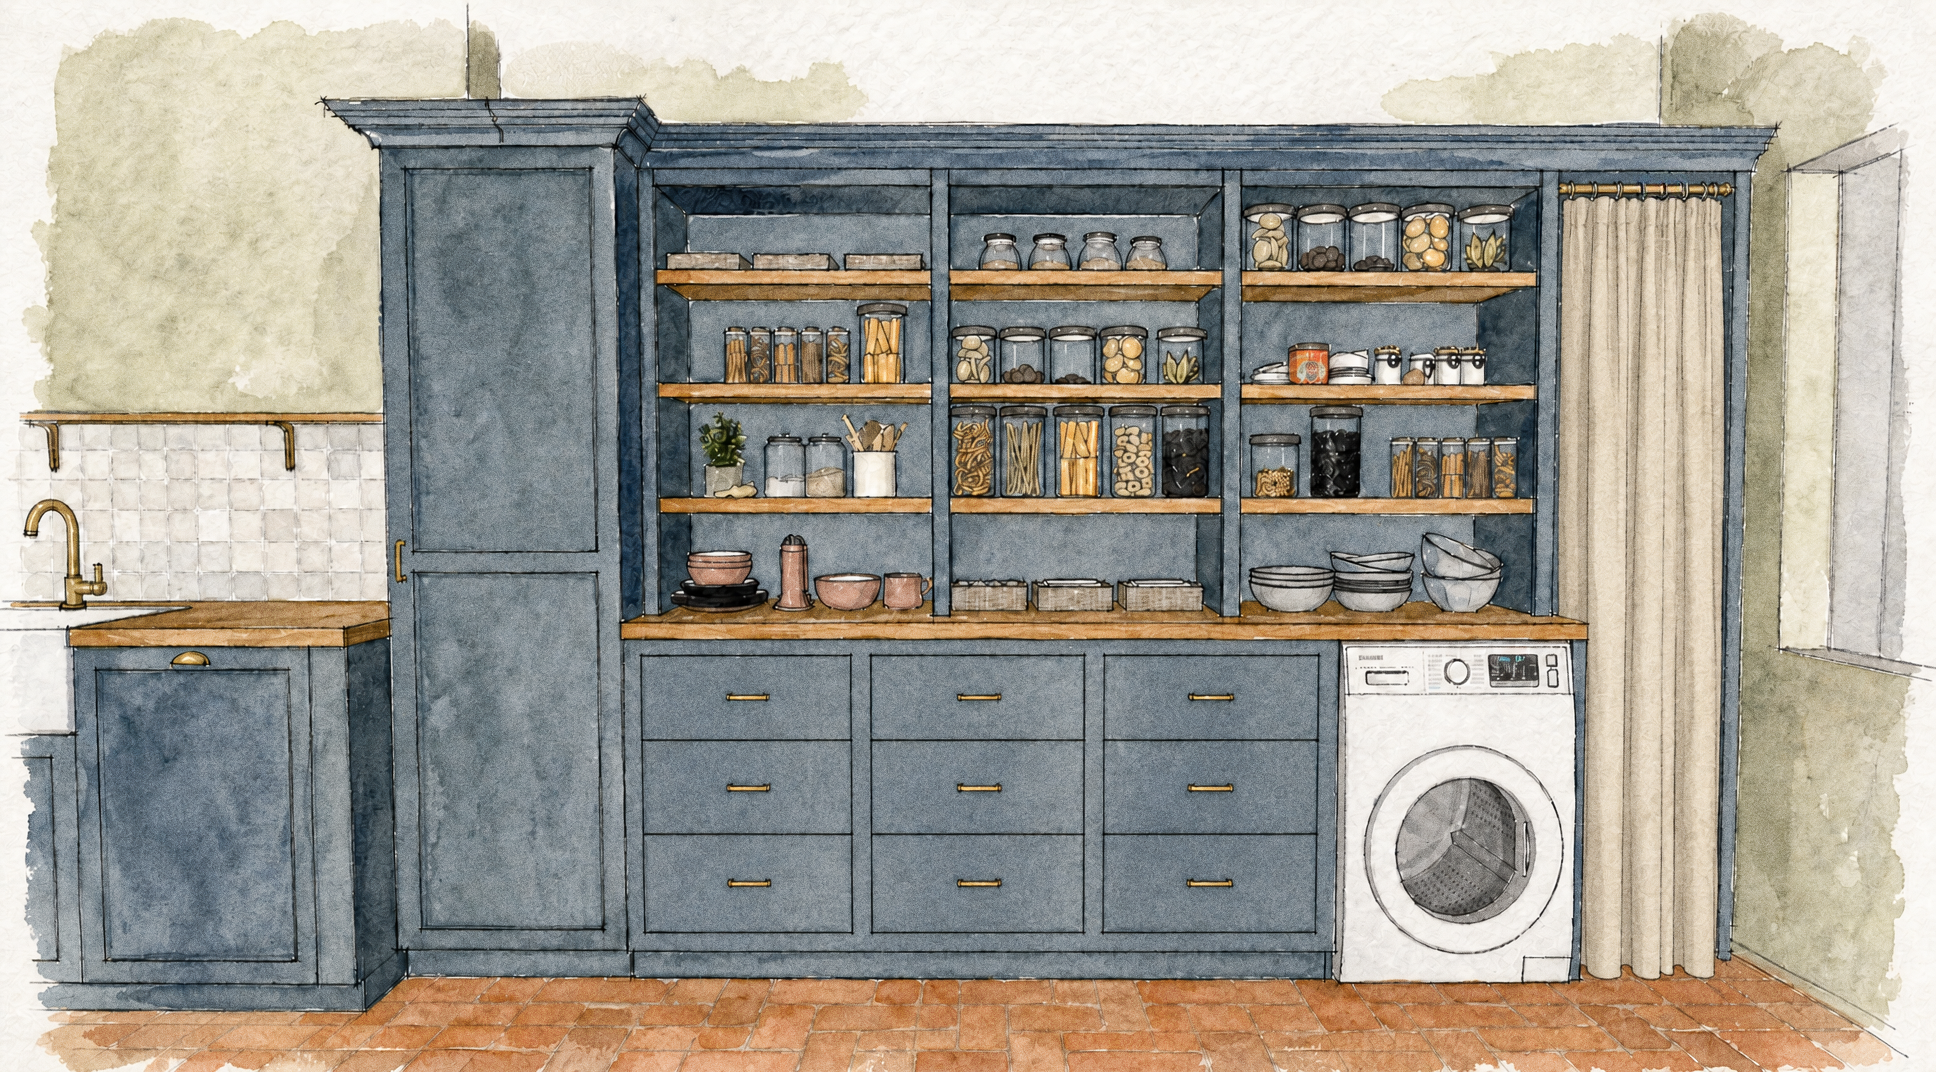 Next, the open shelving above the worktop, and another question we want your help with. Do we finish the whole interior in wood, probably an oak a shade lighter than the countertop, or paint it all blue, or go blue with accent colour shelves? My thinking on the oak interior with a blue face frame is that it would lighten the shelving up. All that dark blue in a narrow room might get a bit cave-like, though maybe I'm worrying too much. 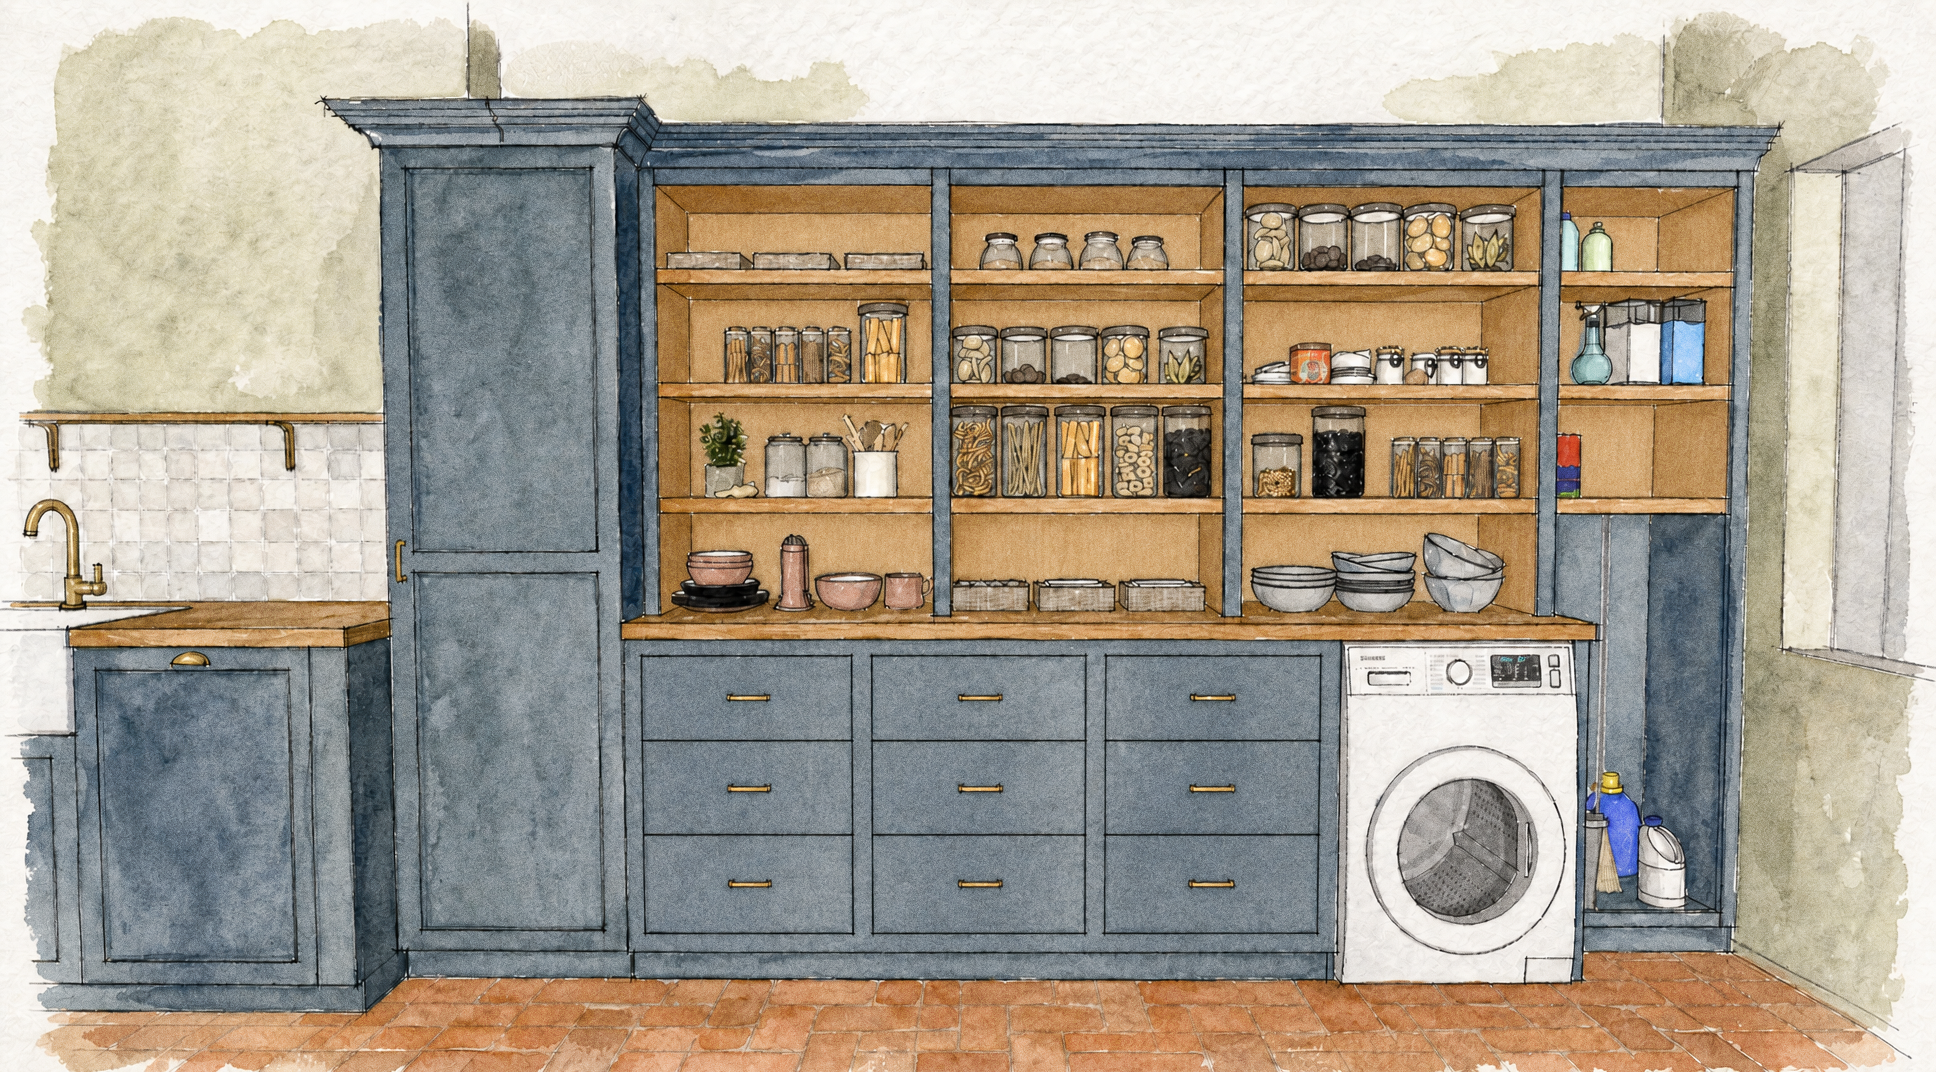 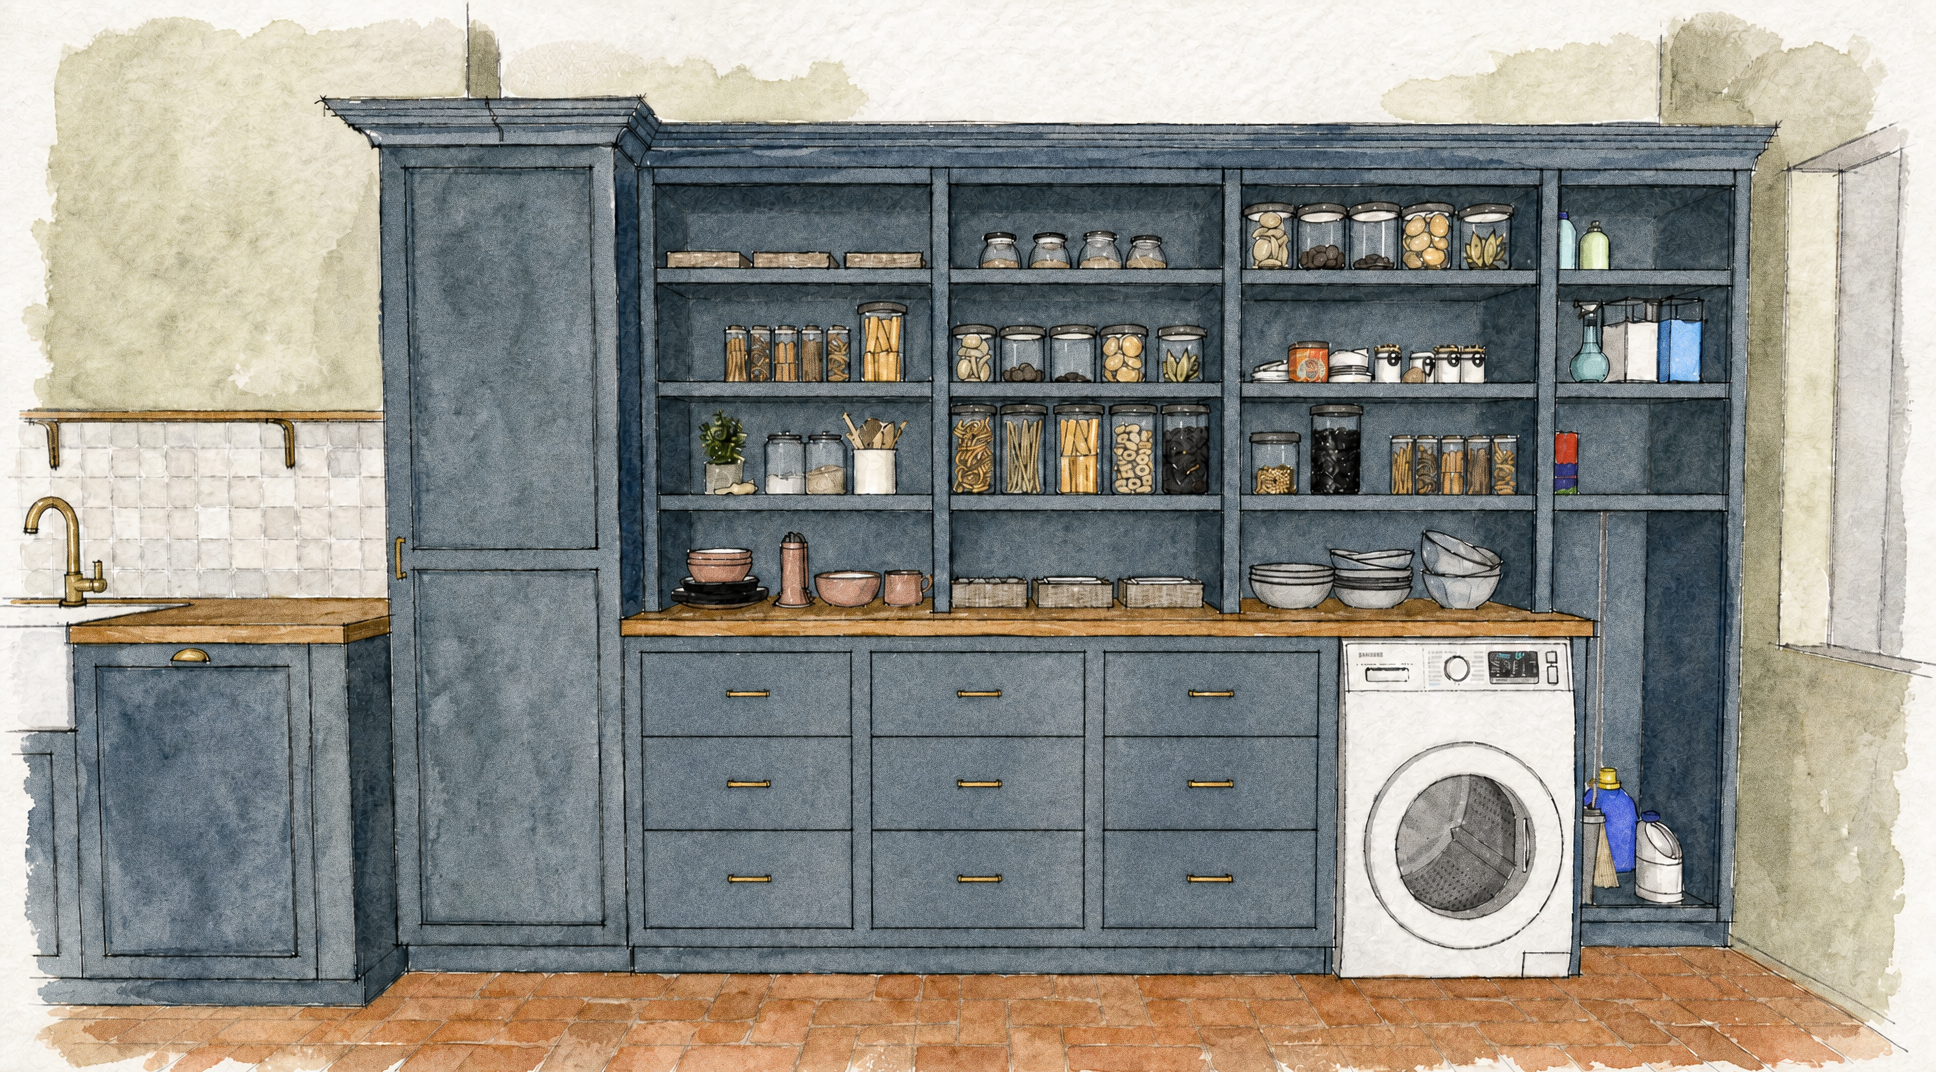 Finally, the electrical cabinet. Plenty of comments about covering that up, and yes, a surround is coming. It has to stay accessible, and we'll probably paint it the same colour as the walls rather than blue, because a big blue monolith by the window would be a bit much. 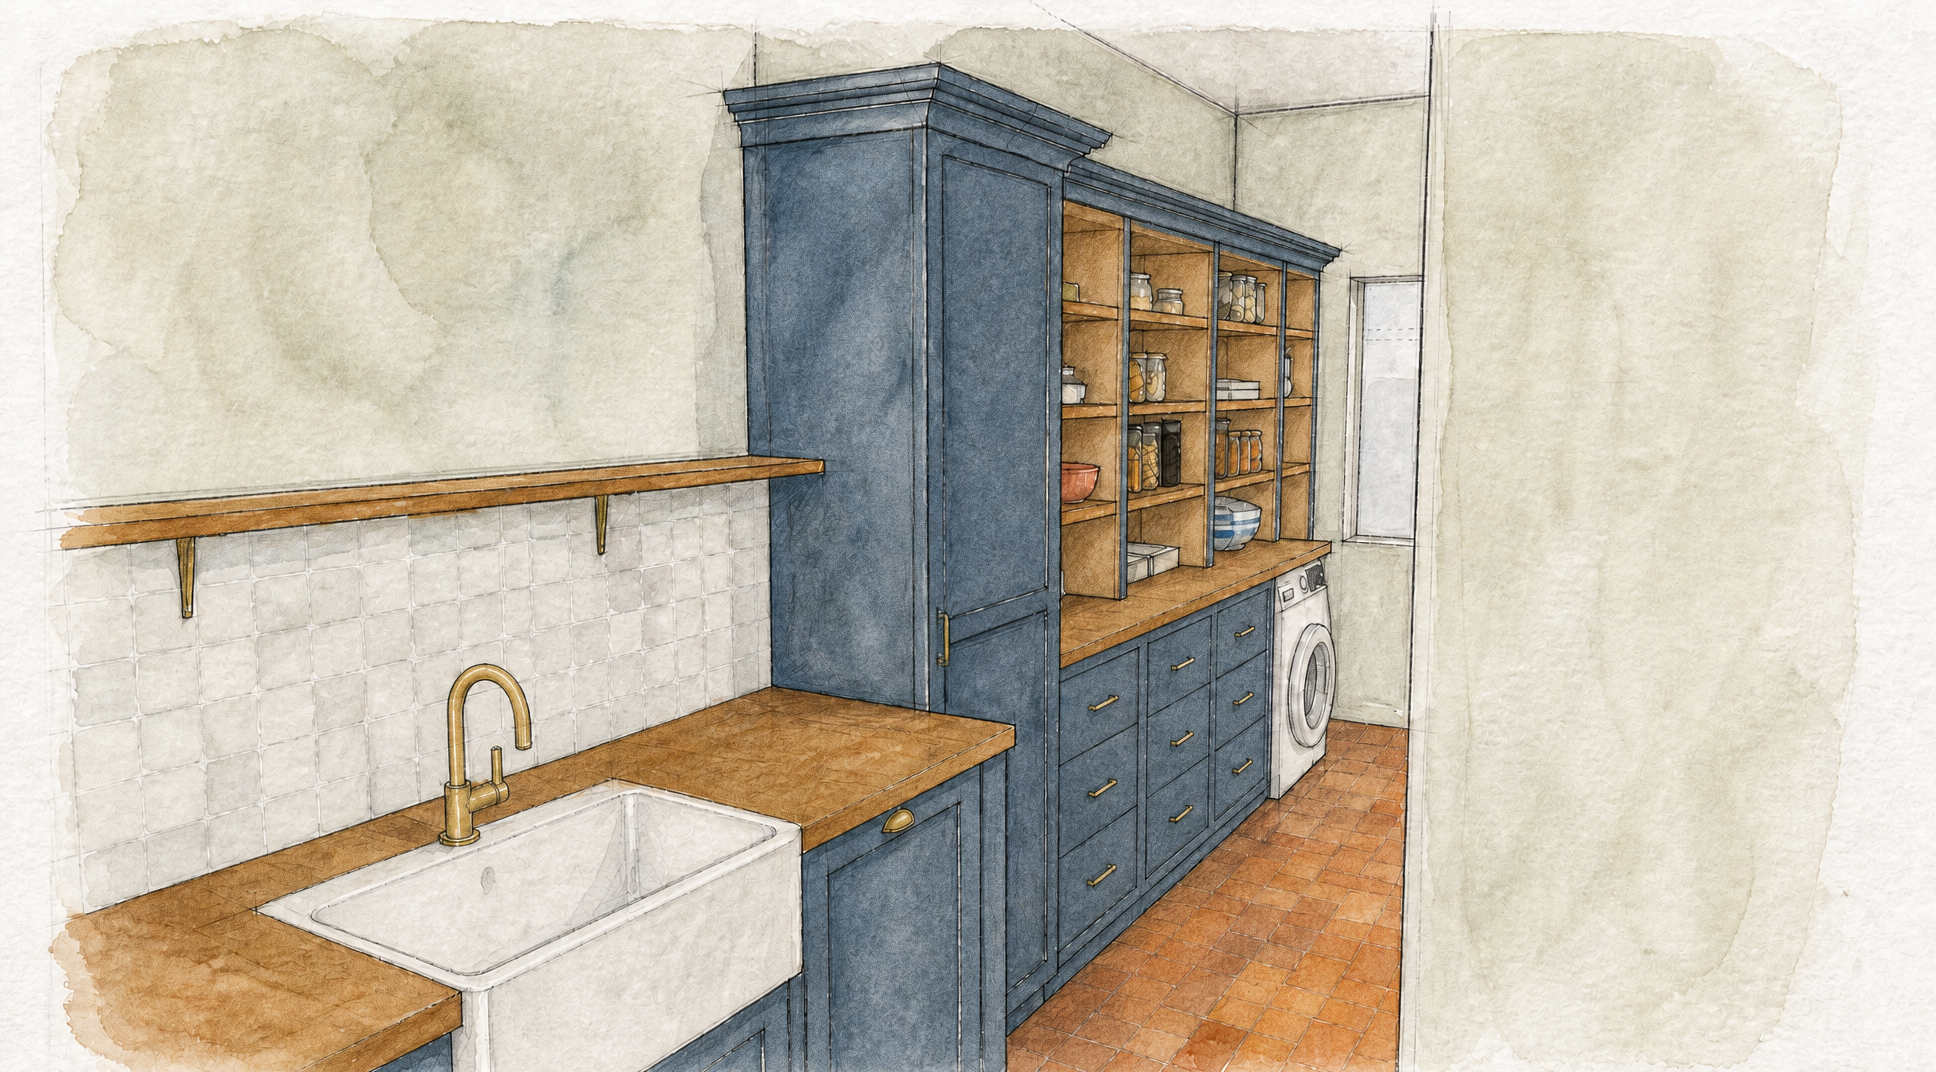 The design is still very much in progress, and the comments genuinely steer it, so keep the feedback coming. Tell us where you stand on the ceiling, the curtain and the oak. The Hood VerdictThe second question from last time was the range hood surround. Same colour as the walls, or a contrast in the cabinet blue. The vote was nearly 50/50, but wall colour inched ahead, and having stared at the renders again we agree with you. The surround will blend into the wall instead of shouting about itself. With that settled, there was nothing left to hide behind. Time to build the thing. Cutting The Plywood, Mostly CorrectlyI picked up some plywood from a store close by and set up the track saw in the garden. Plywood, because the mouldings that will dress the surround are wood, and I didn't want the box and the mouldings ending up with different finishes. 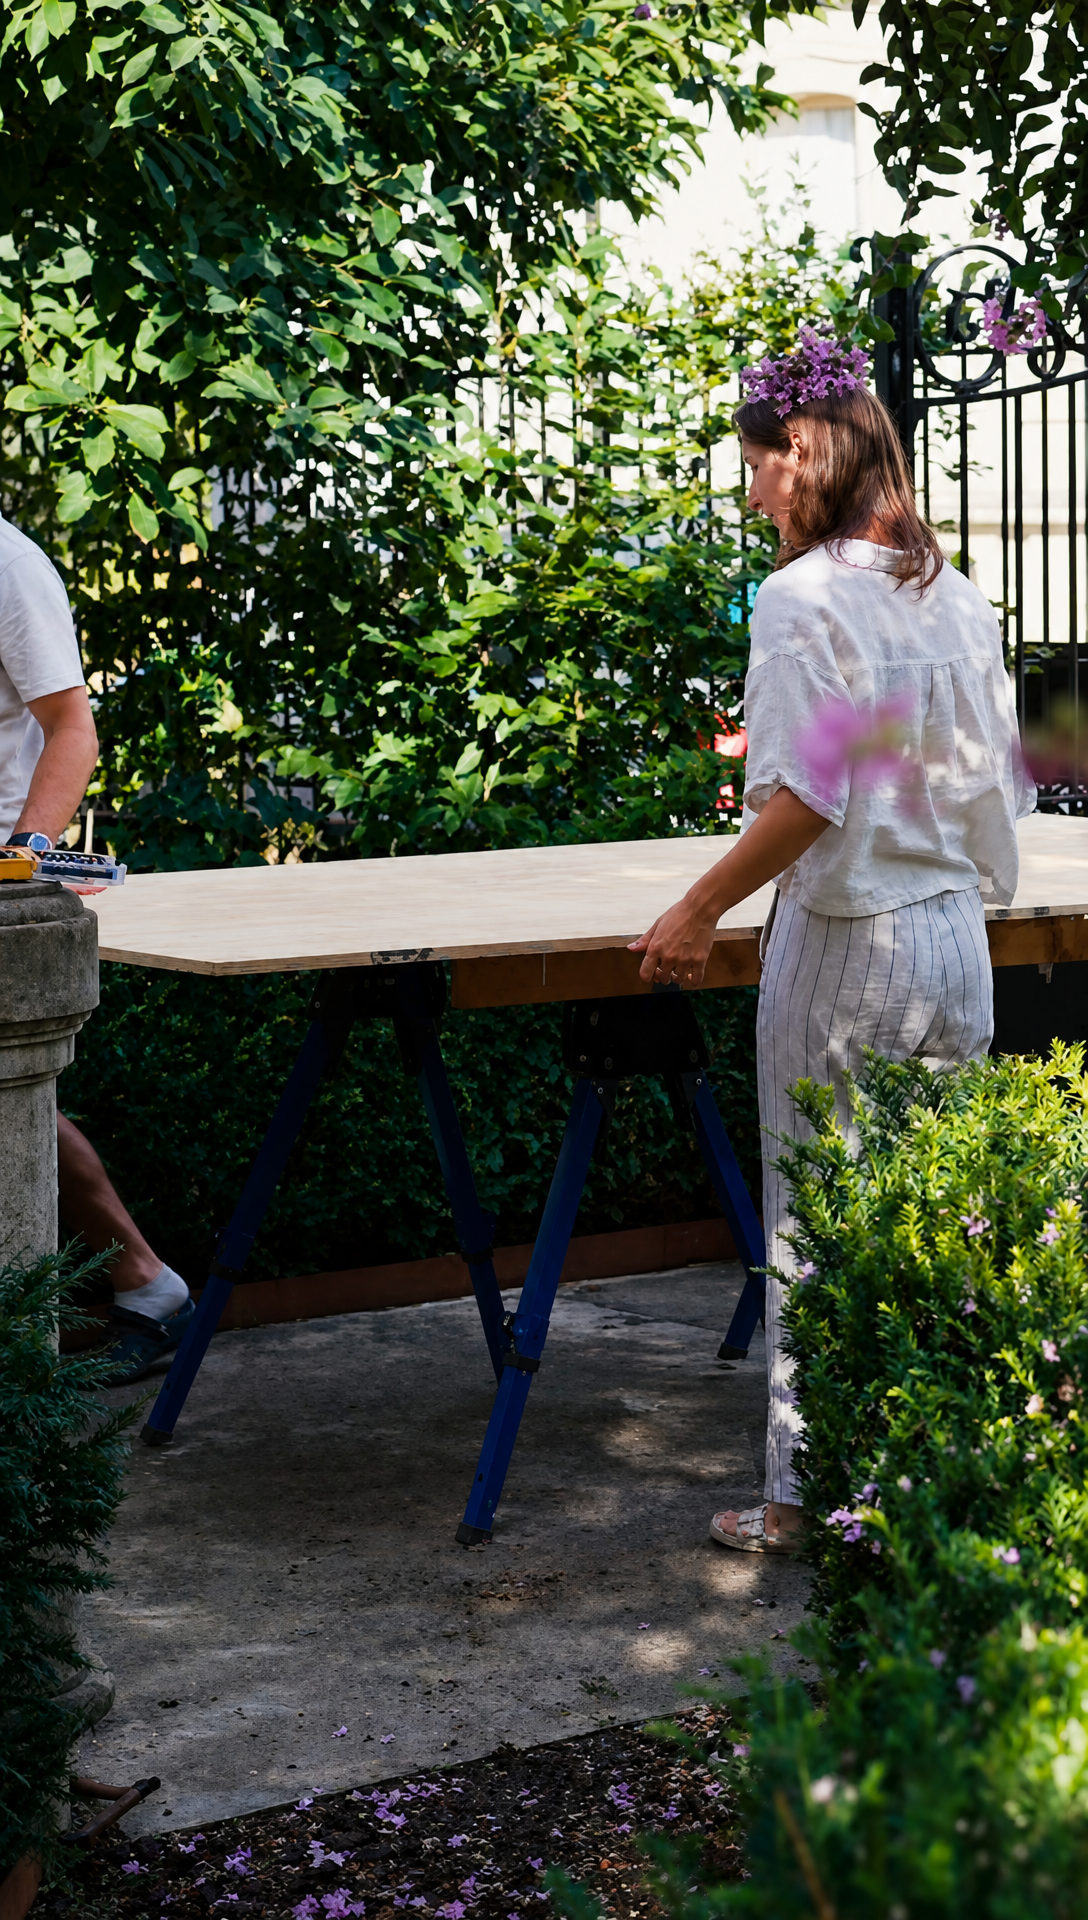 Everything was cut to a tidy list exported from the 3D model. A lot of you keep asking which modelling software I use, and it's SketchUp. There's a learning curve, but once you're up and running it's very powerful, and it will happily produce a cutting list for a project like this. 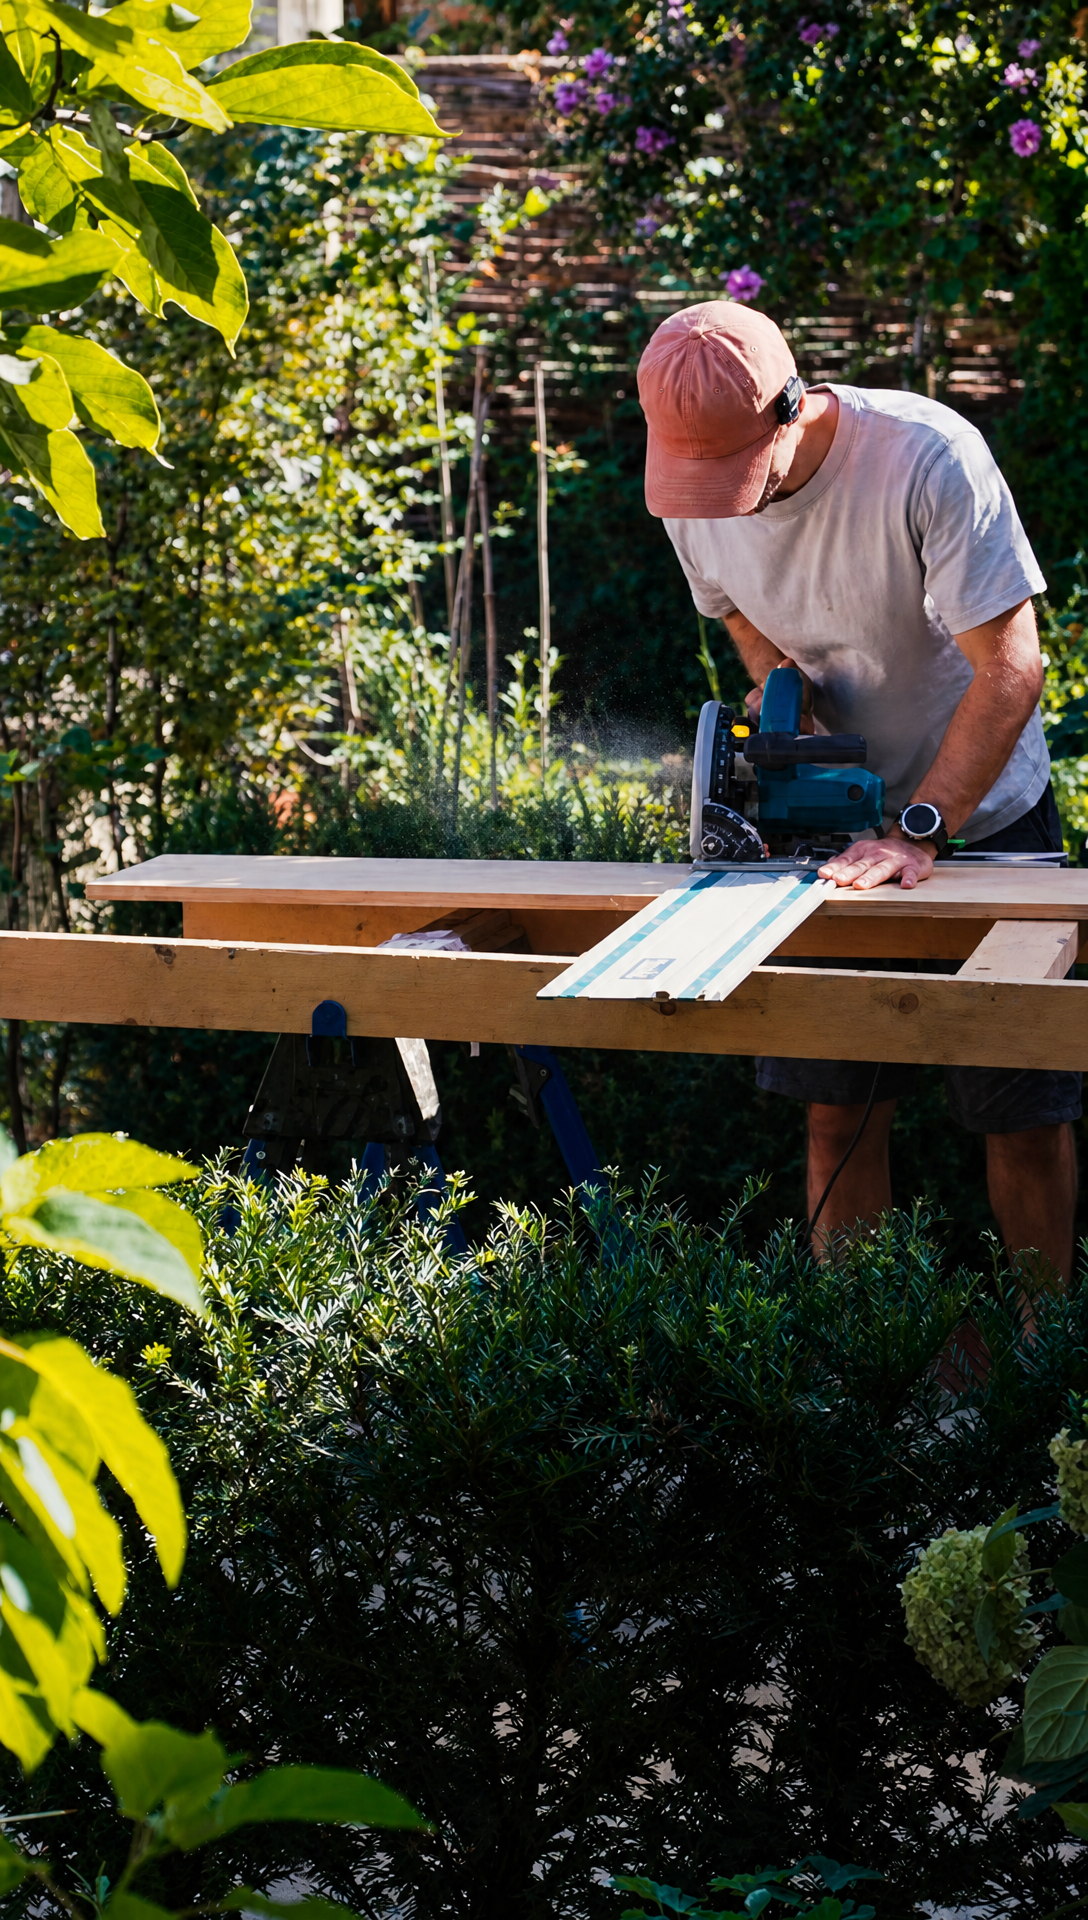 And then, despite the computer doing everything except pushing the saw, I managed to cut the face pieces wrong. Not to worry. Two panels, some glue and a line of dowels made one larger piece, and the mistake now lives inside the hood where nobody will ever see it. 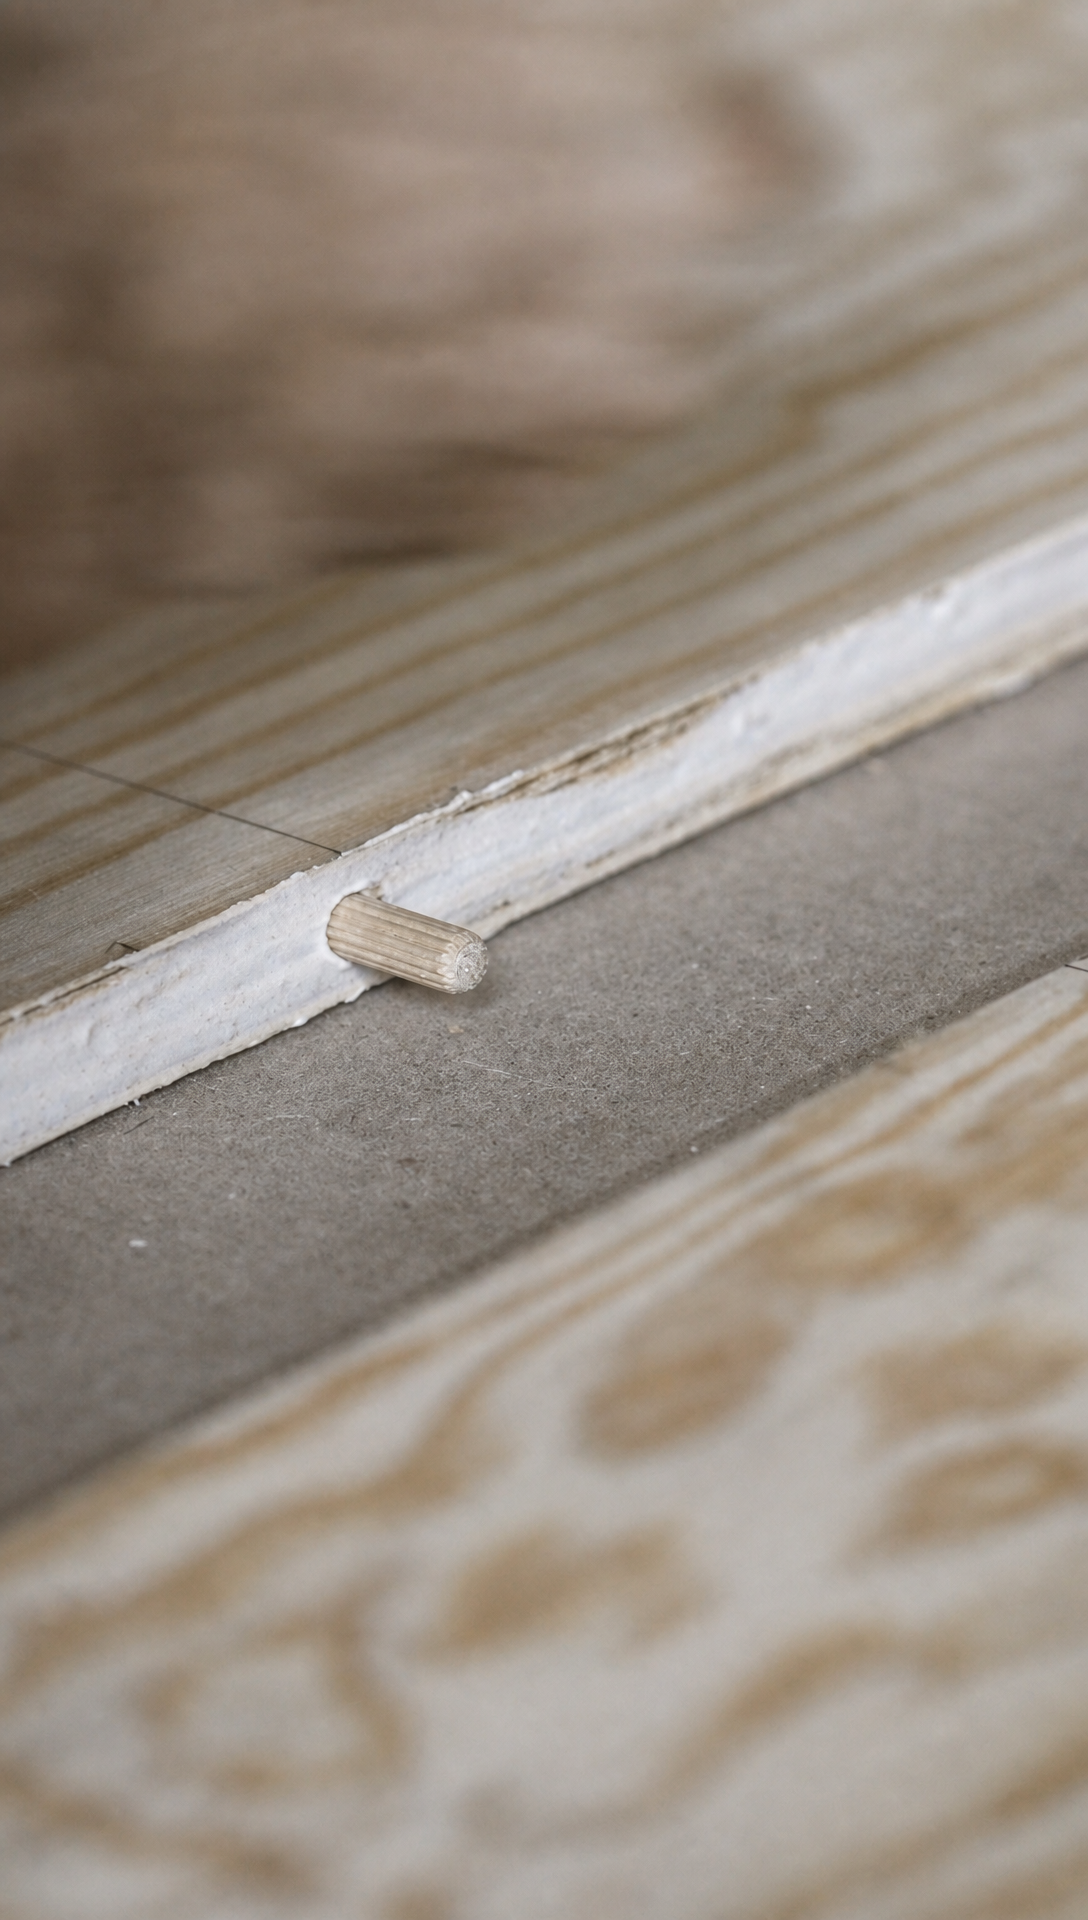 After that came a cutout in the bottom panel so the extractor could nest inside, then pocket holes and glue to pull the box together. 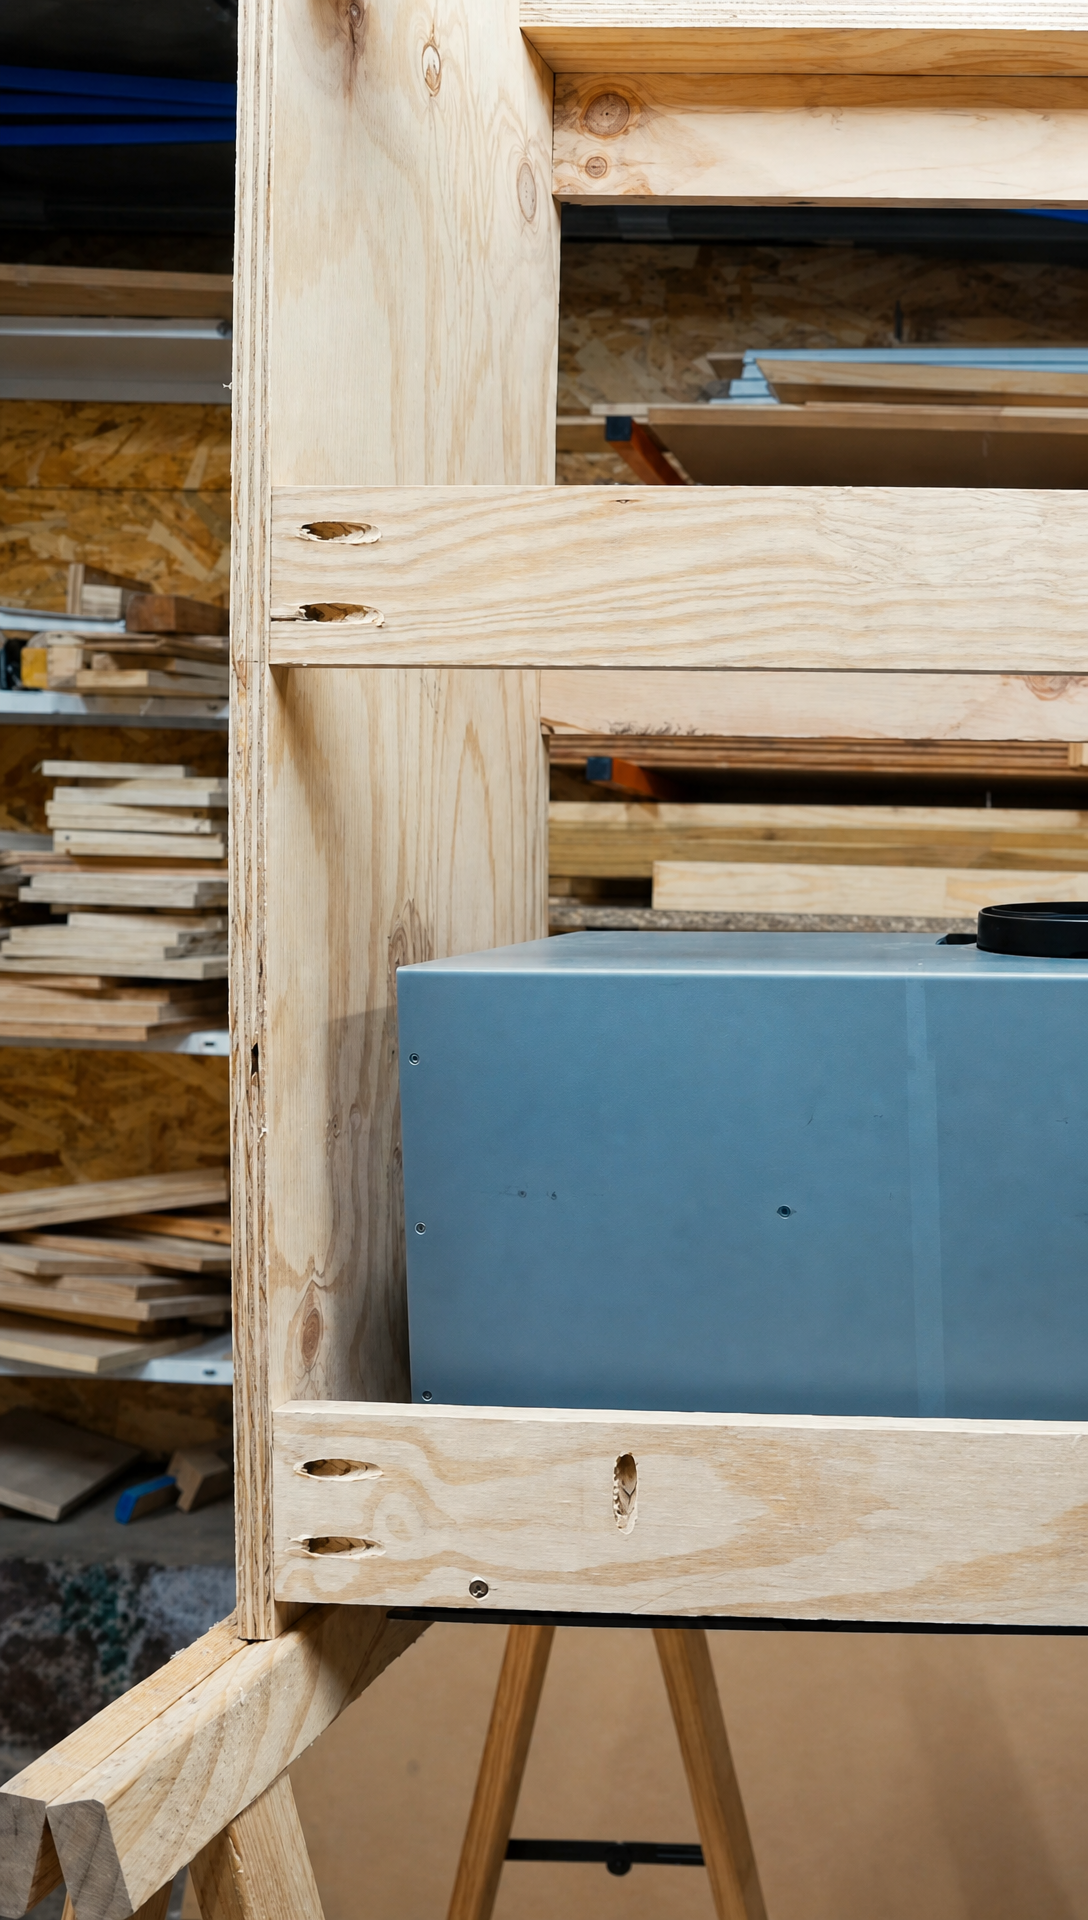 Opening Up The WallNow for the harder part. If you're new here, French interior walls are typically framed in metal studs rather than wood. They're cheaper, lighter, and weirdly better for sound insulation, but they're nowhere near as strong, and fixing anything heavy into them is a pain in the backside. A hood and its plywood box can't hang off thin metal alone, so the only way was through. Cut out a big panel of plasterboard above the stove, screw plywood reinforcement across the studs, board over it again, and fix the hood's frame through into all that new timber. 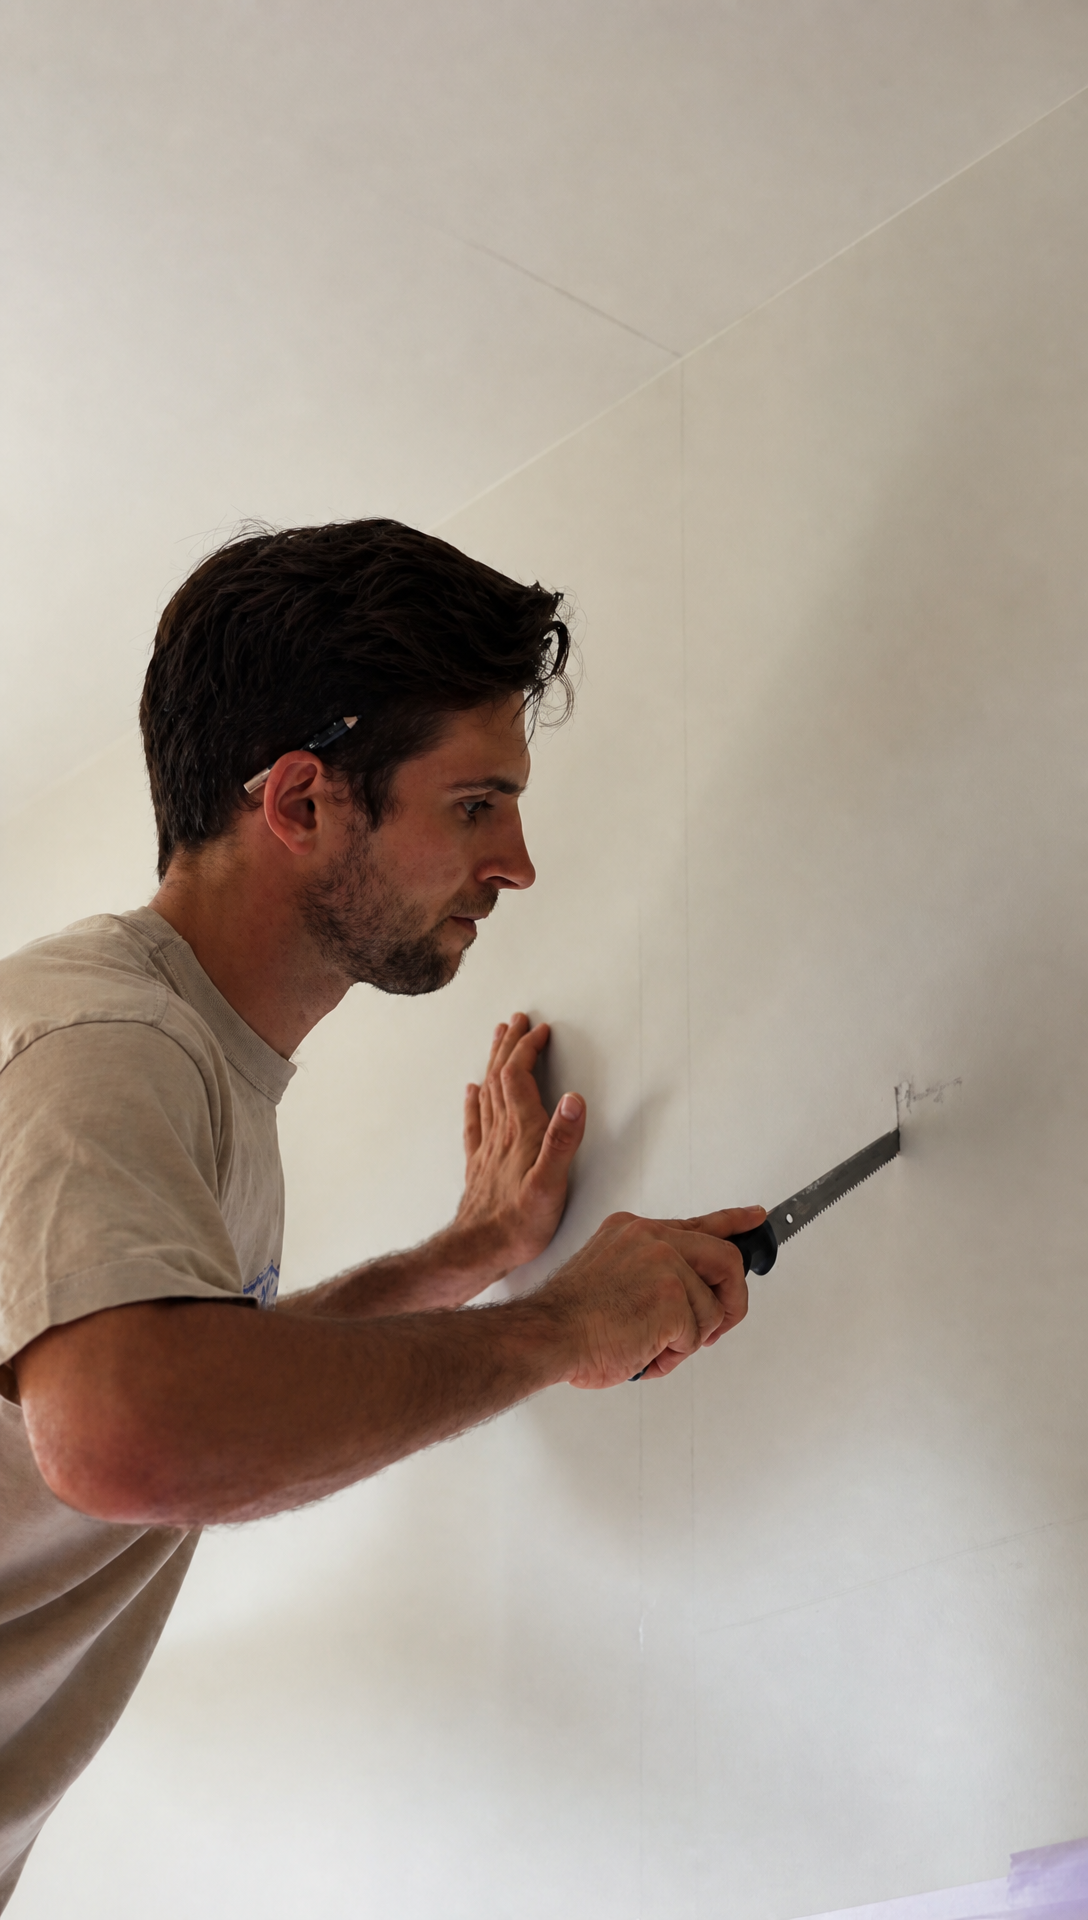 The kitchen went under plastic sheeting, the wall came open, and for a while everything looked considerably worse than when we started. That's the deal with jobs like this. It has to get messier before it gets better. 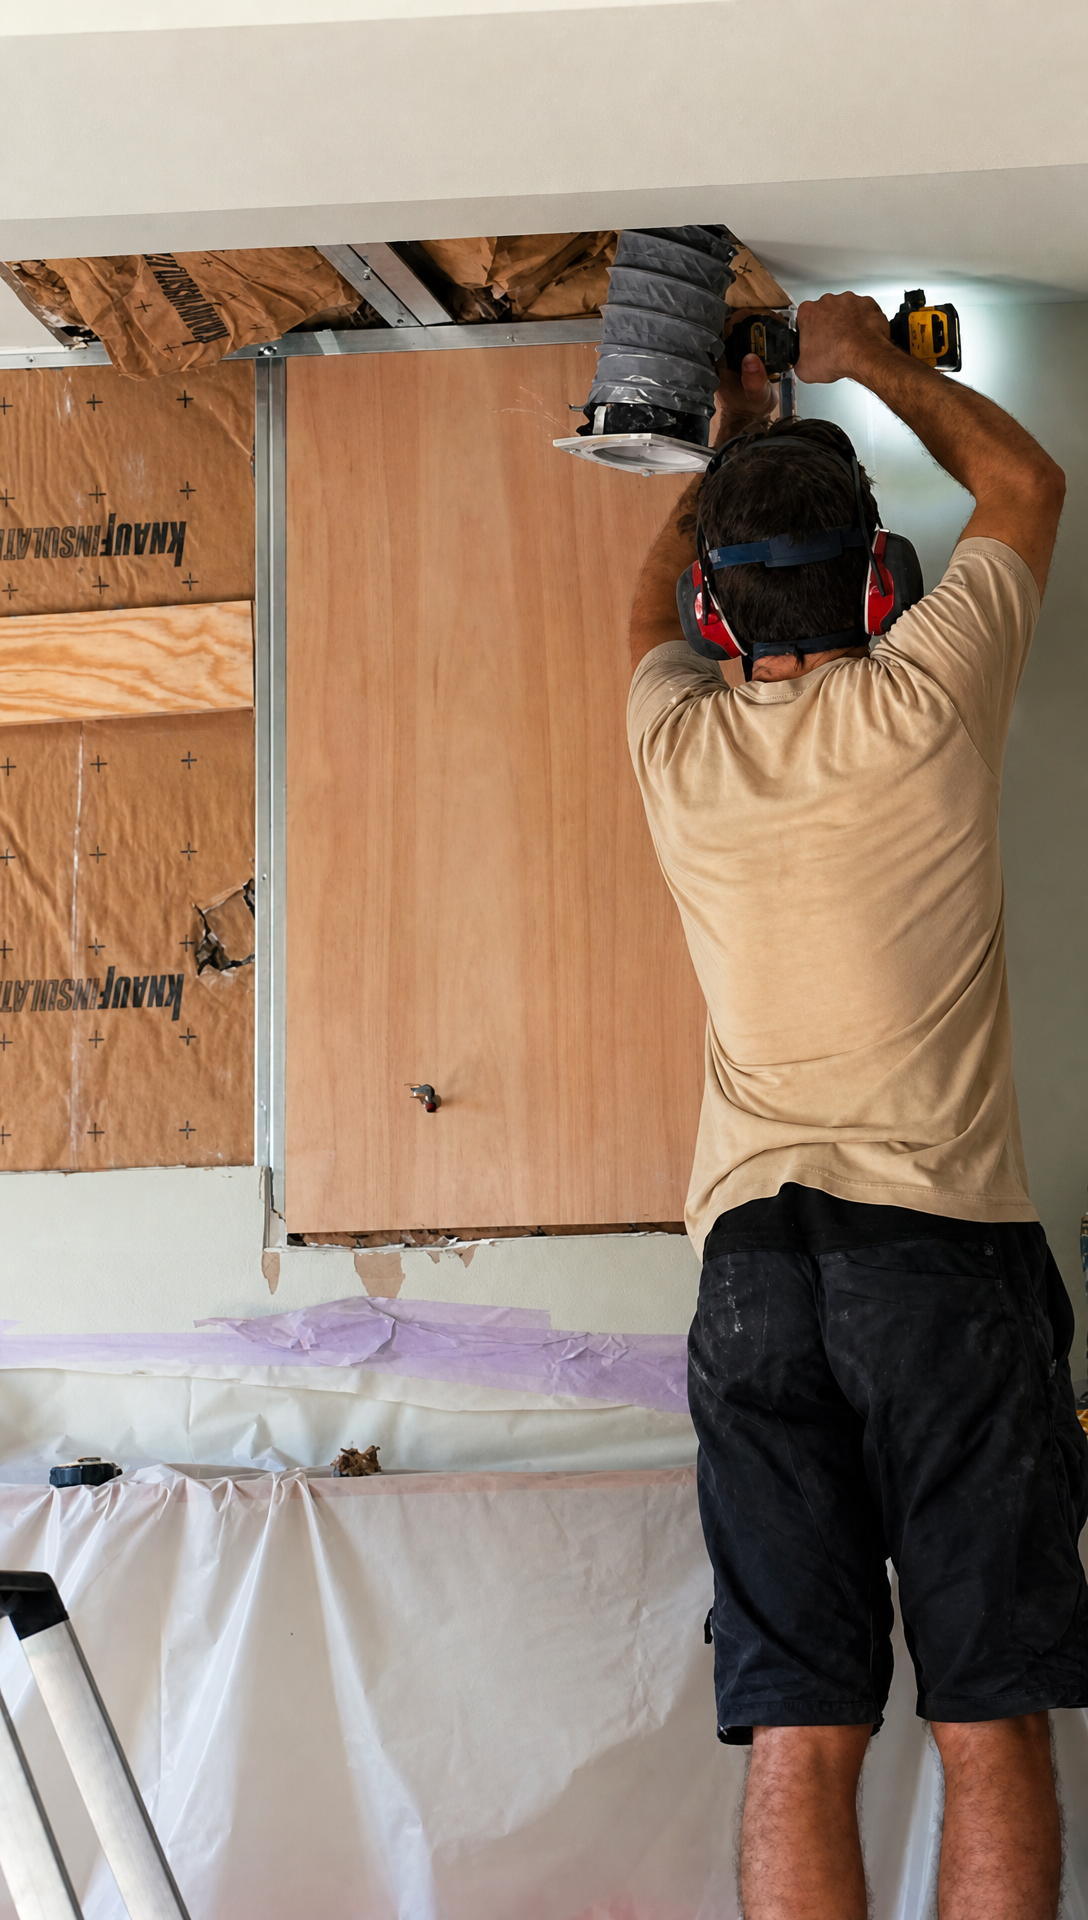 While the wall was open we sorted the extraction route too. The unit ducts to the outside, with the flexible hose running up to a rigid pipe above, rather than recirculating cooking smells back at us. That was the whole point of this project, after all. Up It GoesWith the wall rebuilt, the mounting frame went up and the extractor slotted in. Then the first test. The lights came on, the fan roared, and it's already a serious upgrade on the little built-in unit that couldn't keep up whenever we cooked for a bigger table. 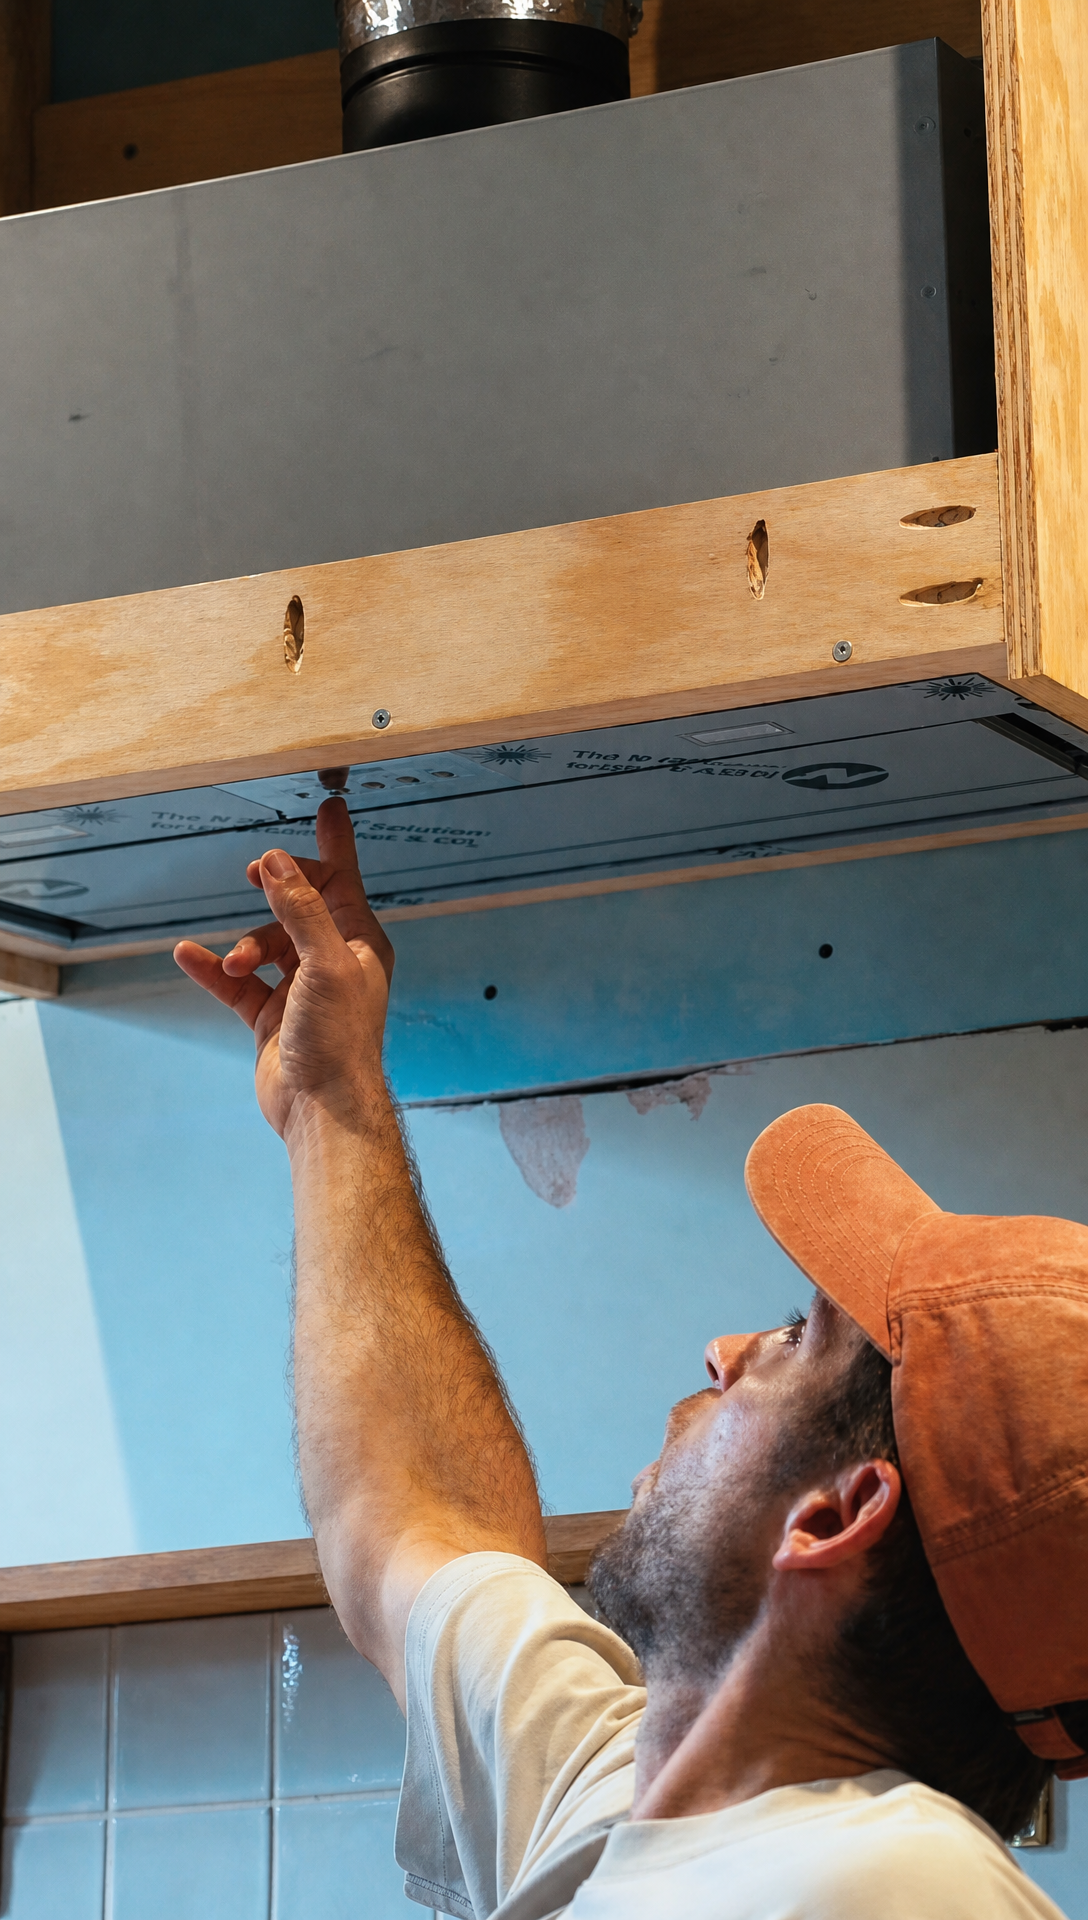 Then the box went on. Plywood cladding nailed onto the frame, edges trimmed flush with a router, filler in the nail holes, and a long session with the sander. 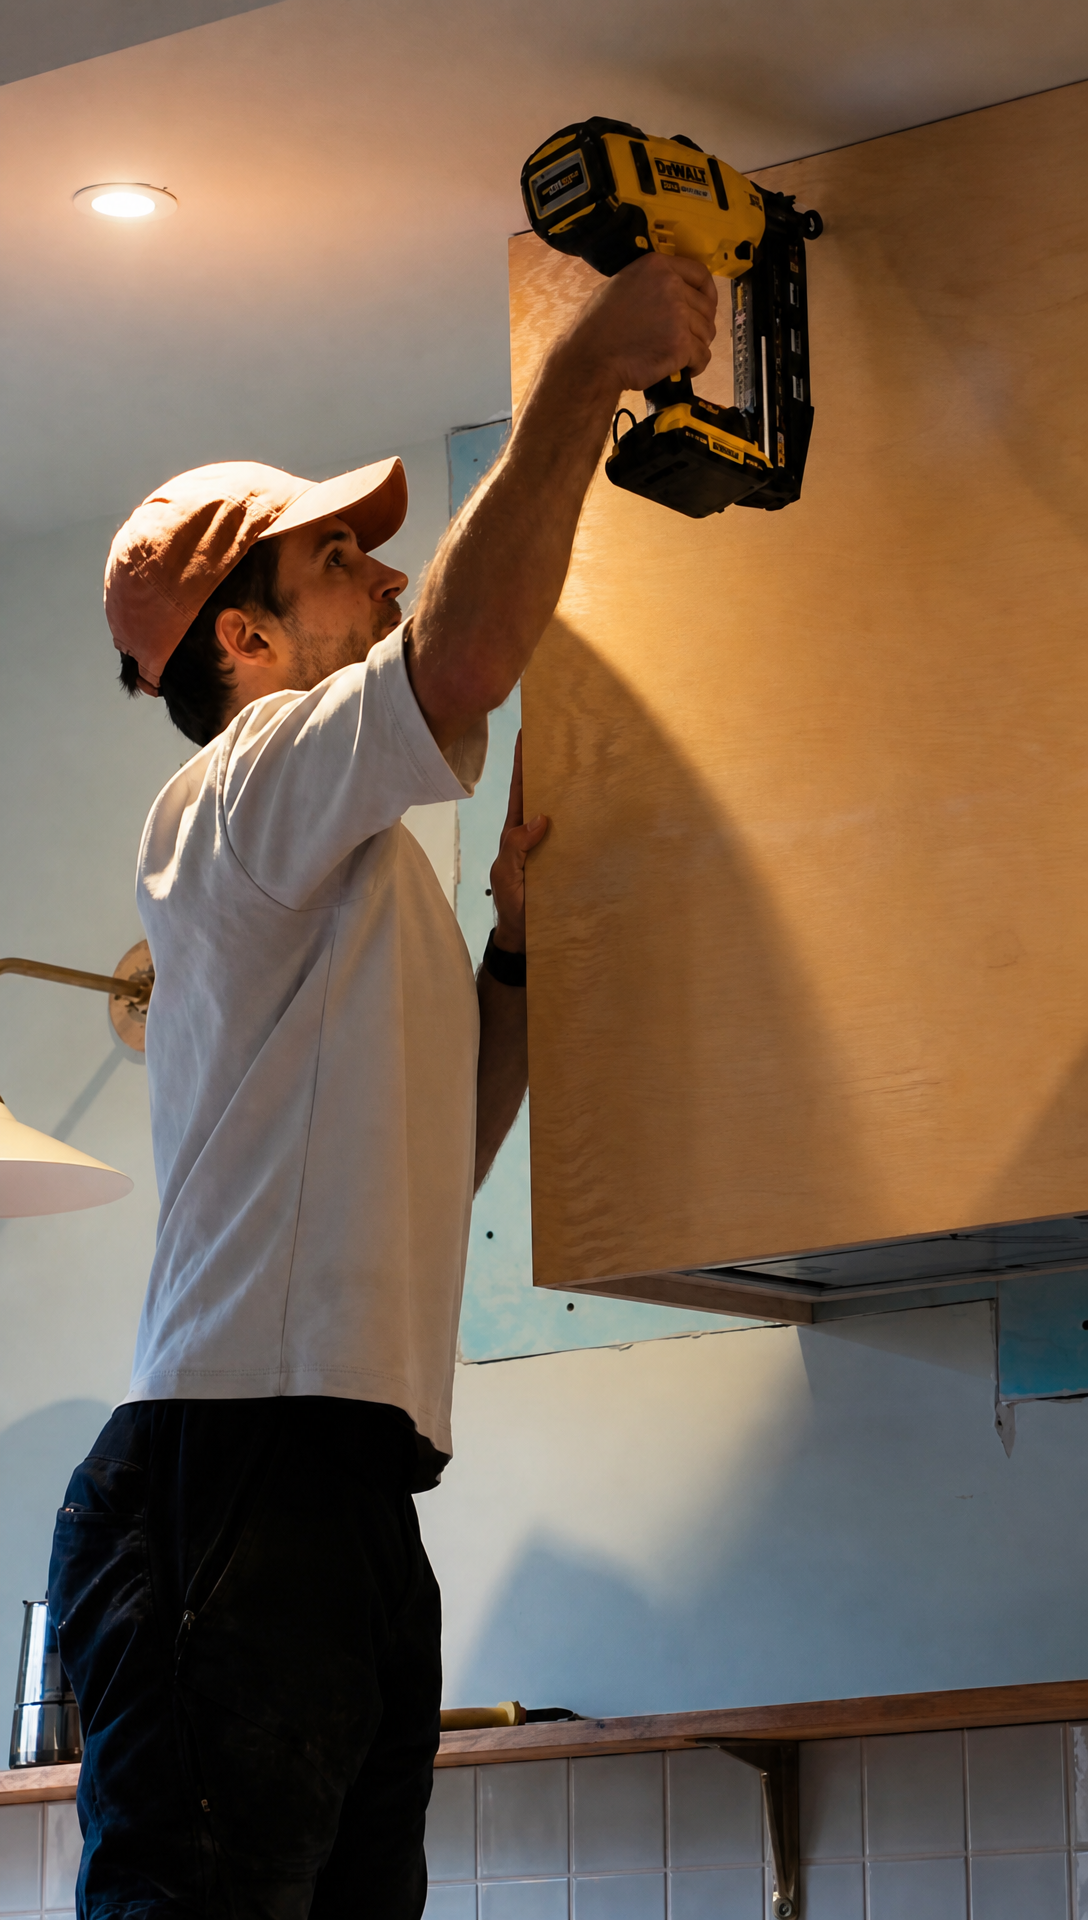 Romy Takes On The PlasterAround the new boards, the junctions needed taping and skimming, and this was a first for us. Romy took the lead: mesh tape over the joints, a pass of plaster, sanding once dry, then the whole routine again until it looks like nothing ever happened. She prepared by watching a small mountain of videos and quizzing Fred, our neighbour and resident plasterboard expert, so please be nice in the comments. A lot of this clearly comes down to practice. 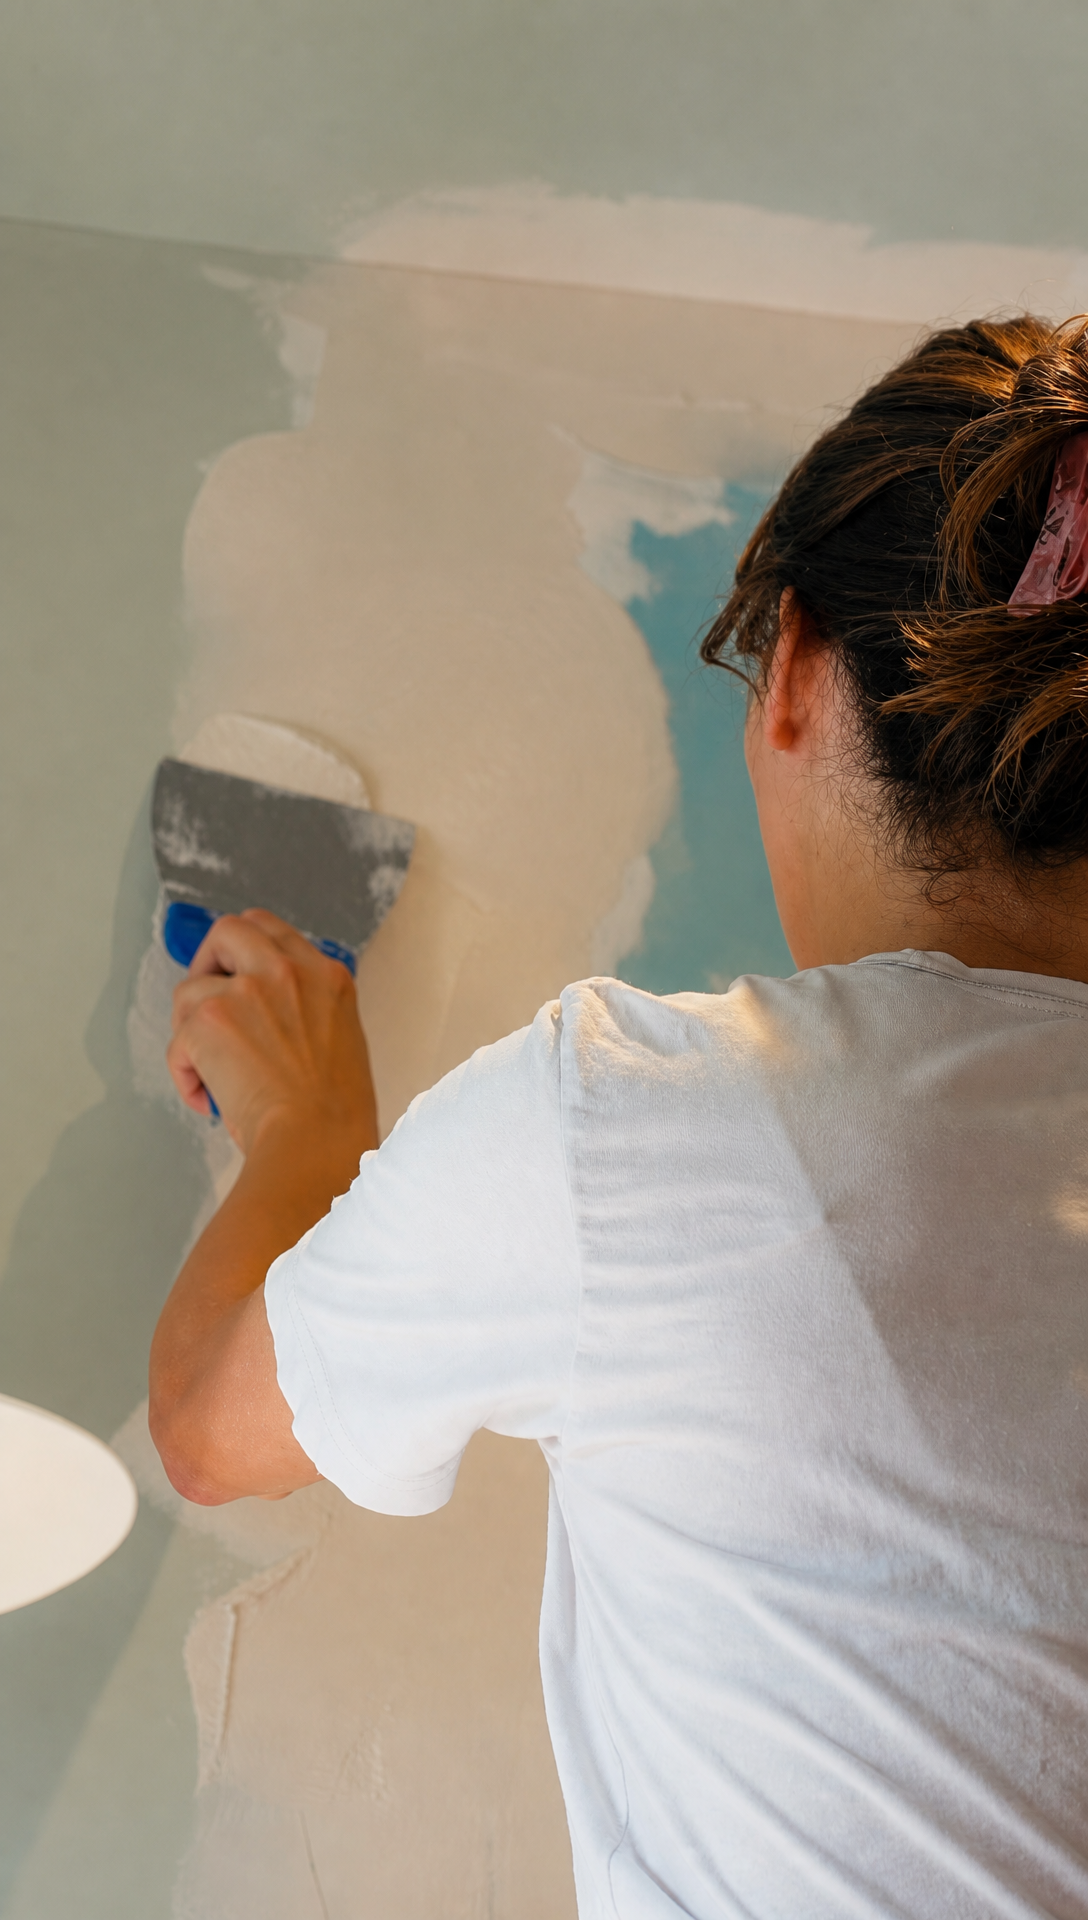 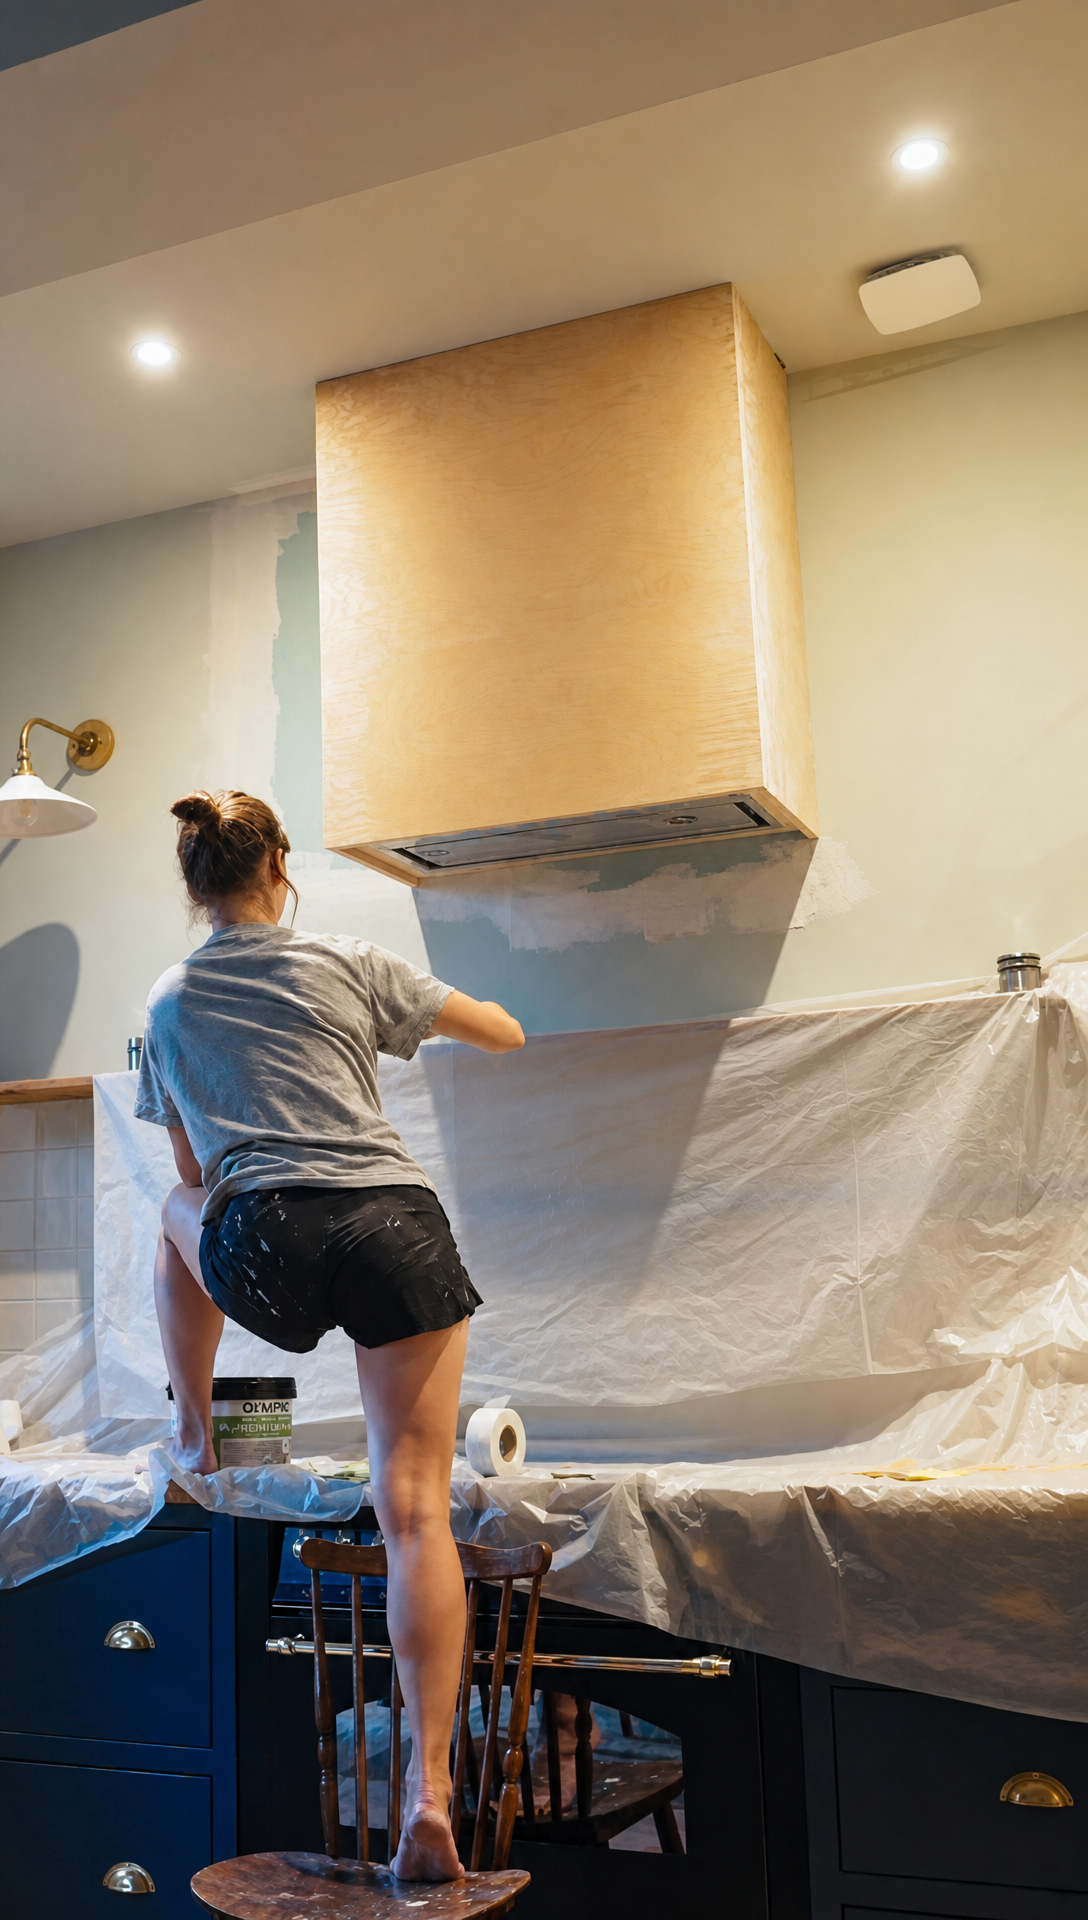 Where We StoppedThat's where the hood project pauses for this episode. The mouldings that will finish the surround are on order, and once they arrive we can dress the box, do the final sanding and get it painted in the wall colour you chose. It already looks like it belongs there. Meanwhile the attic has been quietly moving forward too. I left it out of this episode because there was already too much kitchen to talk about, but there will be a proper catch-up next time. 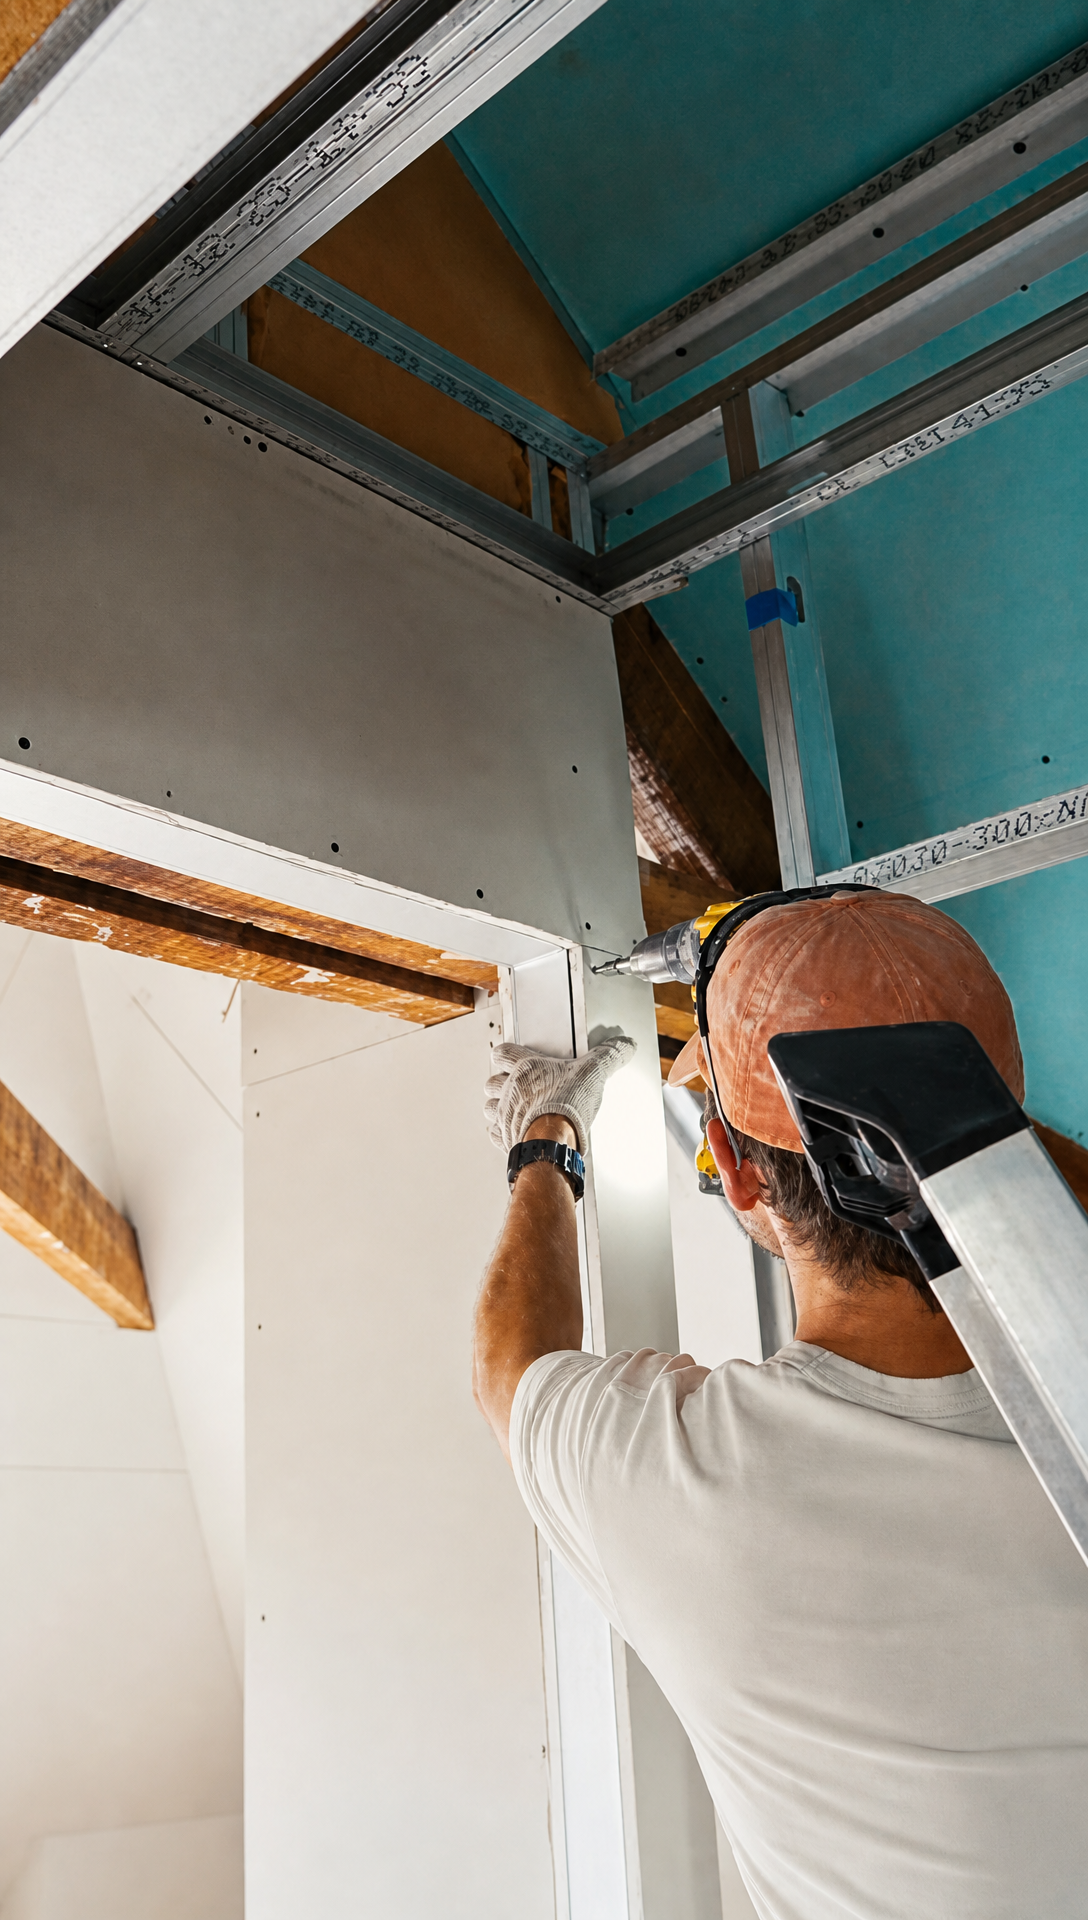 The full build is in the video at the top. And we still need your votes: shelving to the ceiling or not, curtain on the utility end or not, oak or blue inside the shelves. Leave a comment and we'll fold your feedback into the next round of designs. |
Restoring la Chartreuse
Follow along as we renovate a 200 year old townhouse in the French South West.
A New Project For Our French Kitchen Watch the video on YouTube First, a bit of housekeeping I forgot to mention in the last newsletter. I'm Hugo, Romy's husband, and I've taken over writing duties for these updates. The previous emails all came from Romy, but she's taking a break from writing for a while, so you're stuck with me. She's still all over the projects themselves, as this episode will prove. At the end of the last video I promised a new project downstairs. That was a slight...
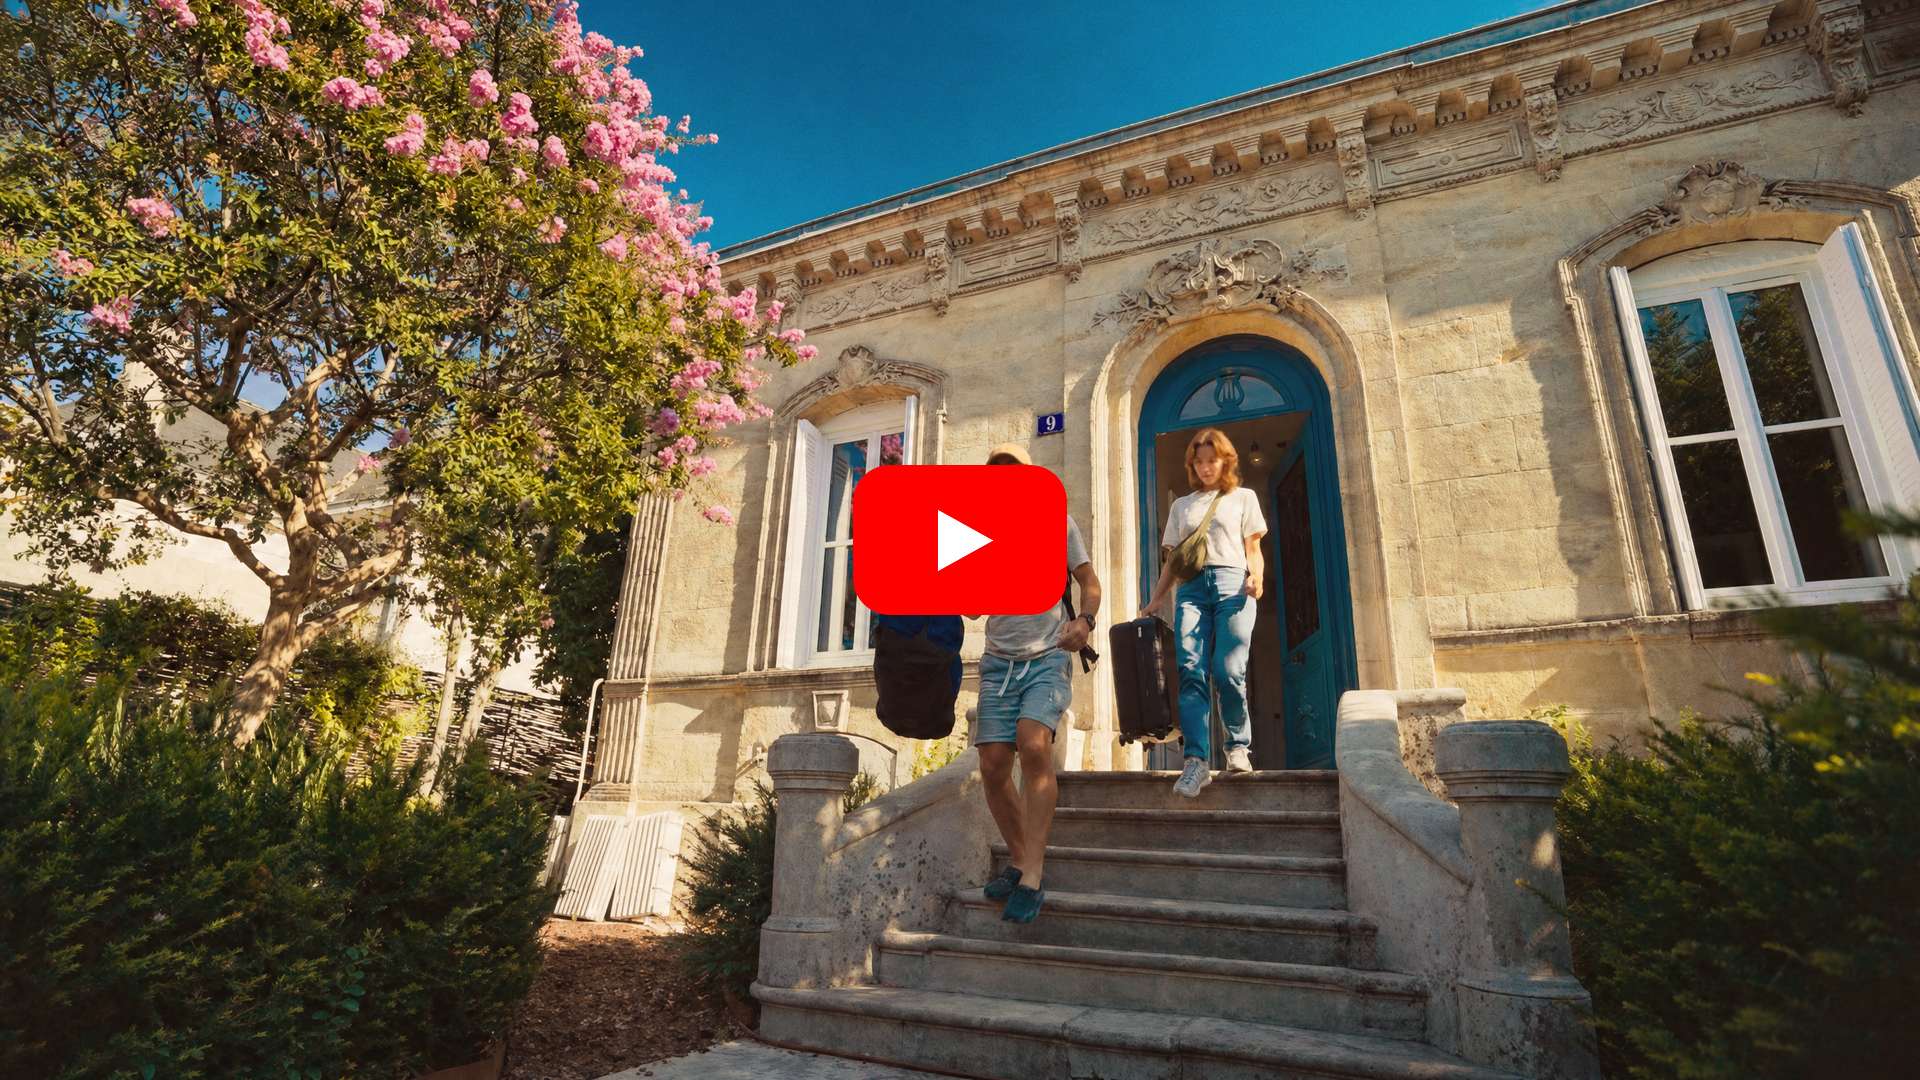
We Left Our Bordeaux Home It has been a long time since the last one of these, and that's on us. The excuse is the house. The renovation took more of our time than we thought it would (a sentence that could open every update we've ever written), and the newsletter kept sliding down the list until it fell off entirely. Sorry for the silence. Here's the new arrangement. Every video now comes with a newsletter like this one, and in between we'll send occasional extra letters with more of the...
Two years ago this week we stood in the hallway with our coats still on, breath showing in the cold, looking at a 200-year-old house that had no business being ours yet. The plaster was coming off the walls in sheets, and there was a hole in the kitchen ceiling. We plugged in a kettle, opened a bottle of champagne, and had absolutely no idea what we were in for. We've spent the last few weeks working on a special video, pulling all of it together. Every room, every project, every bit that...